Table of Content
Mt Rainier National Park | 3 day Itinerary
Mt. Rainier National Park is the fifth national park in the United States and the highest volcano on the American continent. It features canyons, waterfalls, and glaciers. Mt. Rainier is divided into five regions, and during our visit, we explored four of them: Sunrise, Paradise, Longmire, and Ohanapecosh. The itinerary spanned three days and is outlined as follows:
- Day 1: We drove all the way to Mt. Rainier National Park and spent the entire day hiking the trails in the Sunrise area. In the evening, we attended the ranger program at paradise inn
- Day 2: Visit the Paradise area and hiked skyline trail during the day.
- Day 3: In the morning, we completed the Nisqually Vista Trail in the Paradise area, which we didn't finish the day before. Afterward, we drove to explore the Ohanapecosh area. Finally, we visited the Longmire area, hiked the Comet Fall Trail, and explored the Longmire Museum.
We stayed at the Paradise Inn inside the park for this trip, and our experiences with accommodation and dining are documented in this article.
I had been looking forward to visiting Mt. Rainier for a long time. Due to its high latitude, Mt. Rainier is most suitable for a visit only during the summer. Mt. Rainier is truly stunning. The drive up the mountain itself offers breathtaking scenery.
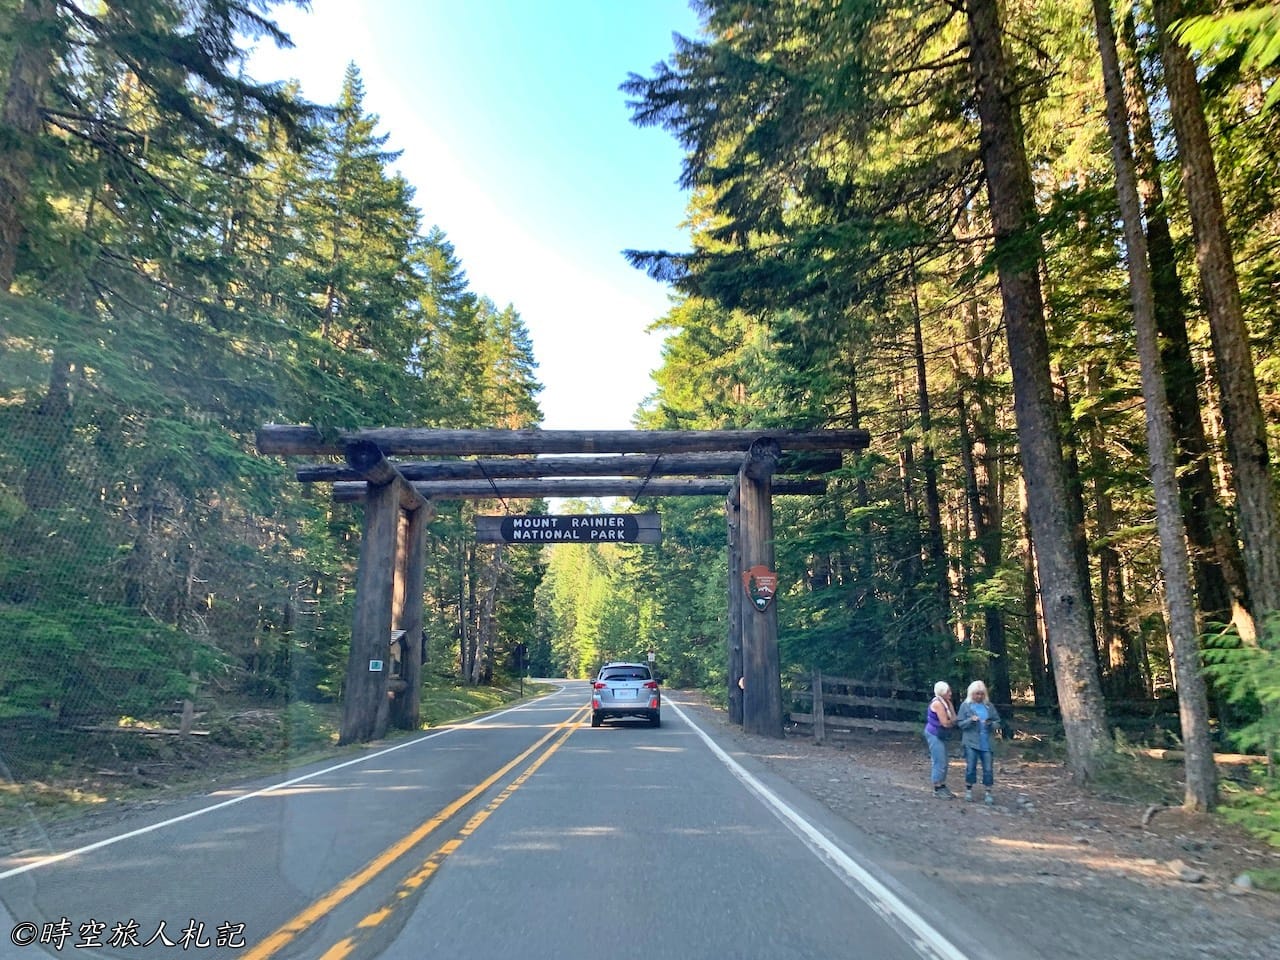
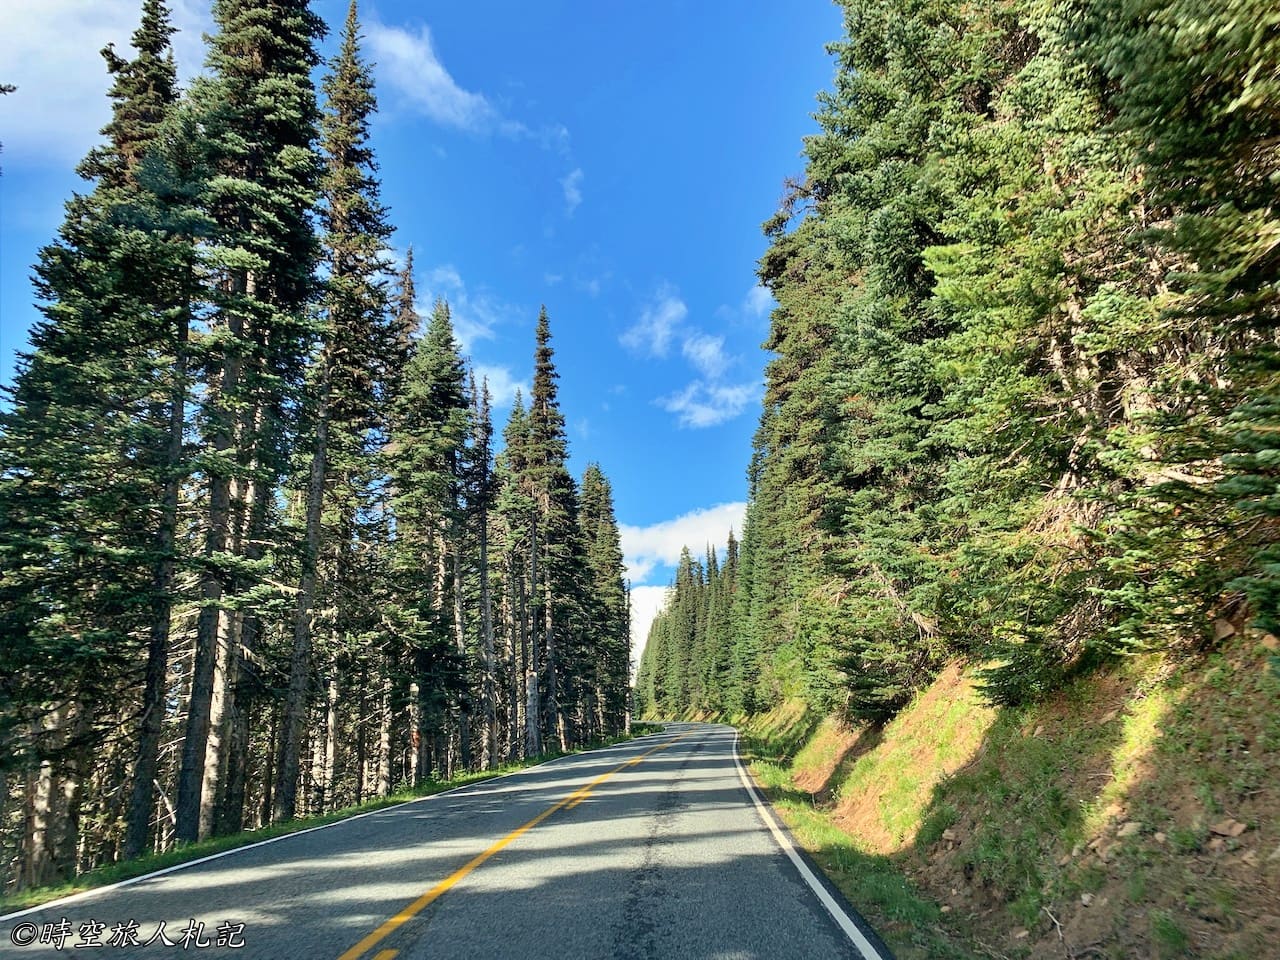
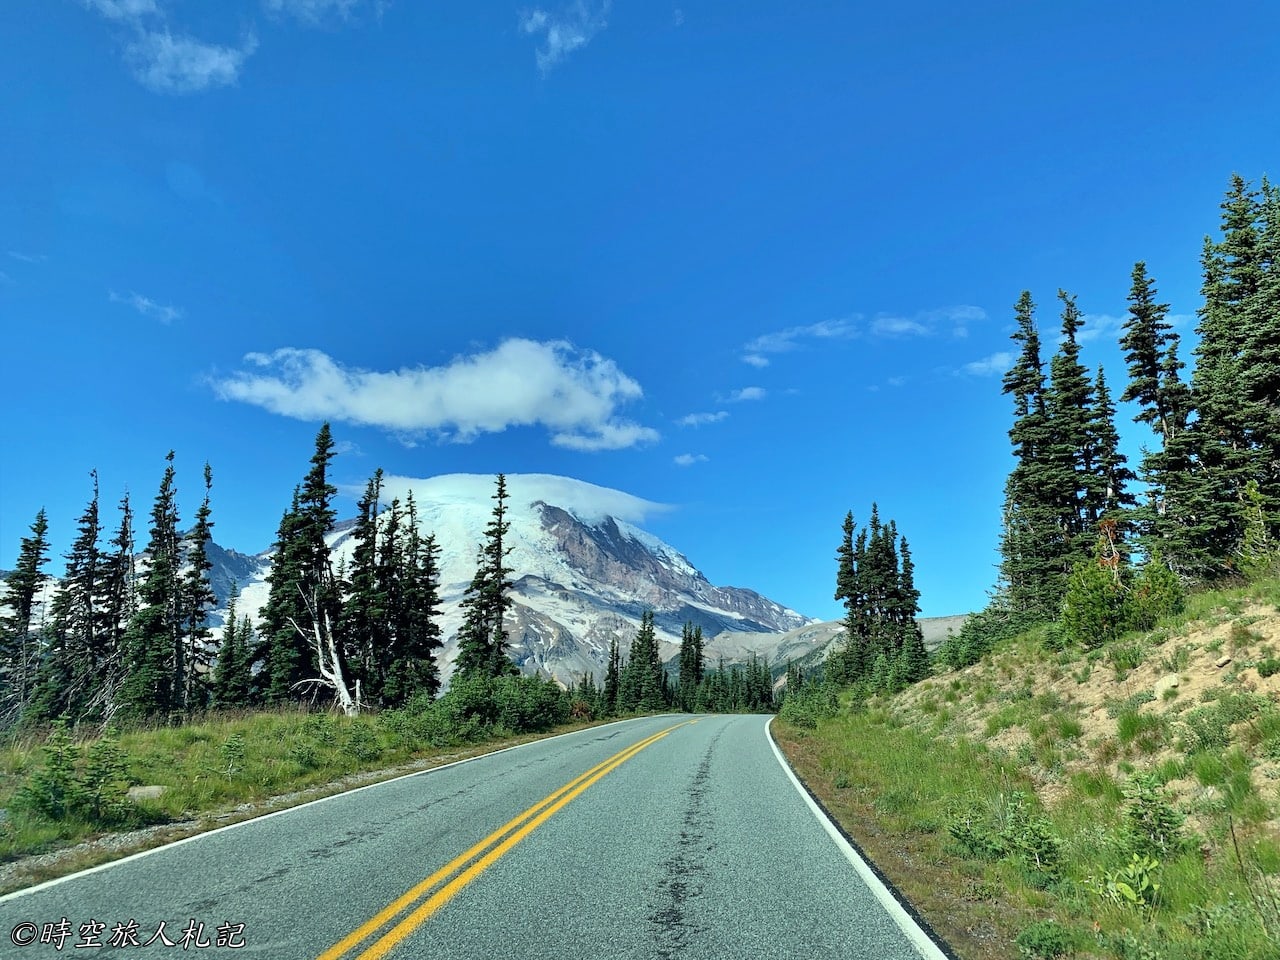
Sunrise Area
Sunrise is a popular scenic area within Mt. Rainier, located at the northeastern entrance of the park. There are several hiking trails starting from Sunrise, but they are typically only open during the summer months, from July to October. The trails offer beautiful scenery, so if you visit during the open season, it's a must-see. Sunrise is at a higher elevation, so the trails can be a bit challenging in terms of elevation gain. We brought a set of trekking poles with us and took turns using them, and we found that having trekking poles was indeed very helpful.
Sunrise visitor center
At the Sunrise Visitor Center, there is an observation deck located behind the building. There, you can find telescopes that allow you to get a closer look at the mountain's summit and even spot people walking on the glaciers.
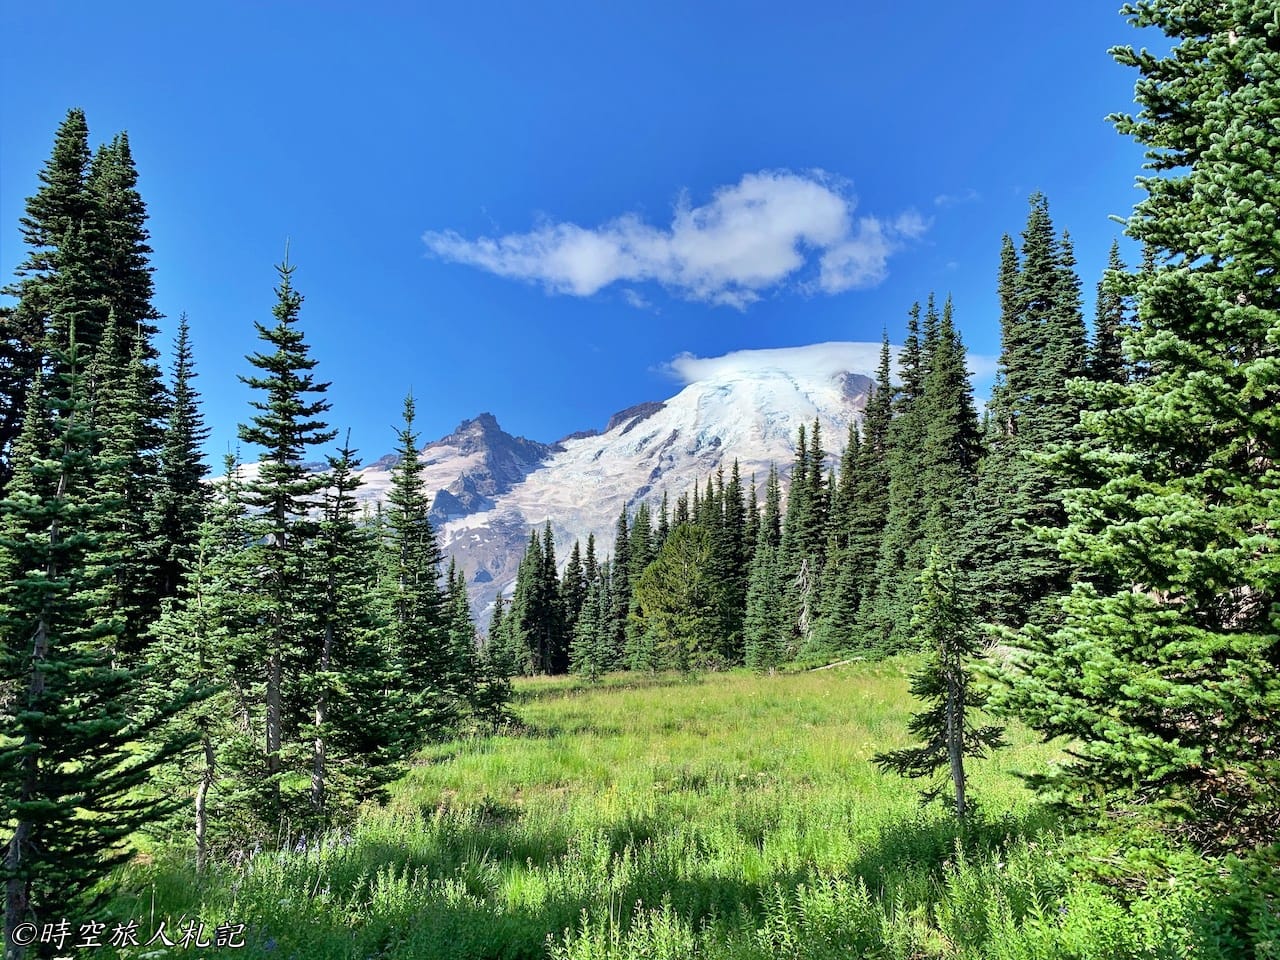
Sourdough ridge trail
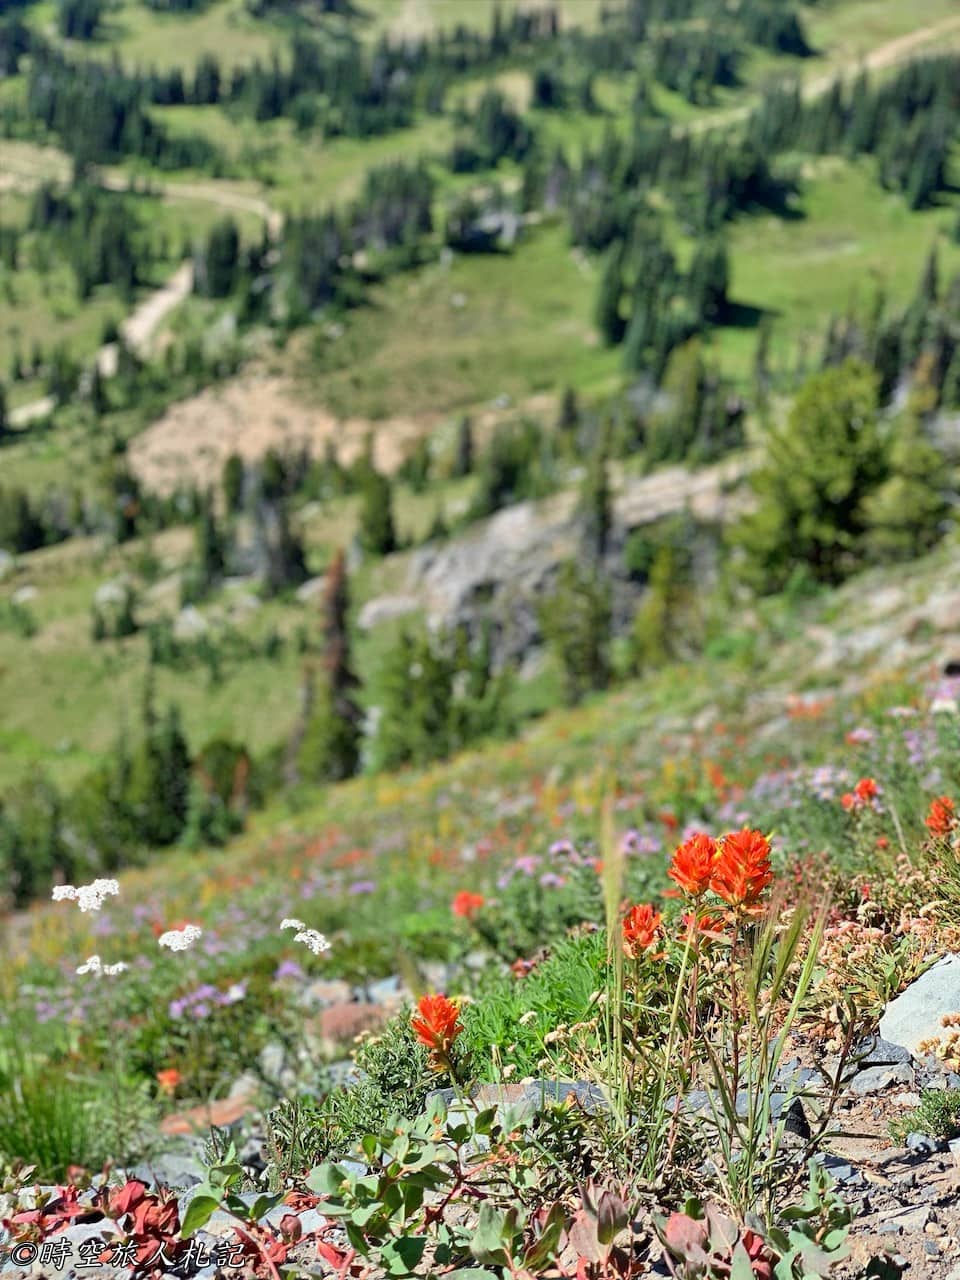
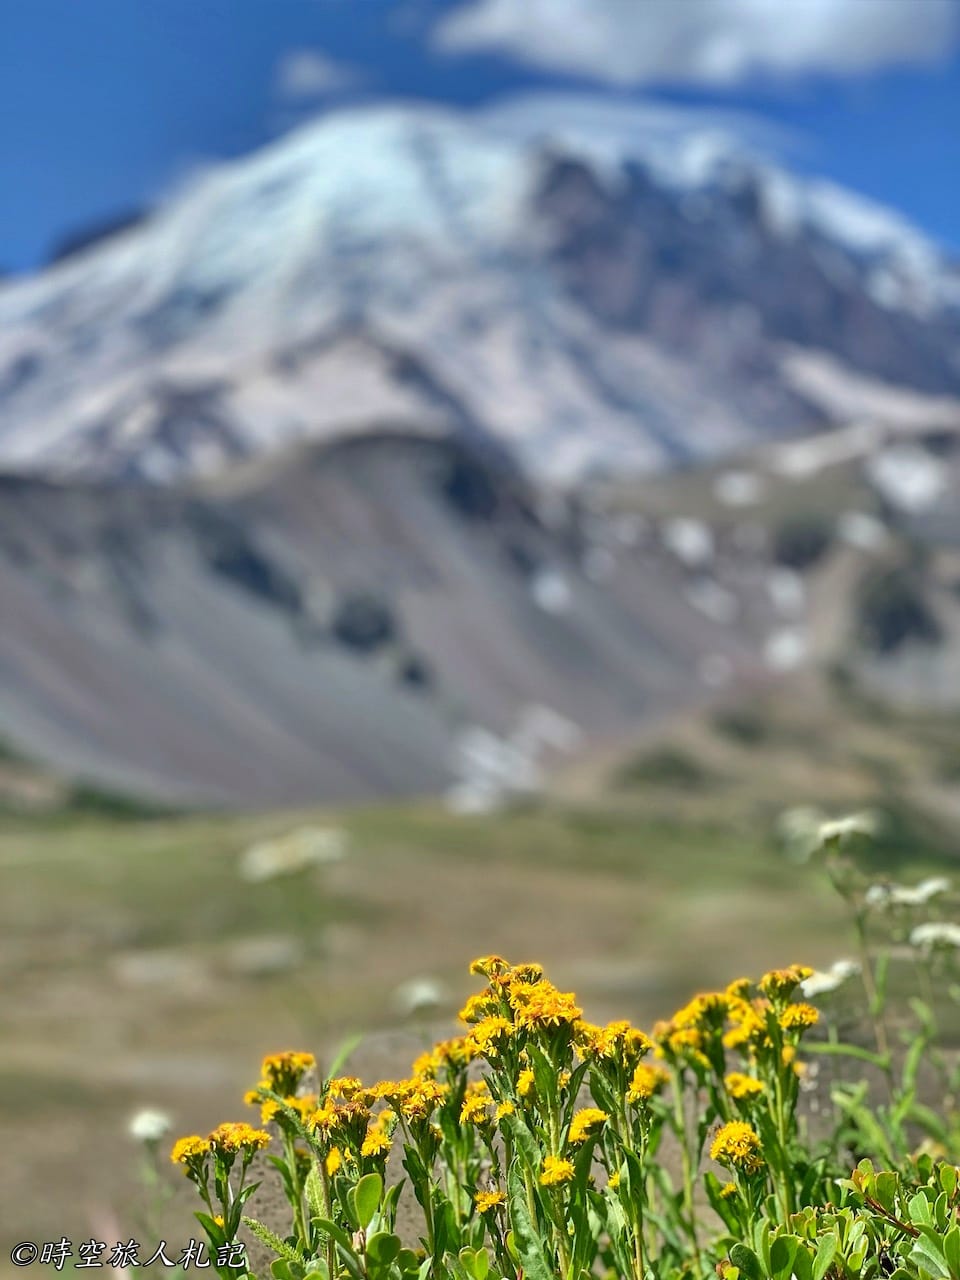
Our first hiking route of the trip was along the Sourdough Ridge Trail heading towards Frozen Lake. The entire path offered stunning mountain views, but this section was relatively straightforward and quite flat. Despite it being August, it felt like spring had just begun at higher altitudes. Wildflowers were starting to bloom, although they hadn't reached the point of covering the hillsides in a blanket of color just yet.
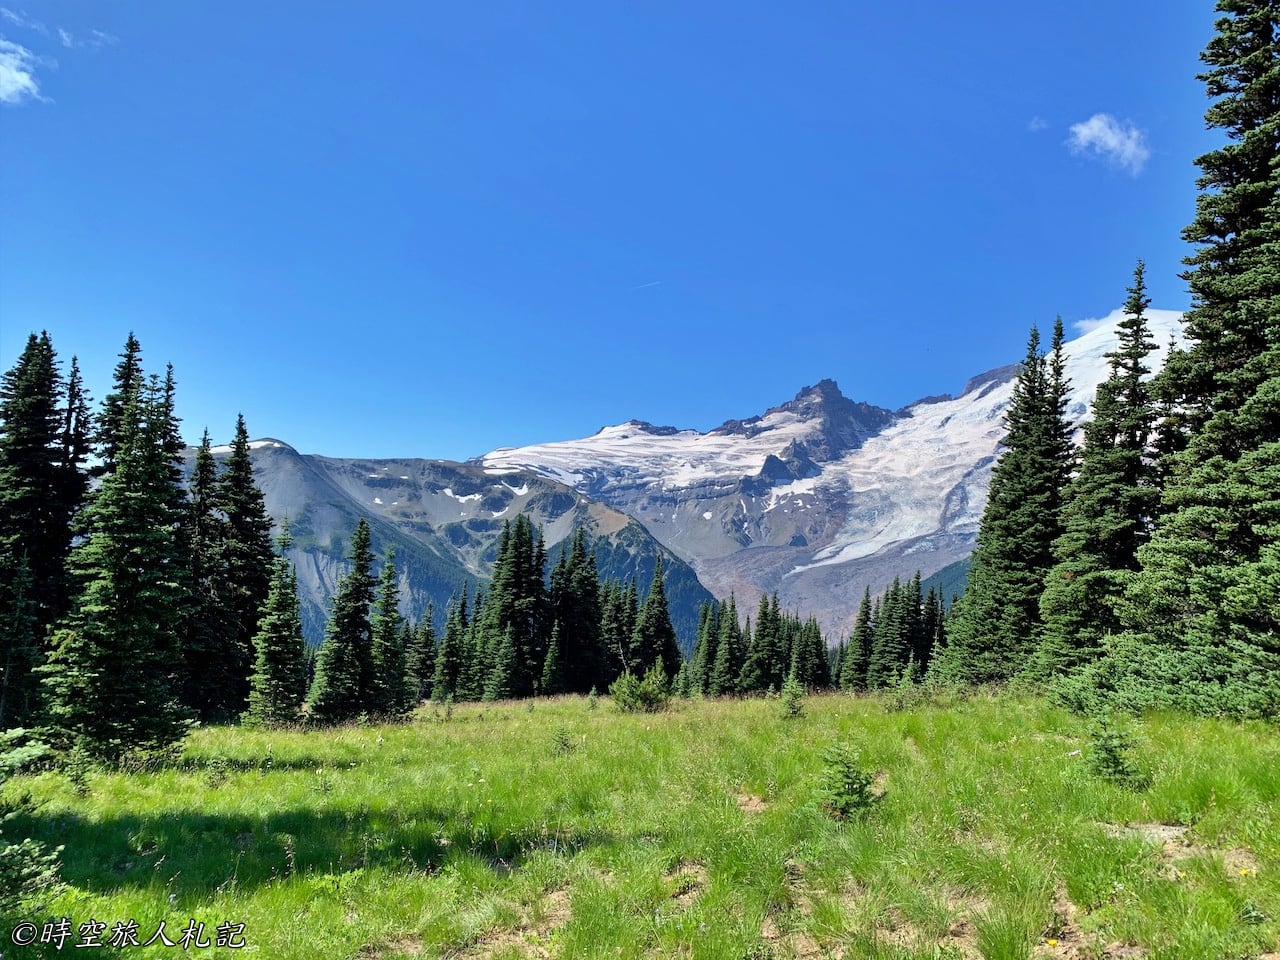
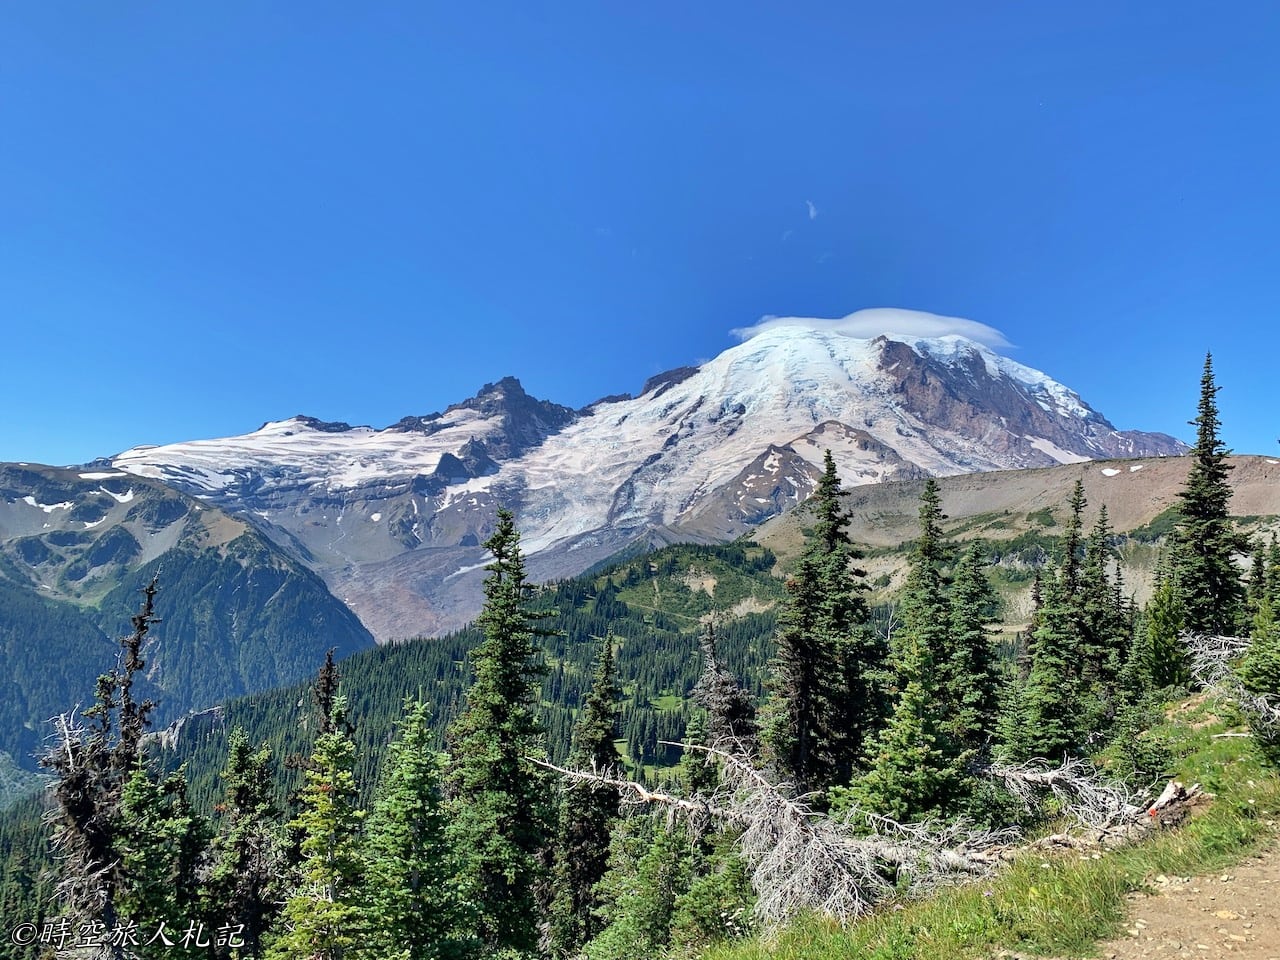
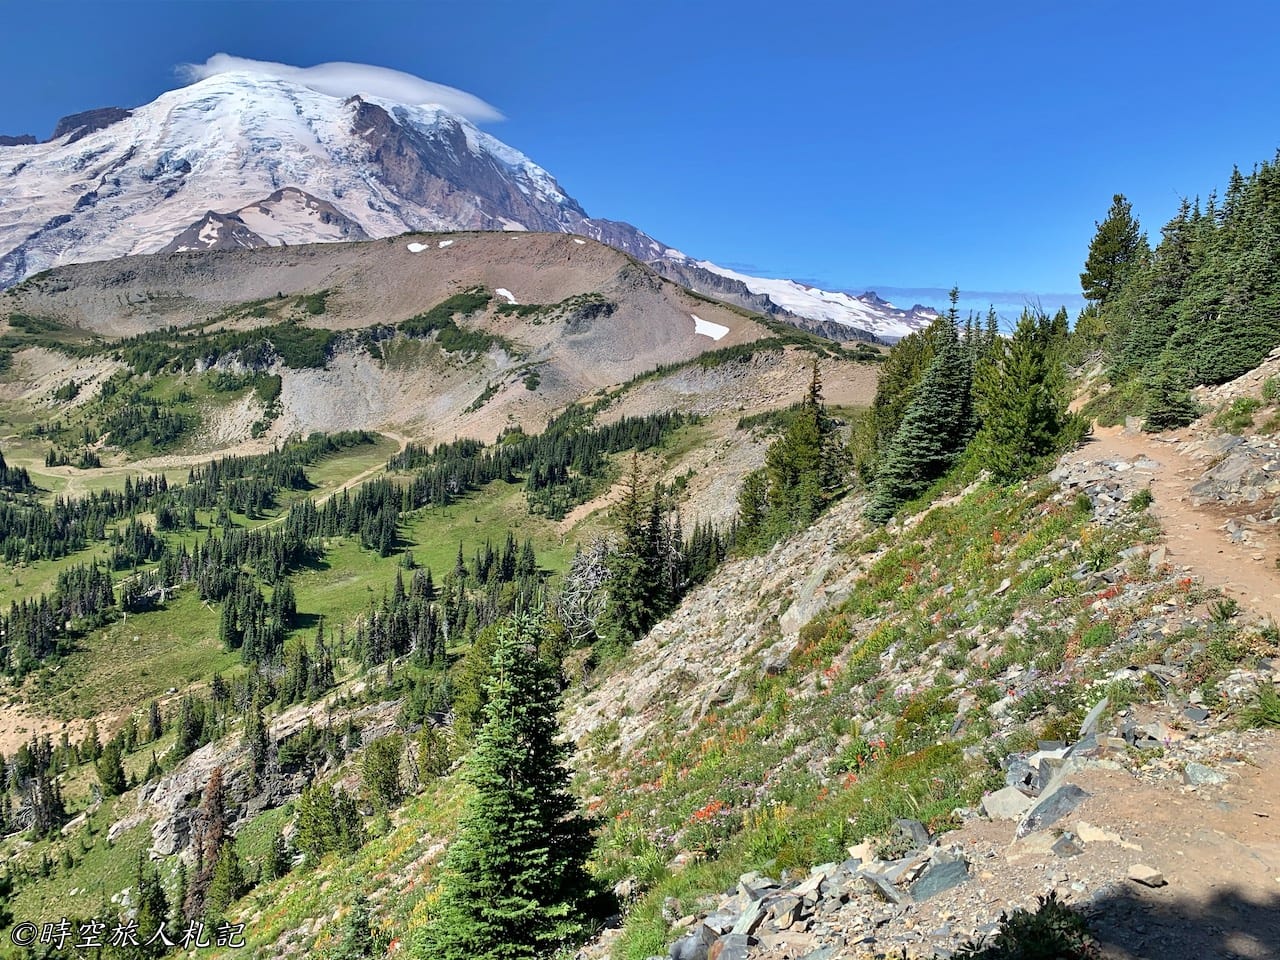
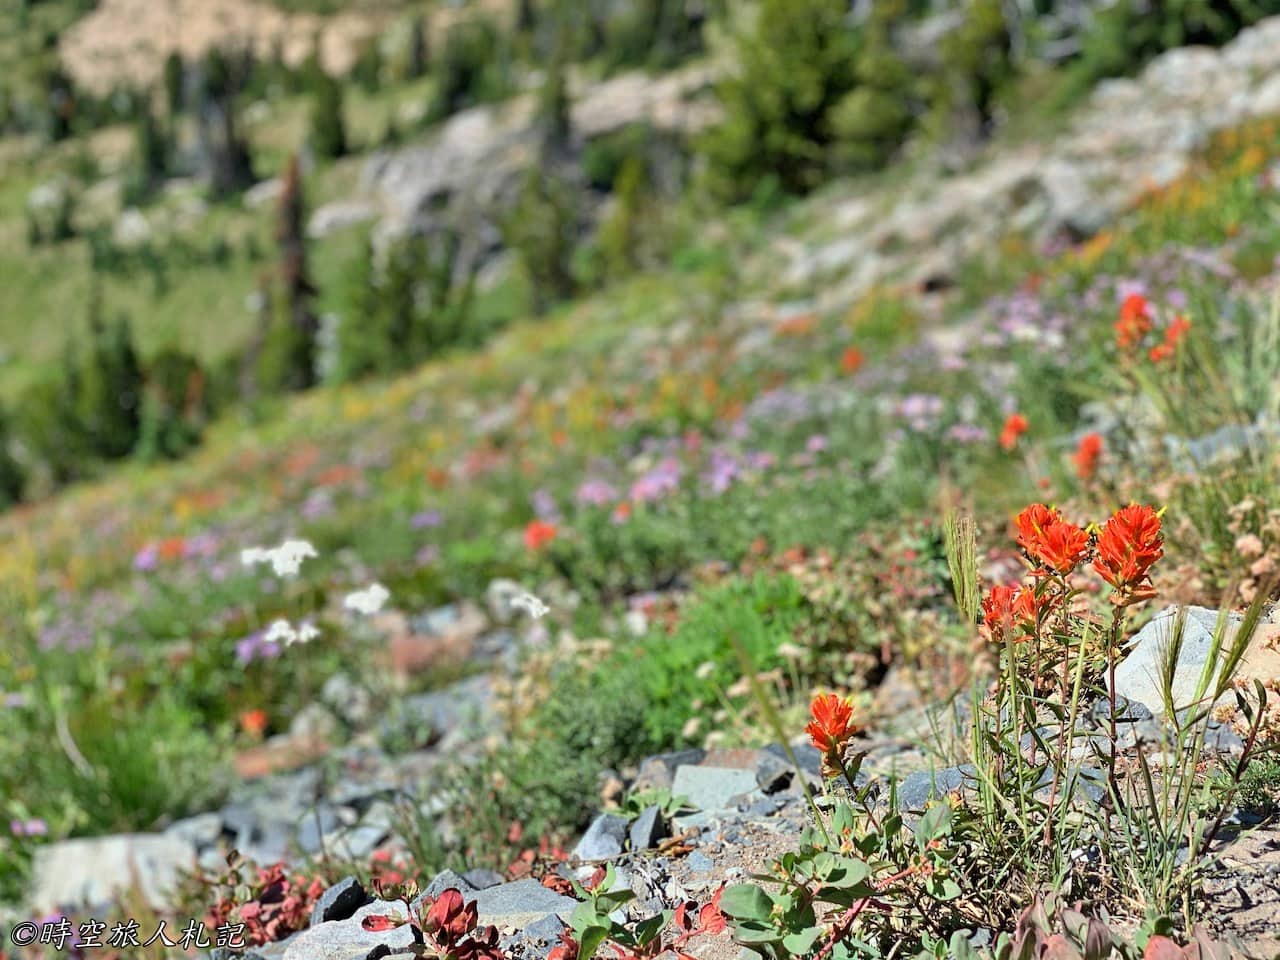
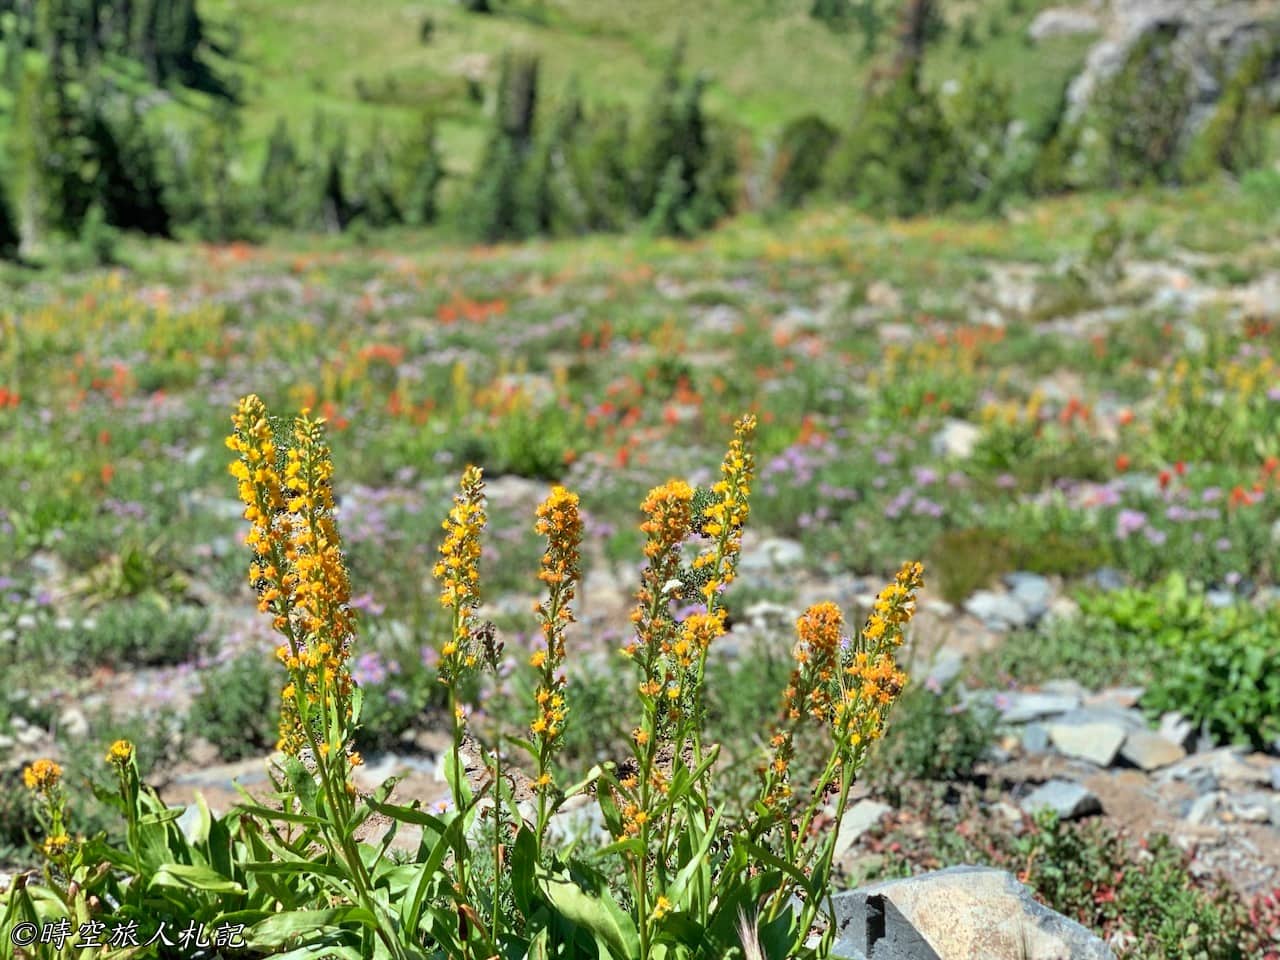
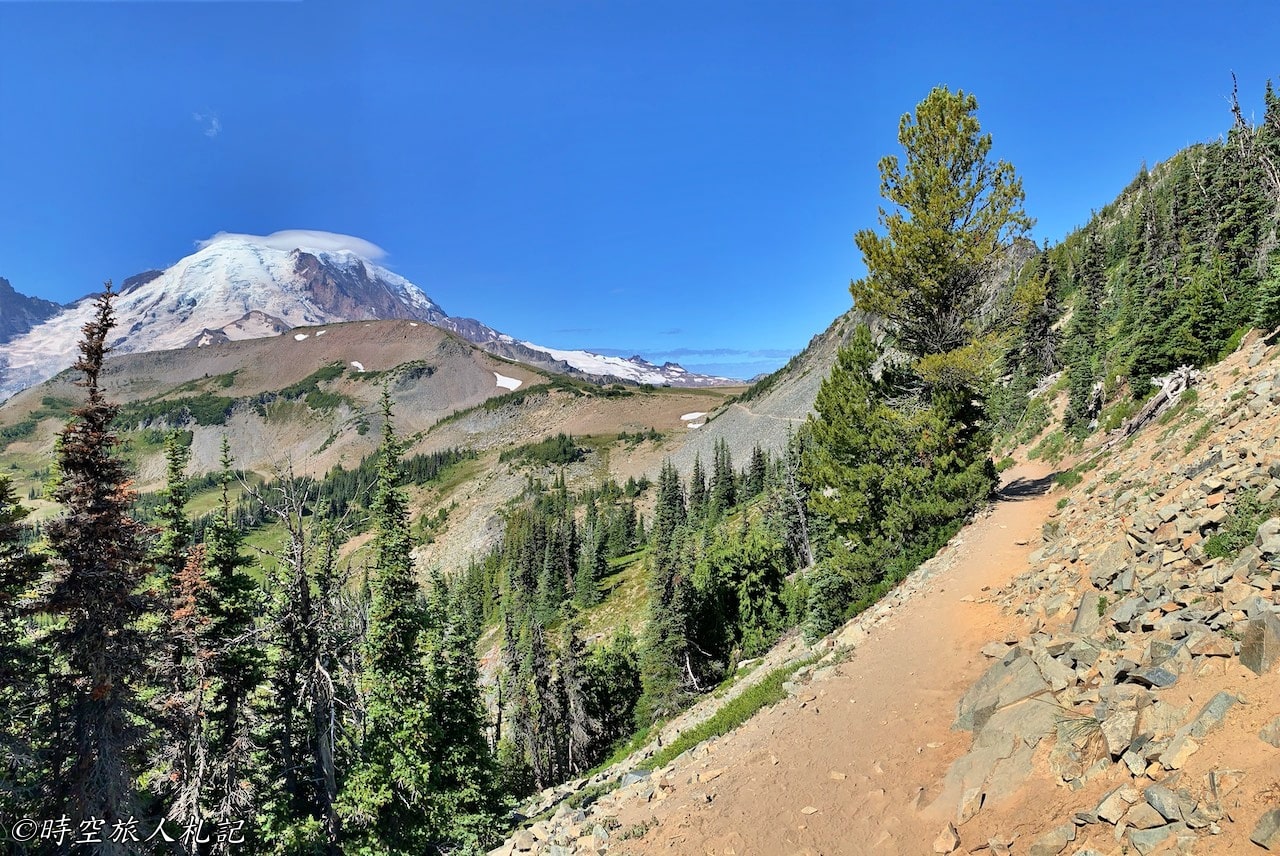
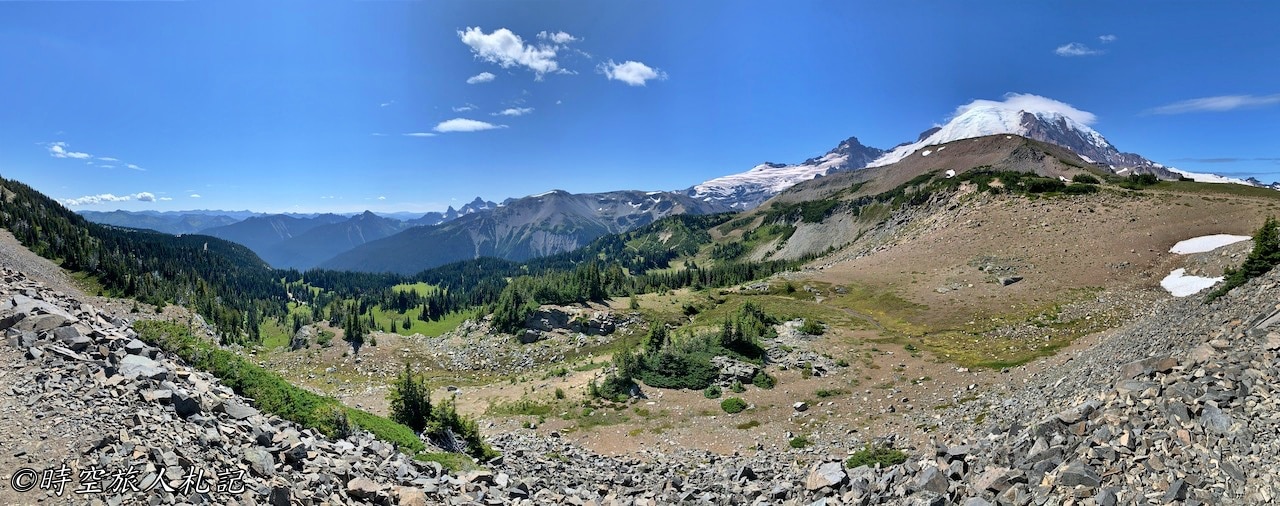
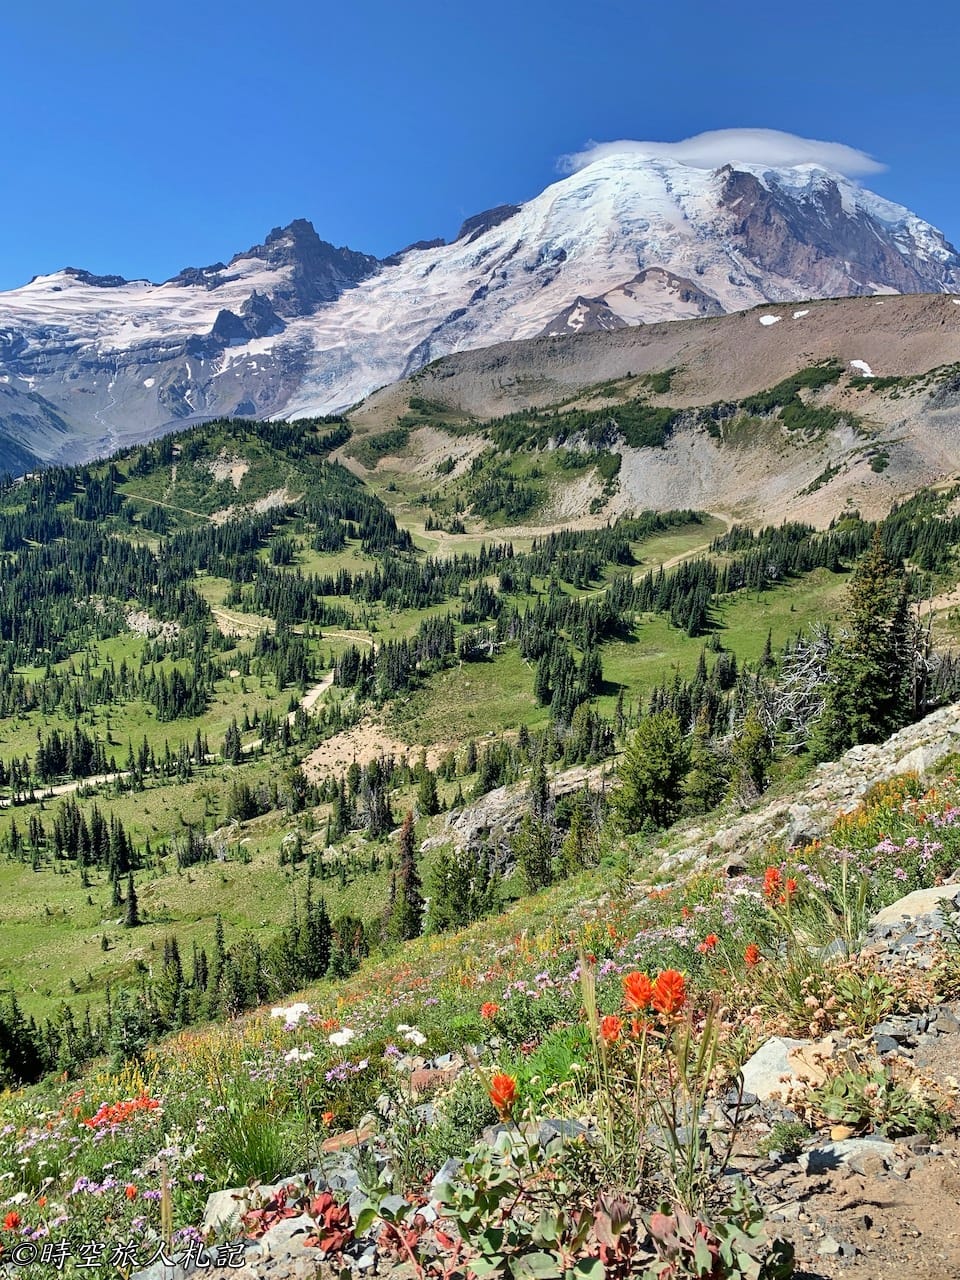
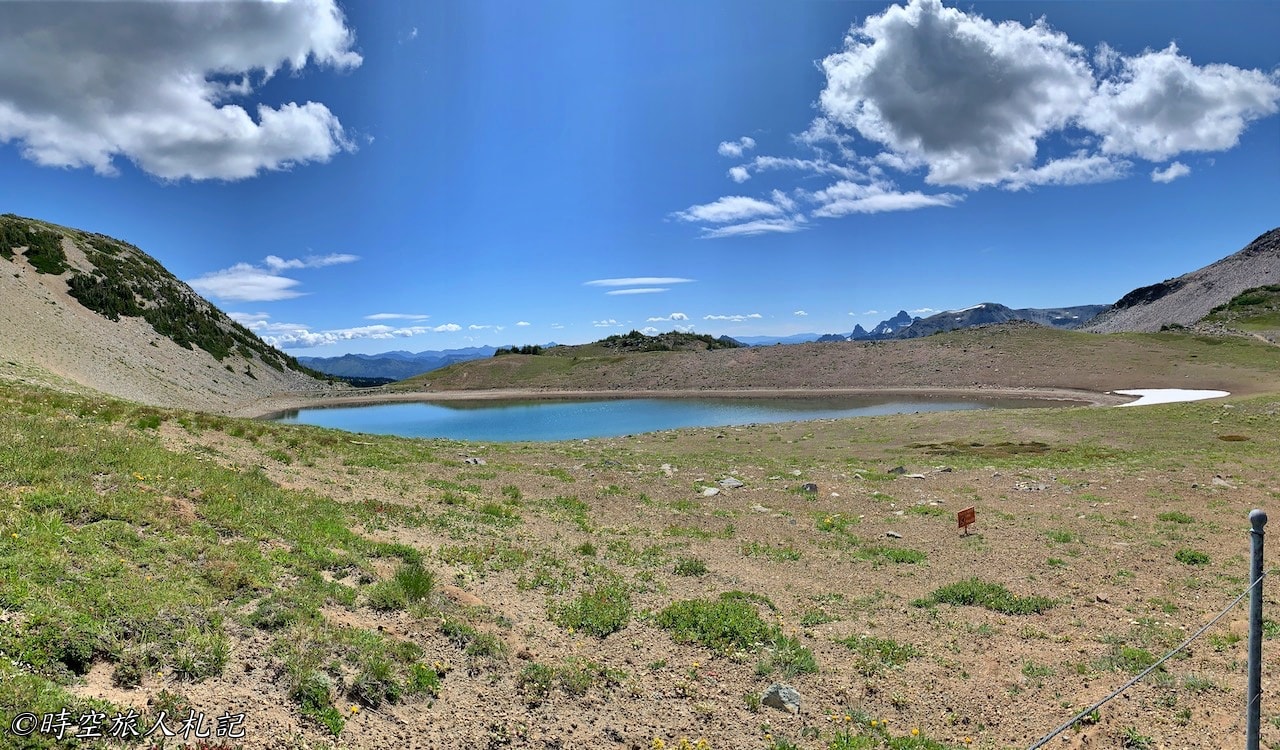
At the midway point, Frozen Lake, it wasn't actually frozen during our visit. There was still some snow visible around the lake's edge.
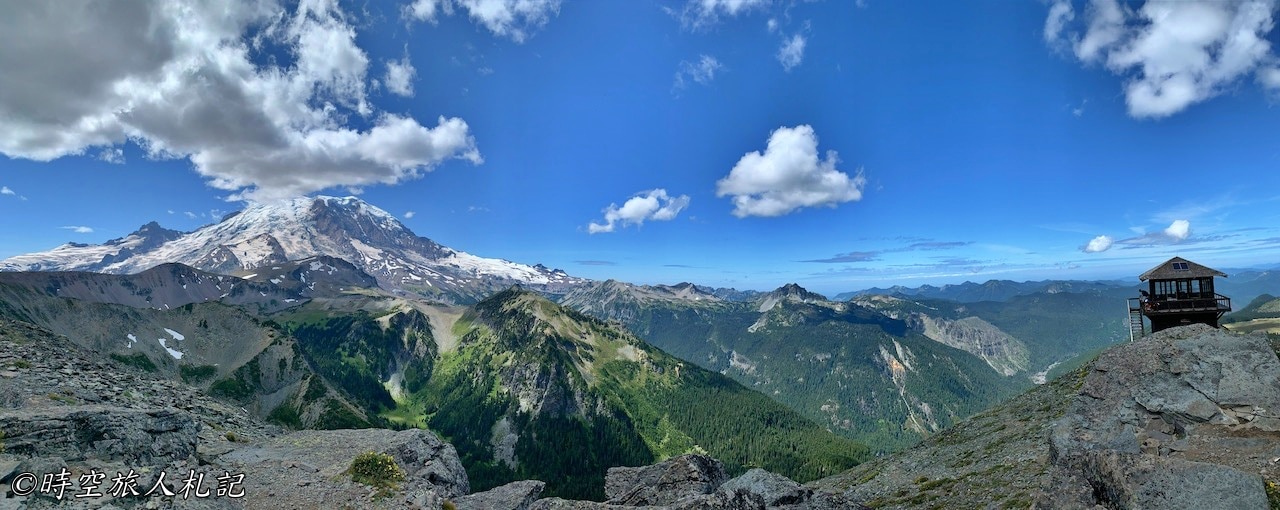
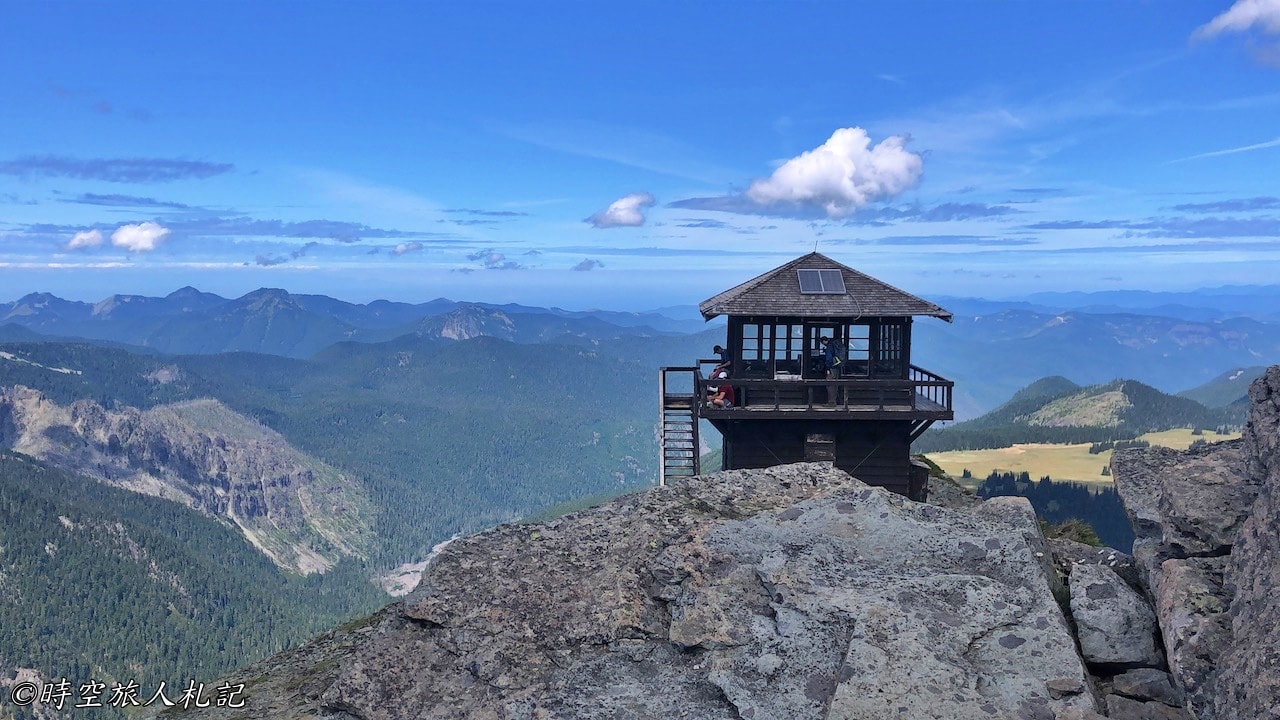
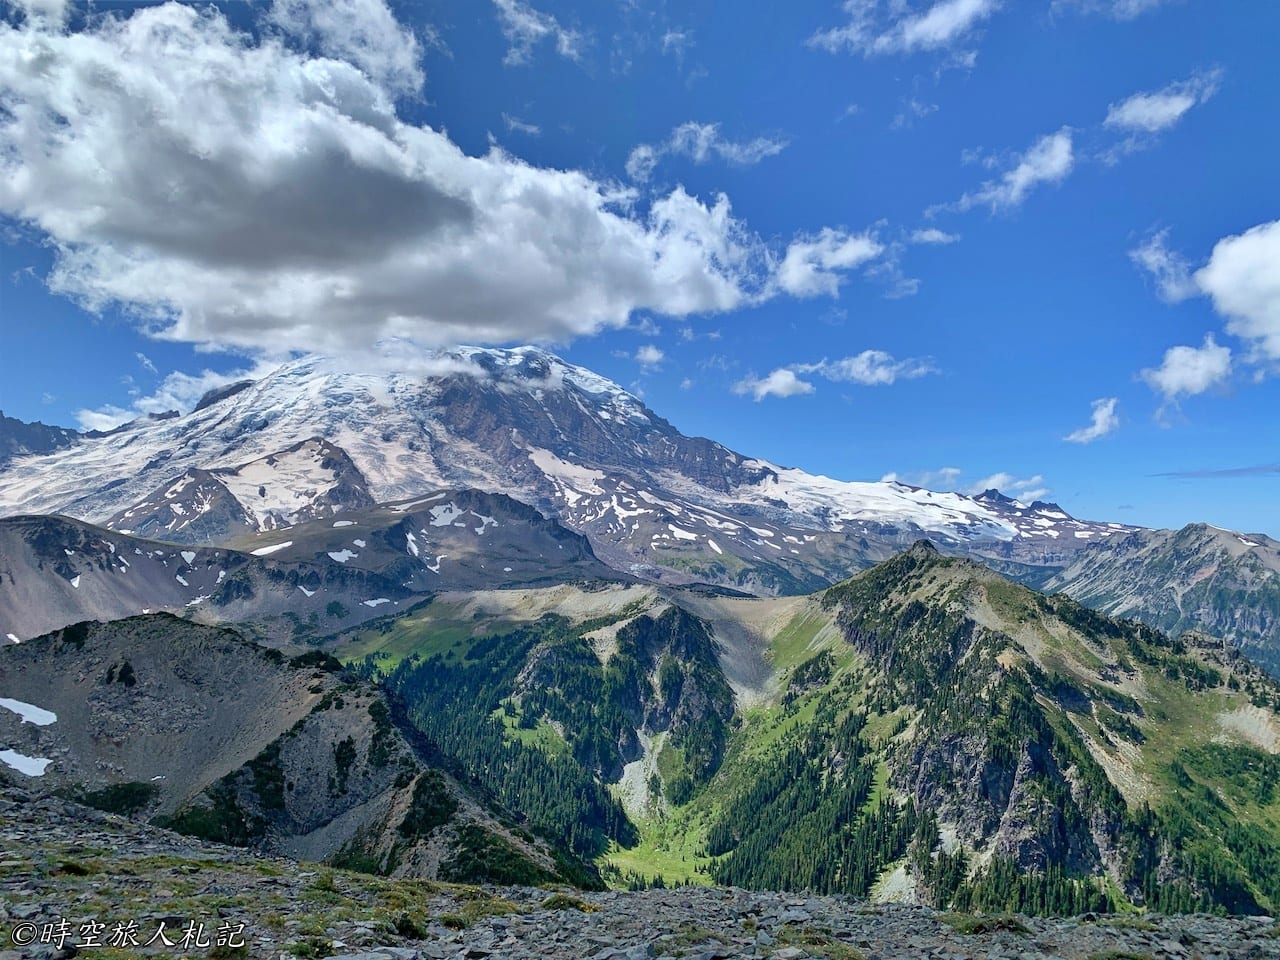
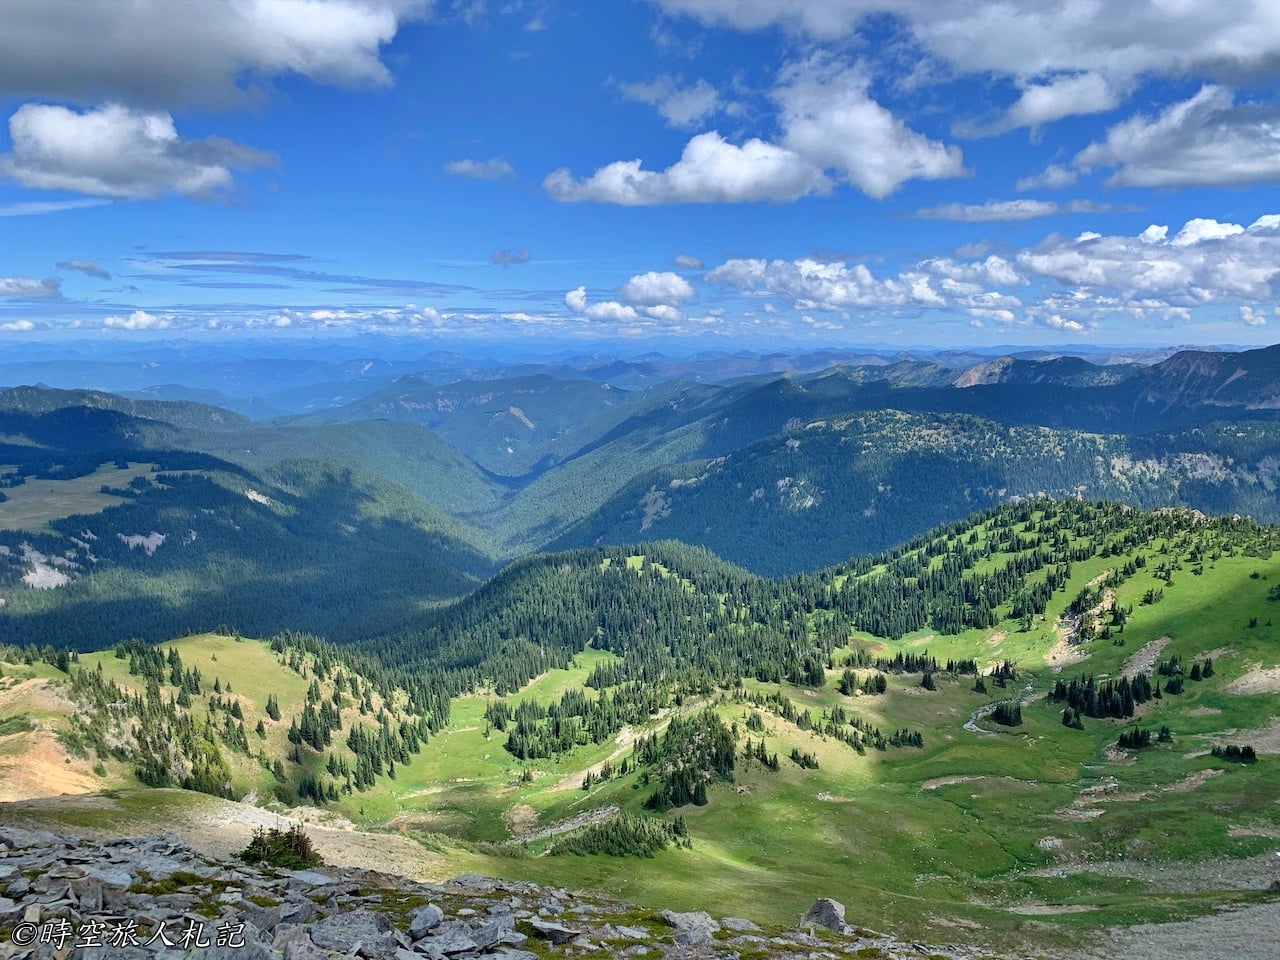
From Frozen Lake, the trail started to become steeper as we made our way up towards Mt. Fremont Lookout. The goal was to climb all the way to the lookout, which was about 1.3 miles away. While the distance might not seem too long, the incline made us appreciate the usefulness of trekking poles. Many hikers started to take breaks along the way. However, the advantage of this section of the trail was that you could stop at any point and enjoy the beautiful views of Mt. Crest.
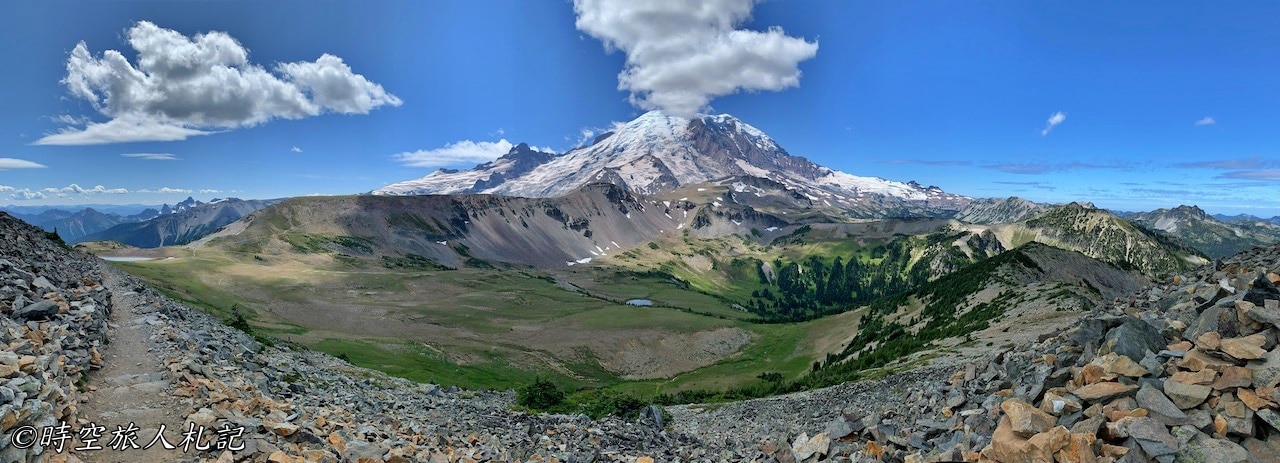
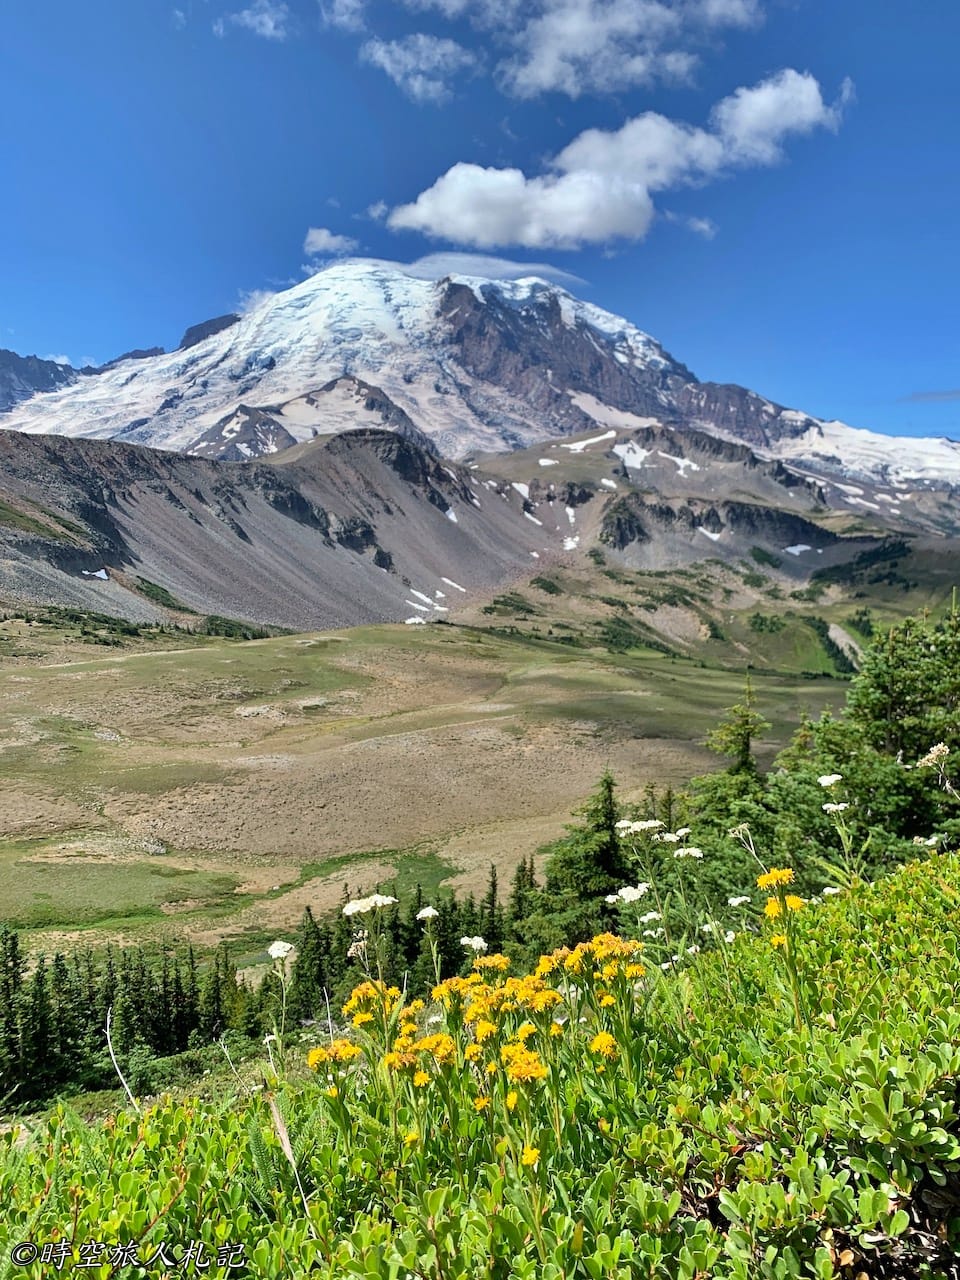
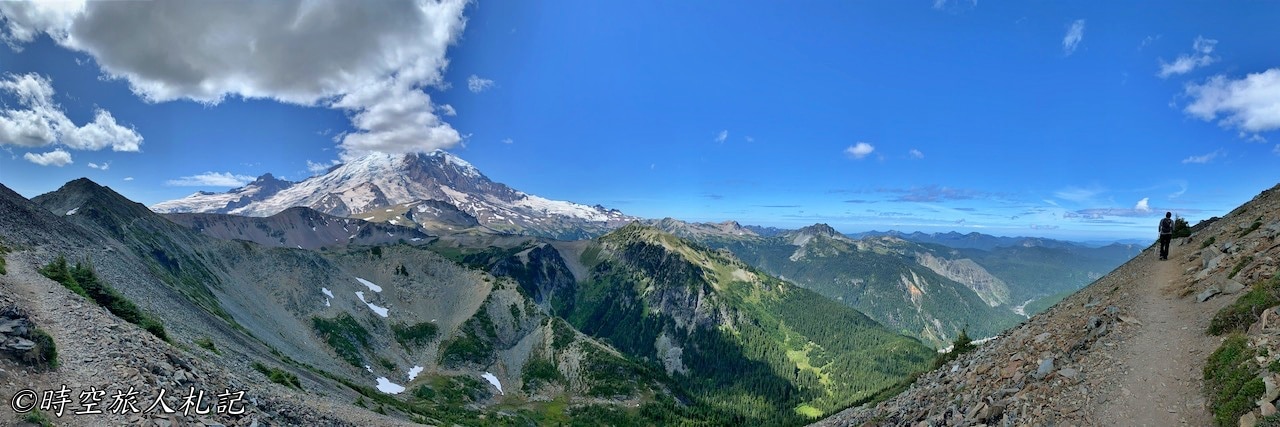
The small cabin ahead is the lookout. After climbing up, take a good rest, sit down, have some dried food, and enjoy the surrounding mountain views.
Wonderland trails
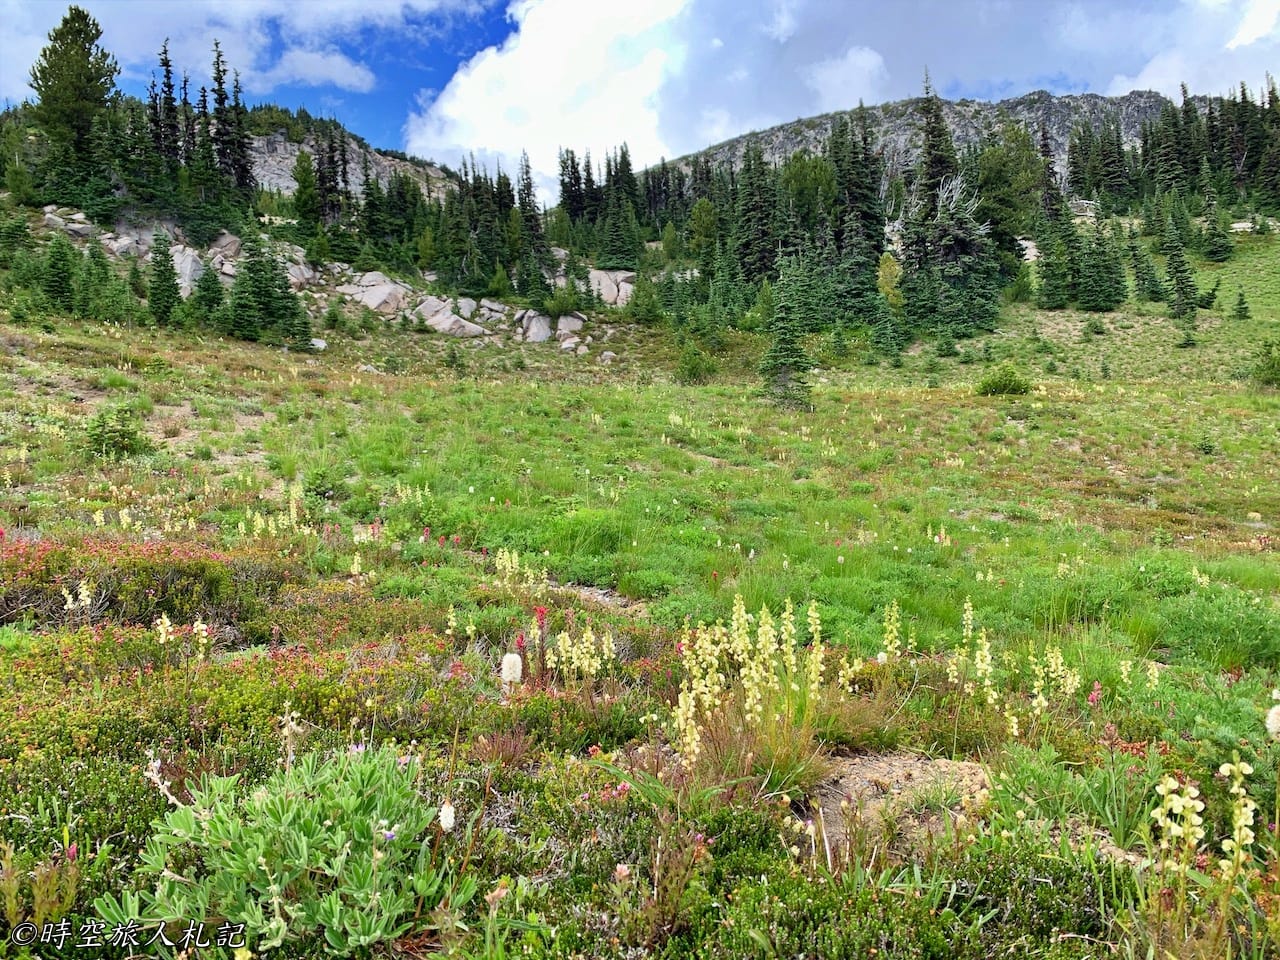
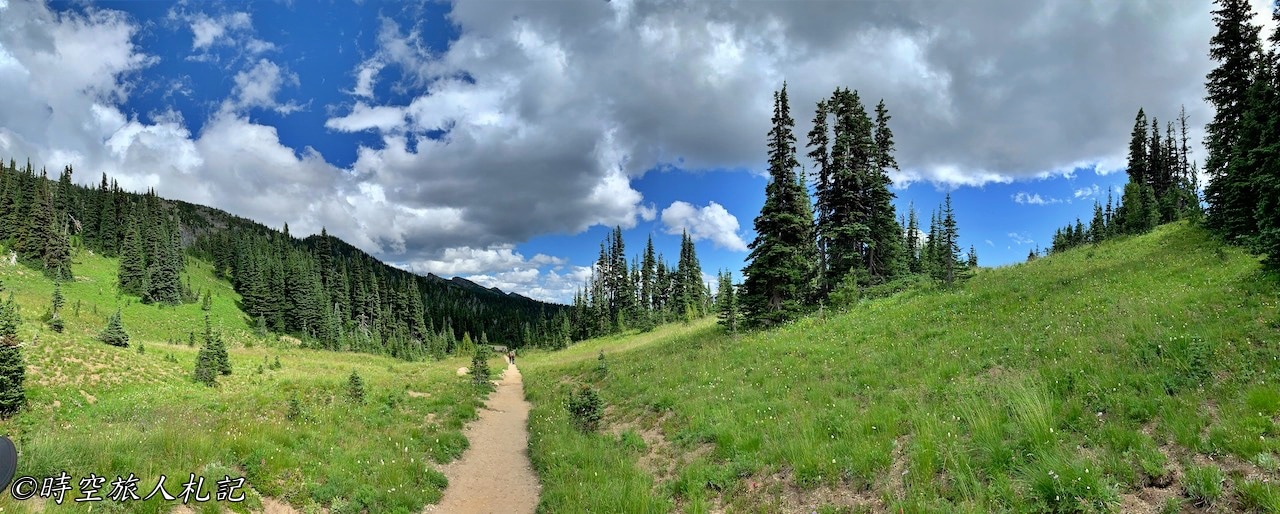
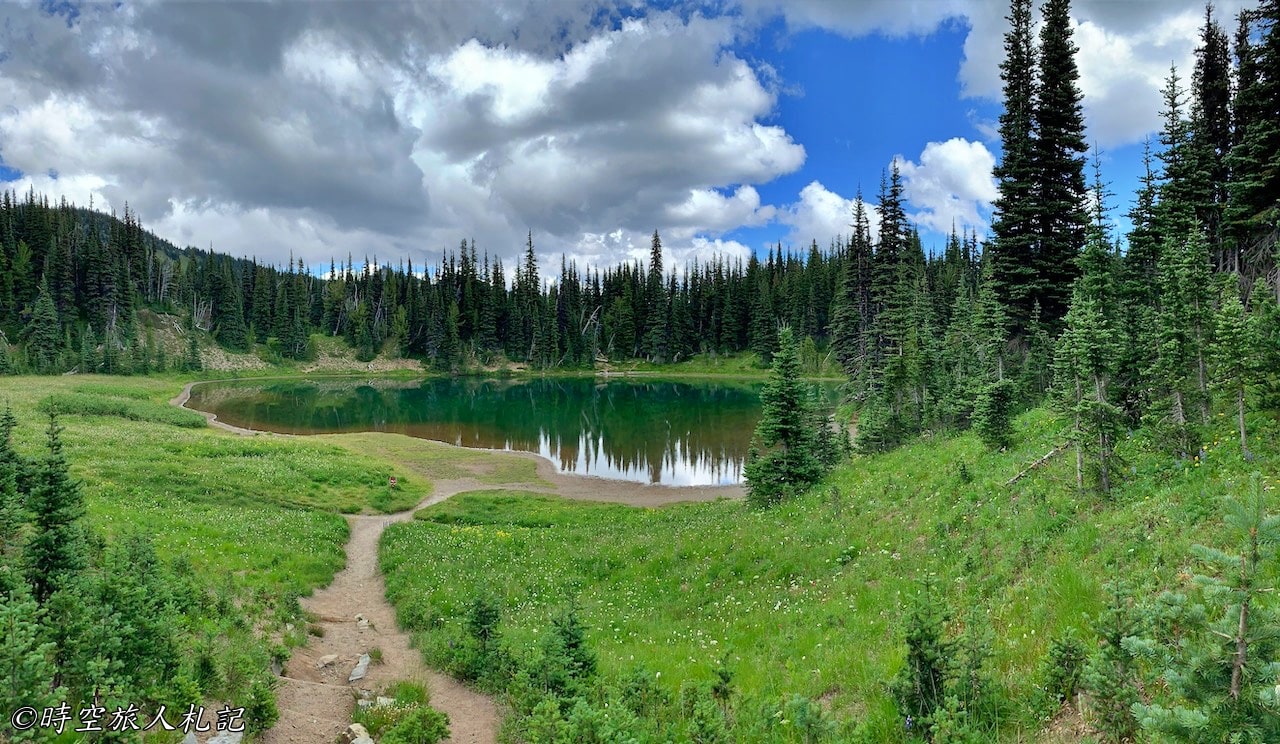
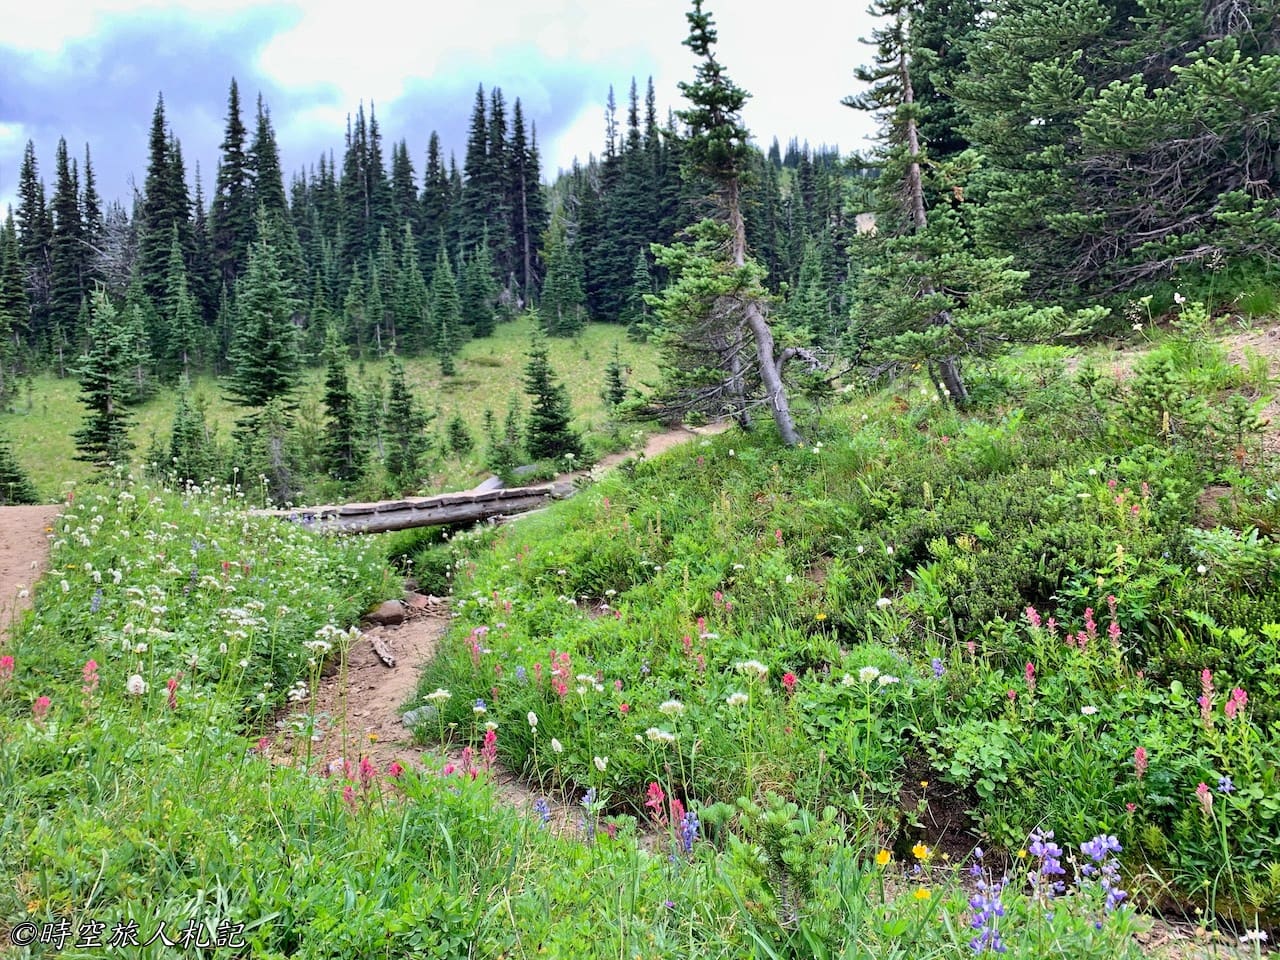
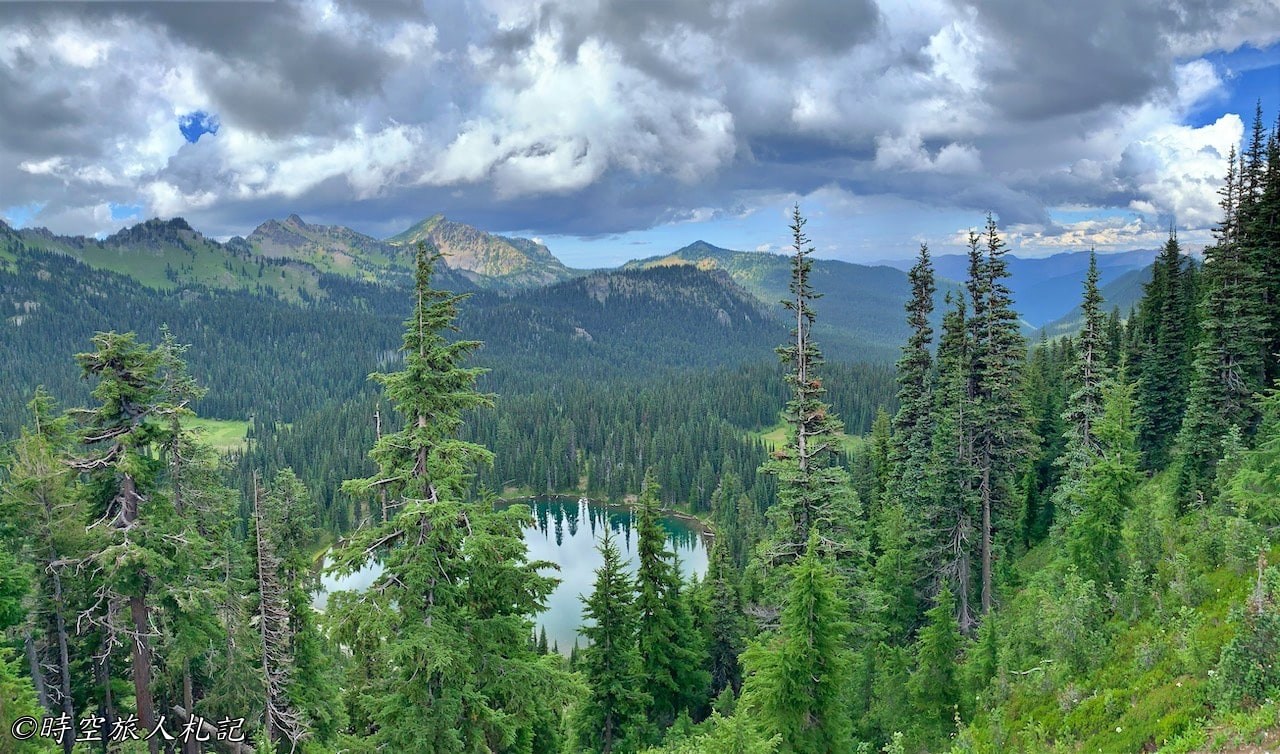
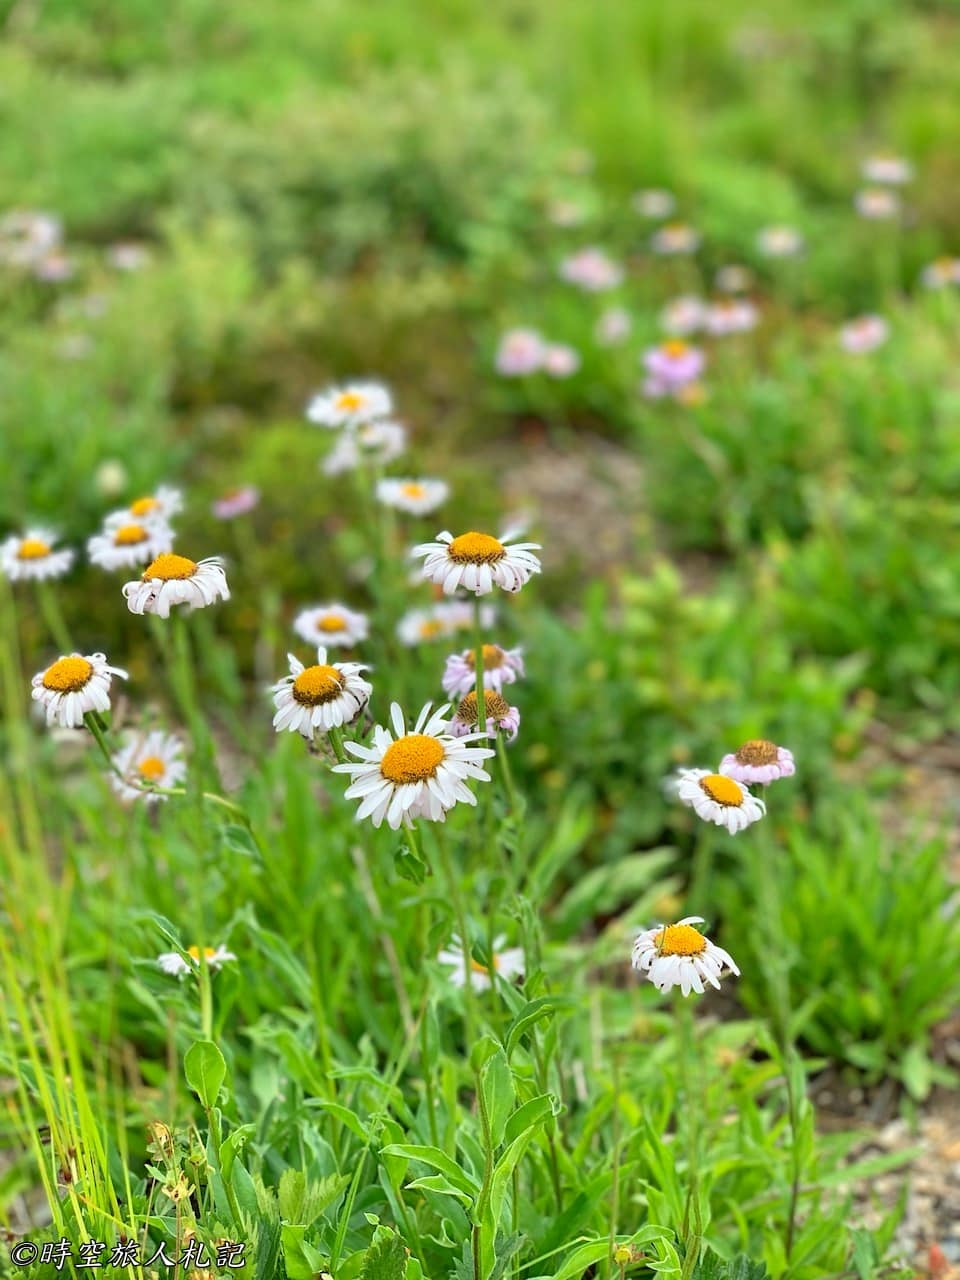
We retraced our steps from Mt. Fremont lookout to Frozen Lake. Originally, we planned to ascend Burrough Mountains, but as the clouds started rolling in, and the conditions became unfavorable, we decided to head back. We took the Wonderland Trail instead, which is a beautiful trail with relatively flat terrain. Wildflowers were in full bloom, and there were plenty of butterflies, making it feel like we were truly walking in Wonderland. The trail was so scenic that we unintentionally took a longer route, passing by Whiteriver Campground. The campground had a pleasant environment, and it felt like a great place to stay.

Reflection lakes
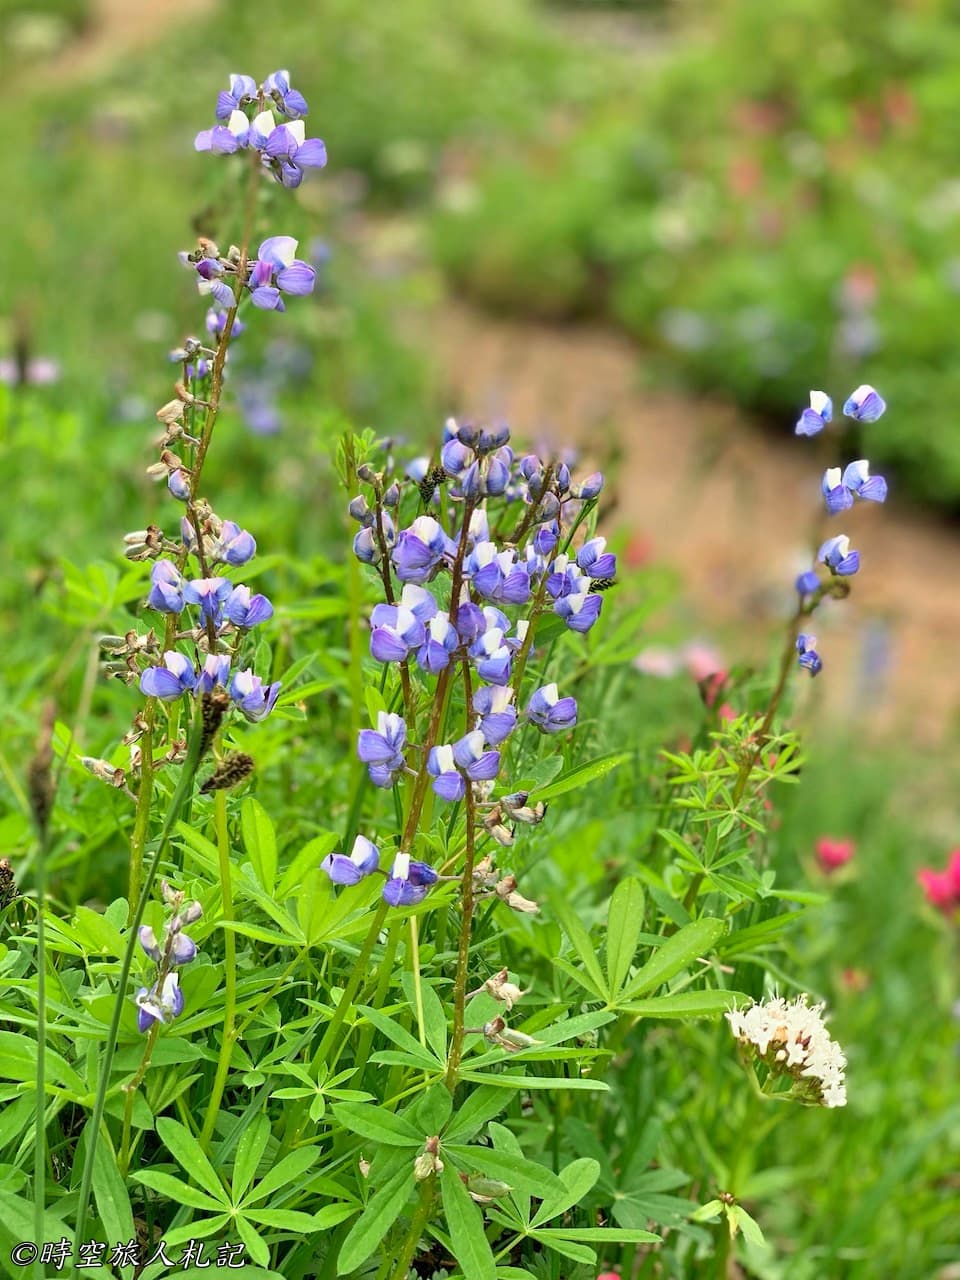
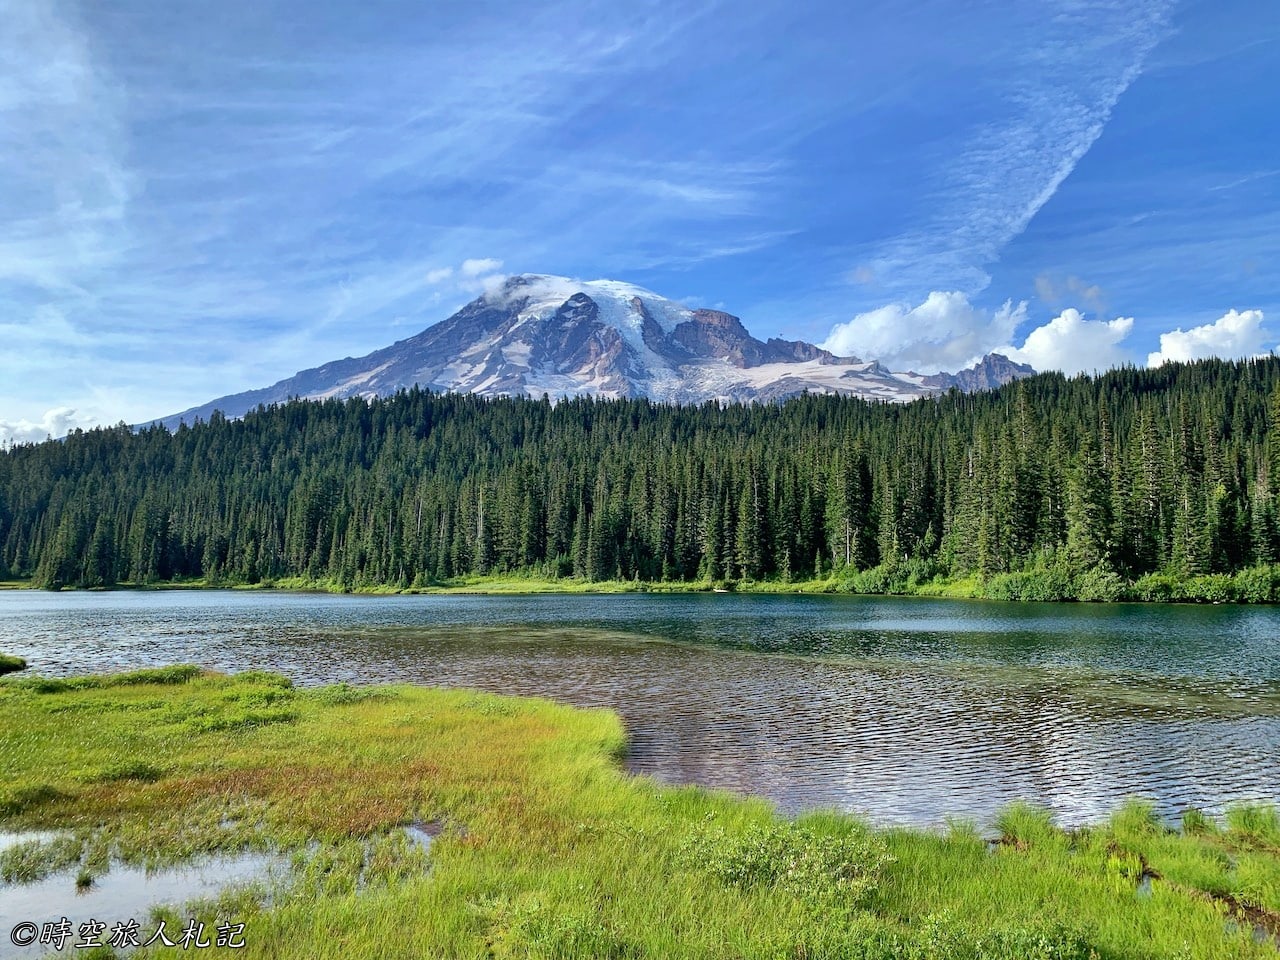
Near the Visitor Center, there's another trail called the Lakes Trail that leads to Reflection Lakes. In the afternoon, there wasn't a reflection on the lake's surface, but just seeing the forest, snow-capped mountains, and the lake itself was already satisfying. If you don't feel like walking, you can actually drive to the Reflection Lakes parking lot in just five minutes.
Paradise Area
The Paradise Area is the most popular region in Mt. Rainier. Within the Paradise Area, you'll find Paradise Inn, which is the best-located hotel in the park. Not far from the hotel is the visitor center, and the well-known entrance to the Skyline Loop Trail is also nearby. It's a convenient location with stunning views, which is why it's called Paradise. Due to the high number of visitors, parking can be challenging in this area. If you're not staying at the inn, it's important to leave early to secure a parking spot.
Paradise visitor center
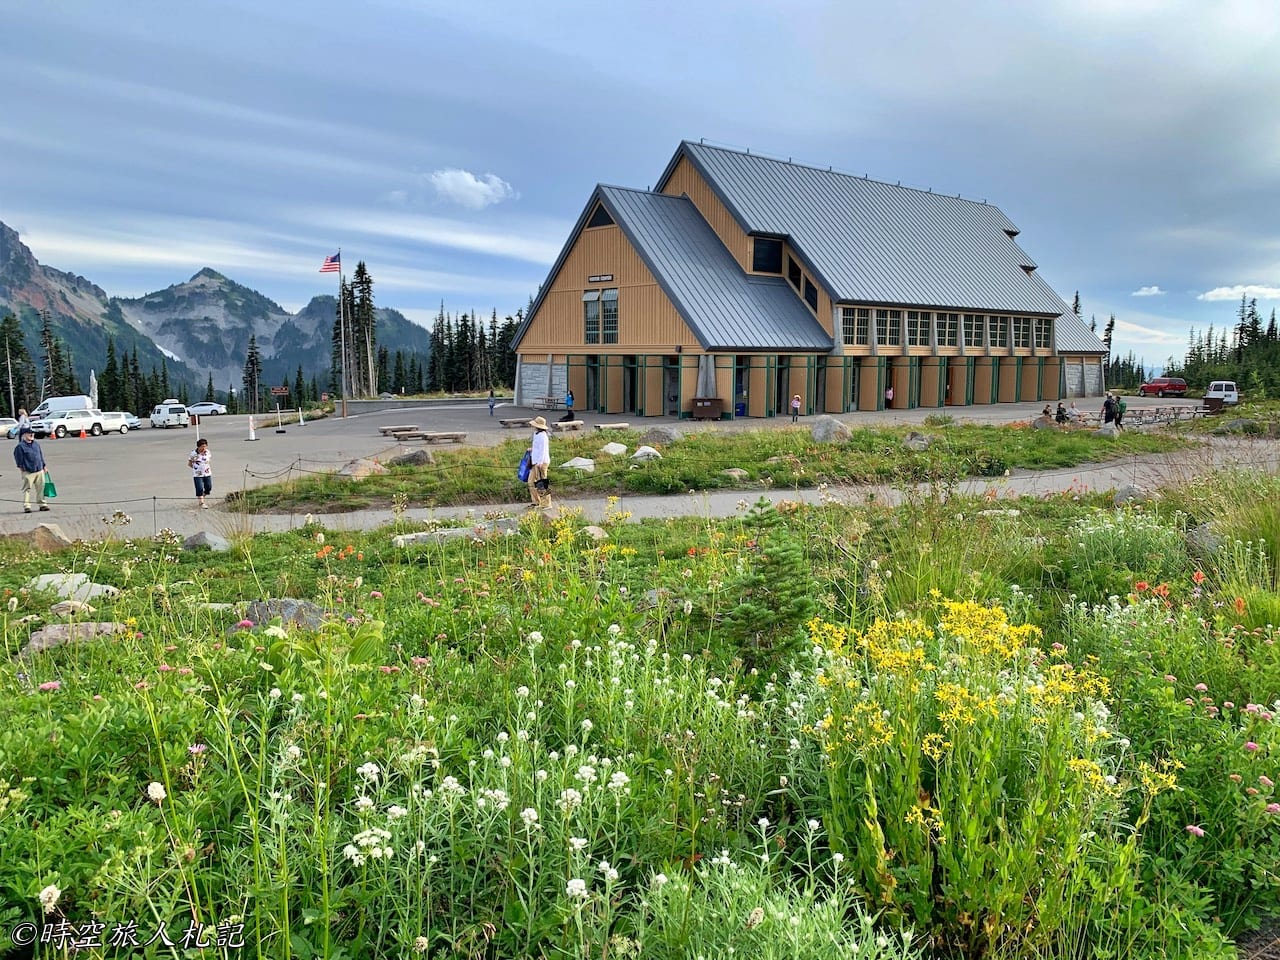
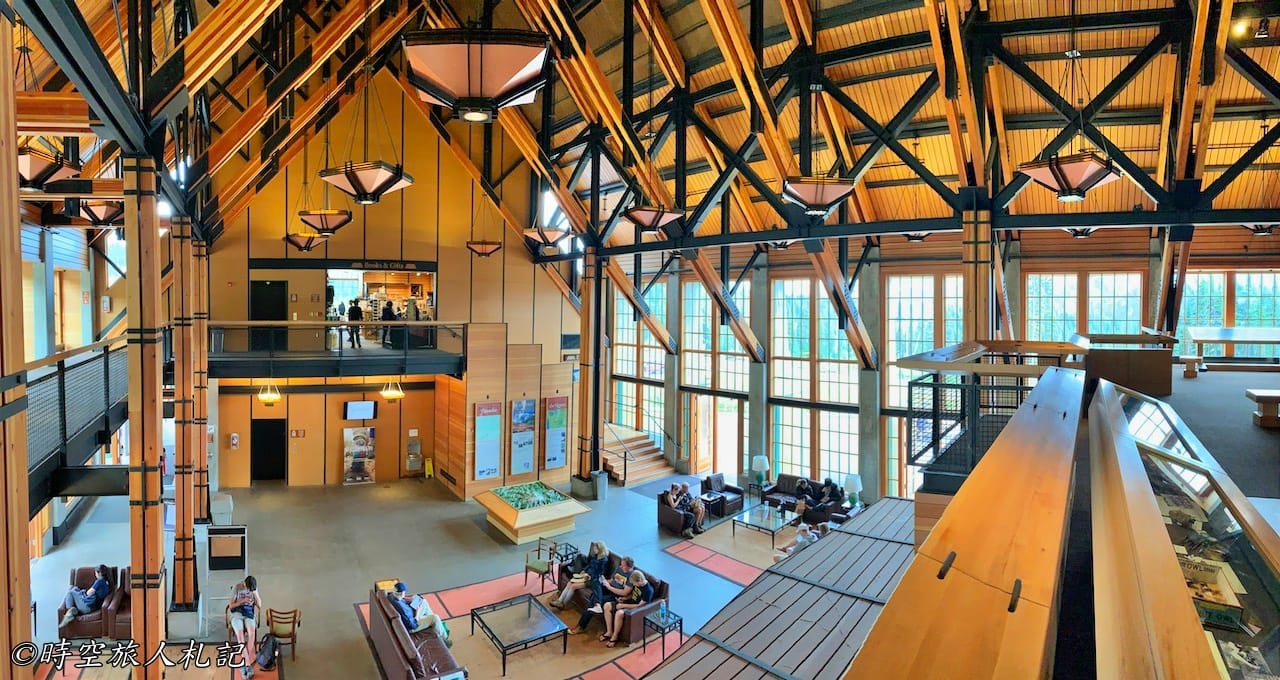
This visitor center is quite large and worth a visit. Its history is quite interesting as well. Before the current pointed-roof visitor center that we see today, it used to be a grand building deliberately designed with a circular roof. The circular dome looked very beautiful, but it had a fatal flaw - it would accumulate snow. Because of the harsh winter climate at Mt. Rainier, the snow would accumulate to the point of damaging the roof. To address this issue, the roof was designed with a heating system. However, after a few years of dealing with the high heating costs, the park authorities decided that it would be more cost-effective to demolish and rebuild the visitor center in its current simple pointed-roof design.
Skyline trail
The Skyline Trail is a must-visit hiking trail for visitors to Mt. Rainier. The Paradise area where it's located is the most popular region in the entire Mt. Rainier National Park, and within that, the Skyline Trail is one of the most popular routes. To make the most of your visit to the Skyline Trail, it's best to start your hike before noon when there are fewer people on the trail, and the weather is typically better. The high mountain terrain can be more susceptible to adverse weather conditions in the afternoon. On our trip, the first thing we did on the second day after breakfast was to hike the Skyline Trail.
The entrance to the Skyline Trail is right next to the Paradise Visitor Center, and the morning weather was perfect. Wildflowers were in full bloom, making it the most beautiful trail among the Mt. Rainier trails.
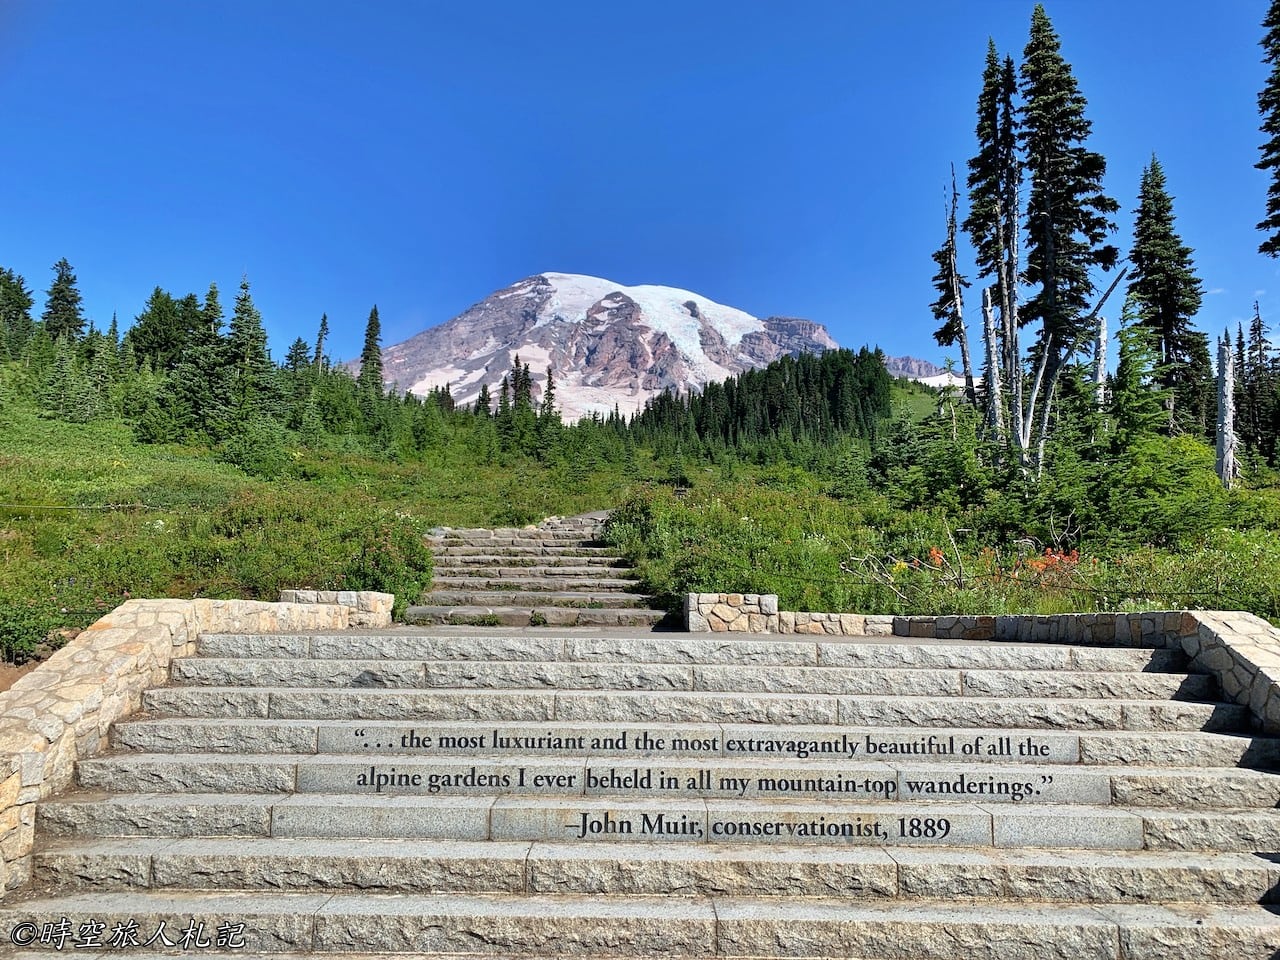
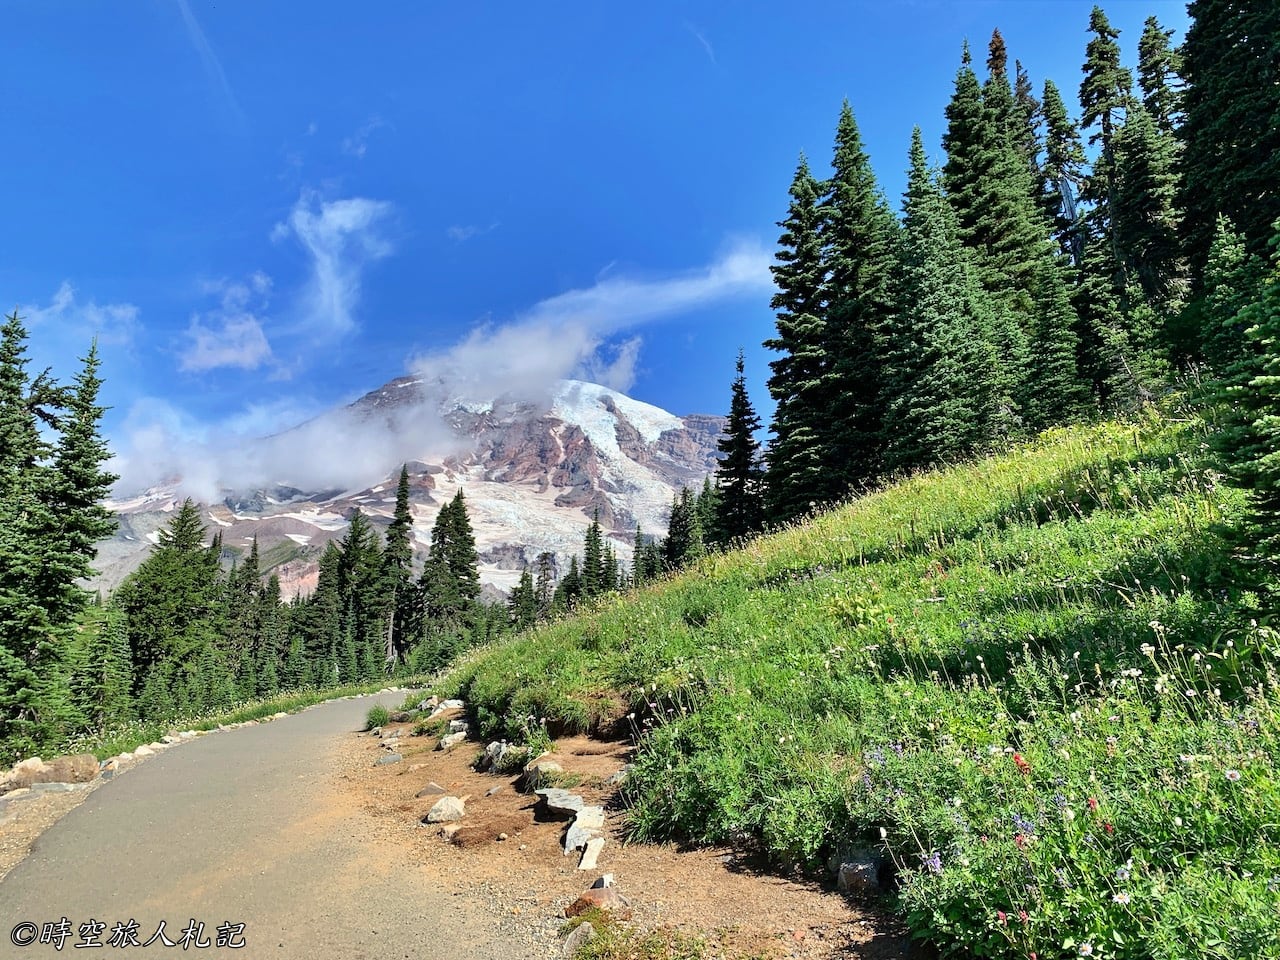
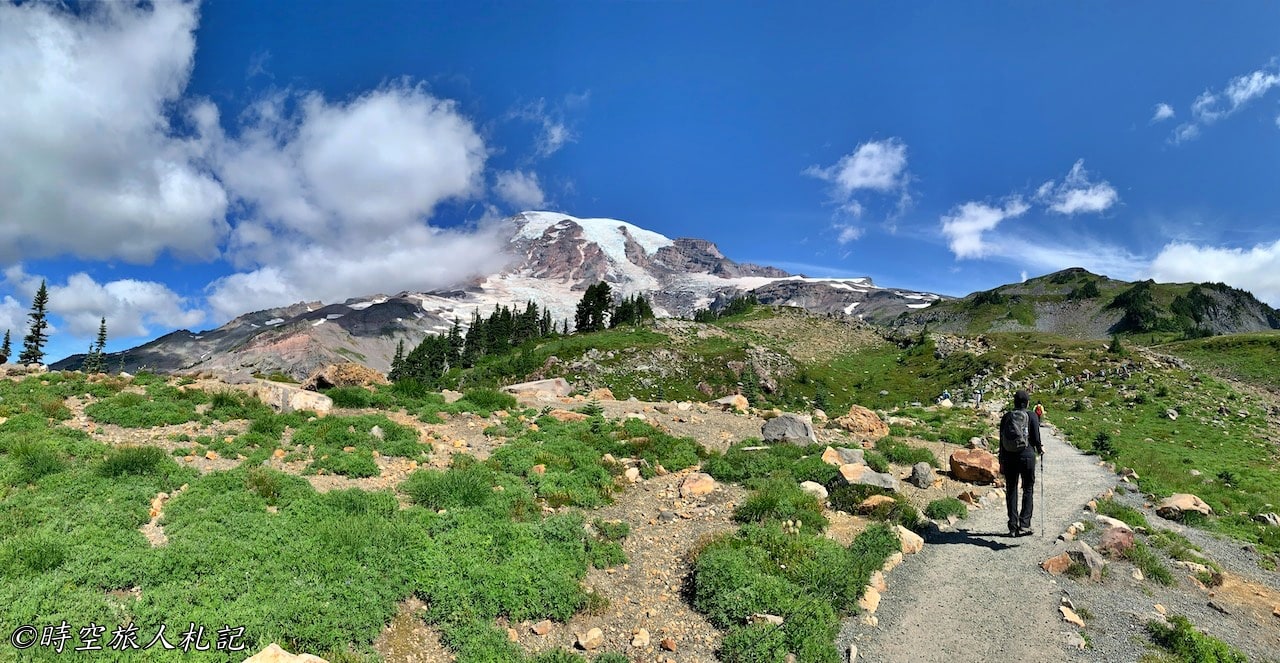
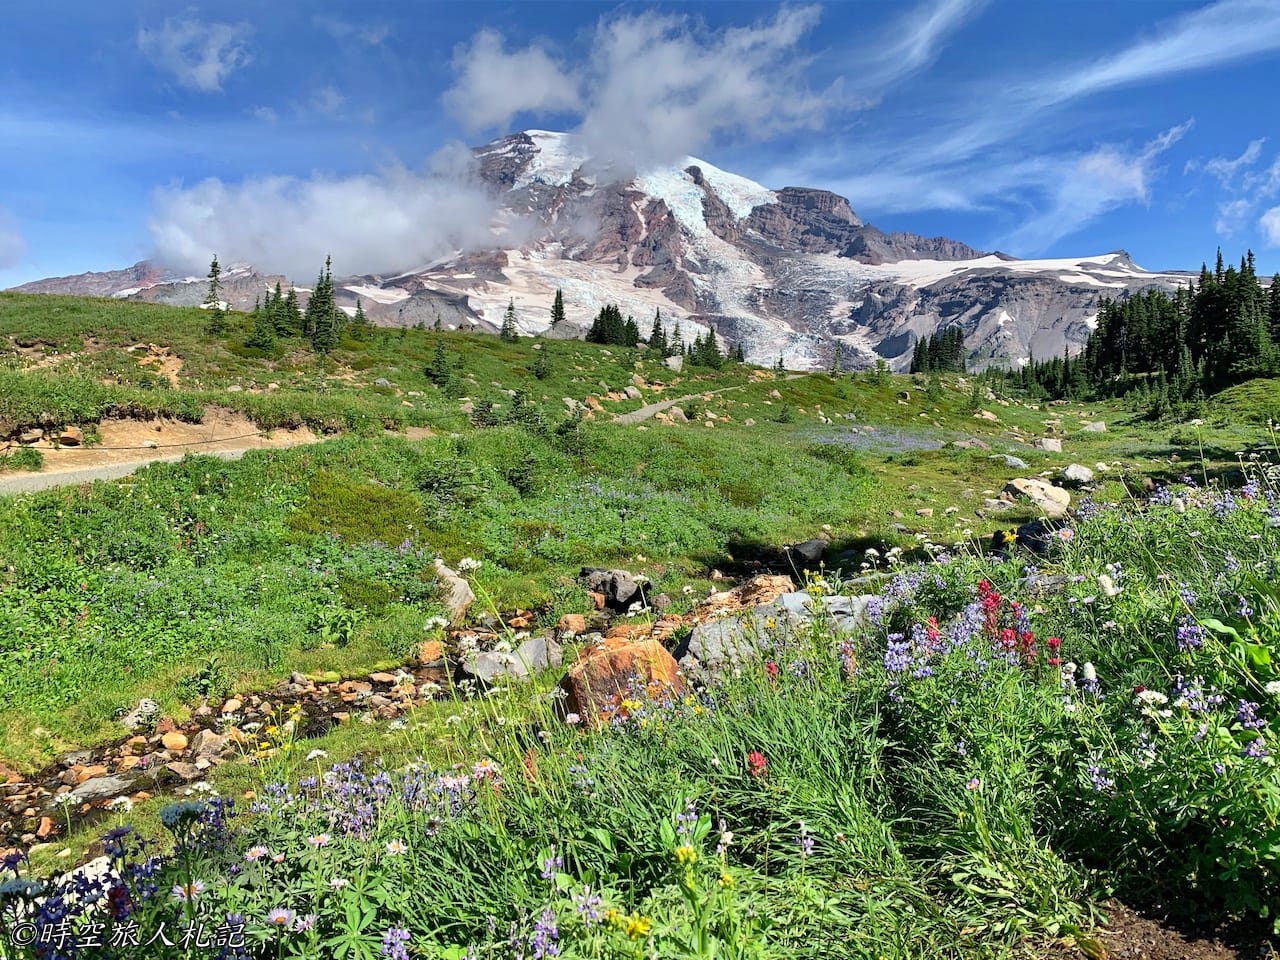
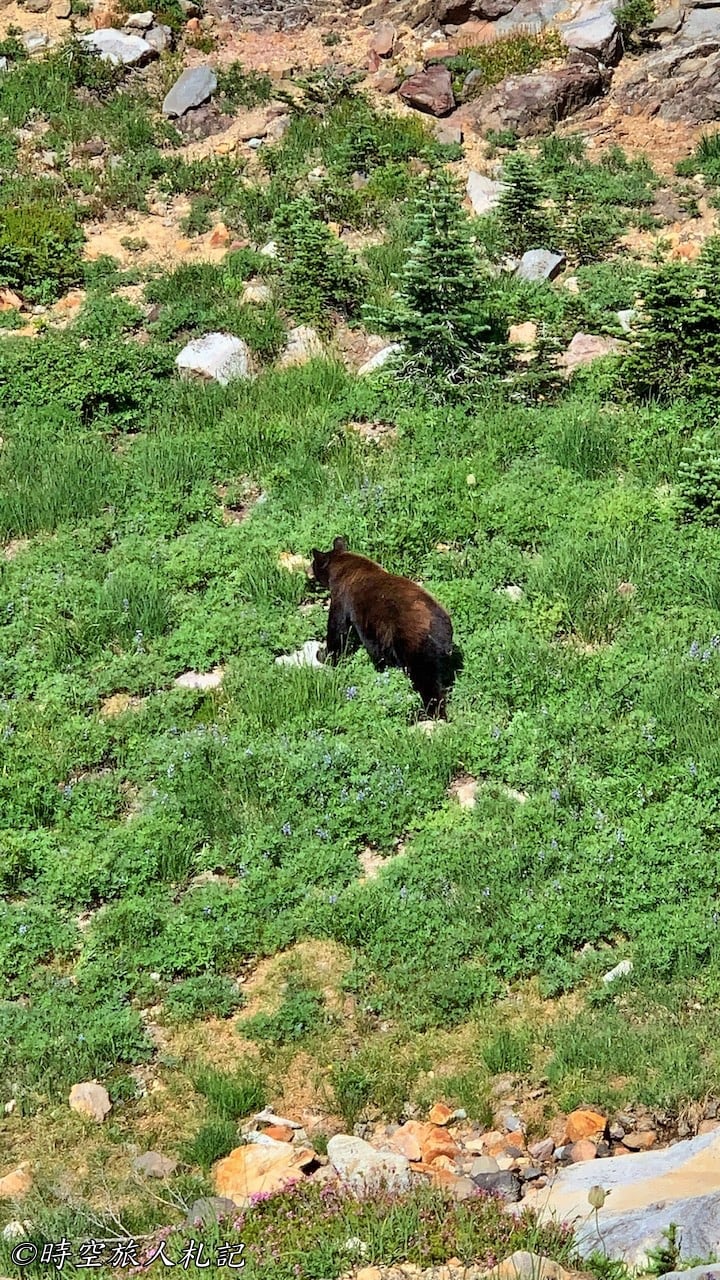
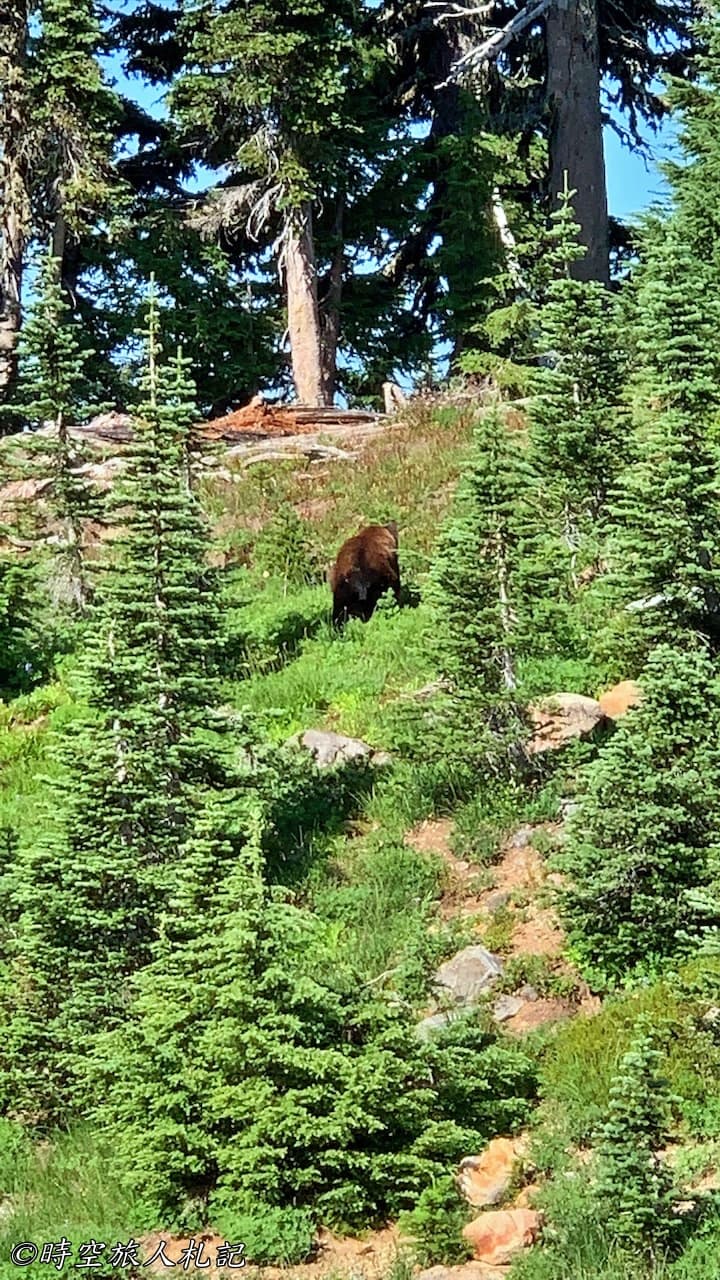
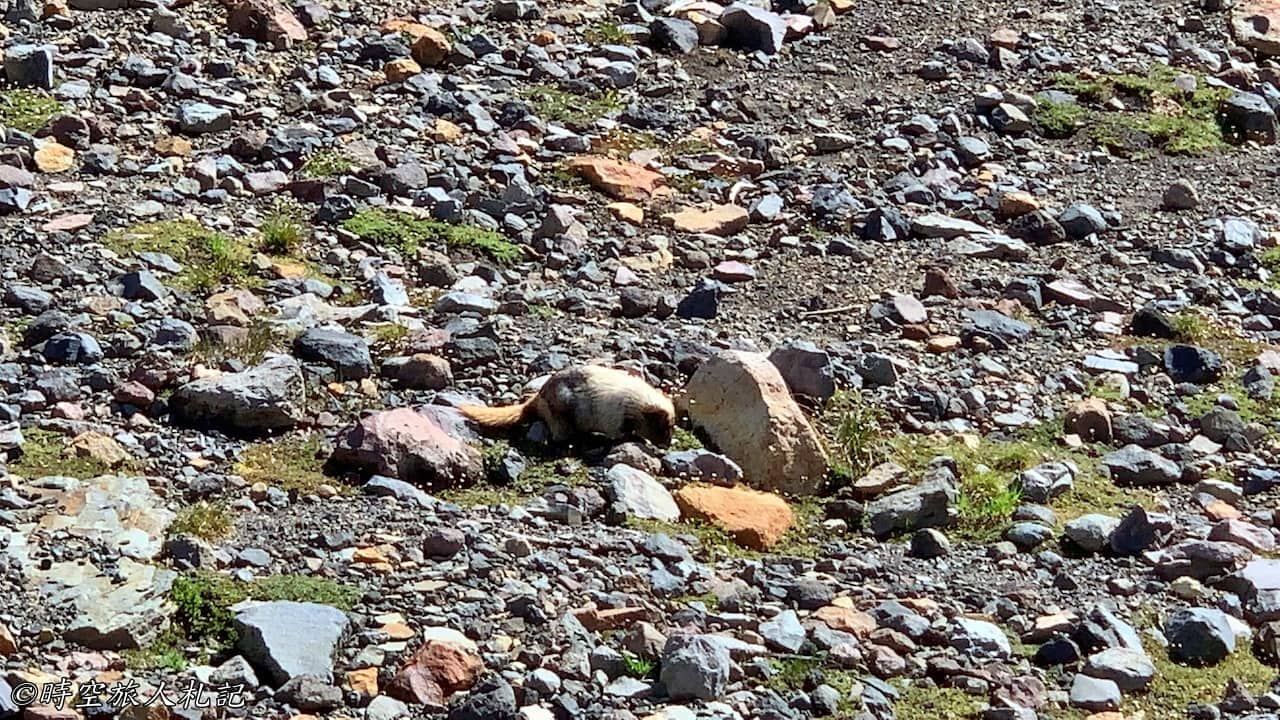
The wildlife is quite active in the summer. On the way up the mountain, I saw a bear and a groundhog looking for something to eat.
Nisqually Glacier
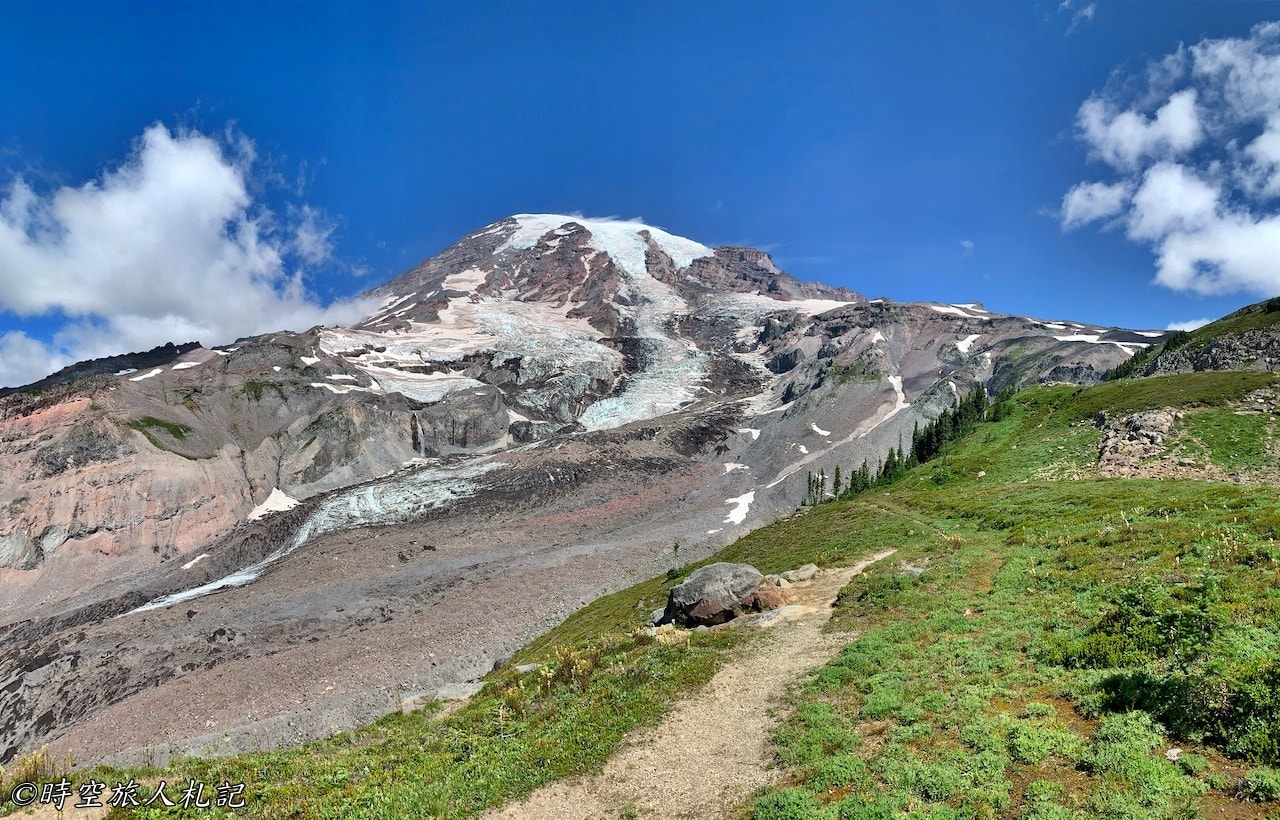
Most of the way up the mountain, you'll have views of the Nisqually Glacier. There's a section along the trail that gets closer to the glacier. While it may seem like there's no snow on the mountain's peak during the summer, beneath the visible gray gravel, there's ice. As you hike in the summer, the trail may become warm, but once you reach the vicinity of the glacier, it's like standing in front of a refrigerator, with a cool breeze blowing.
Panorama point
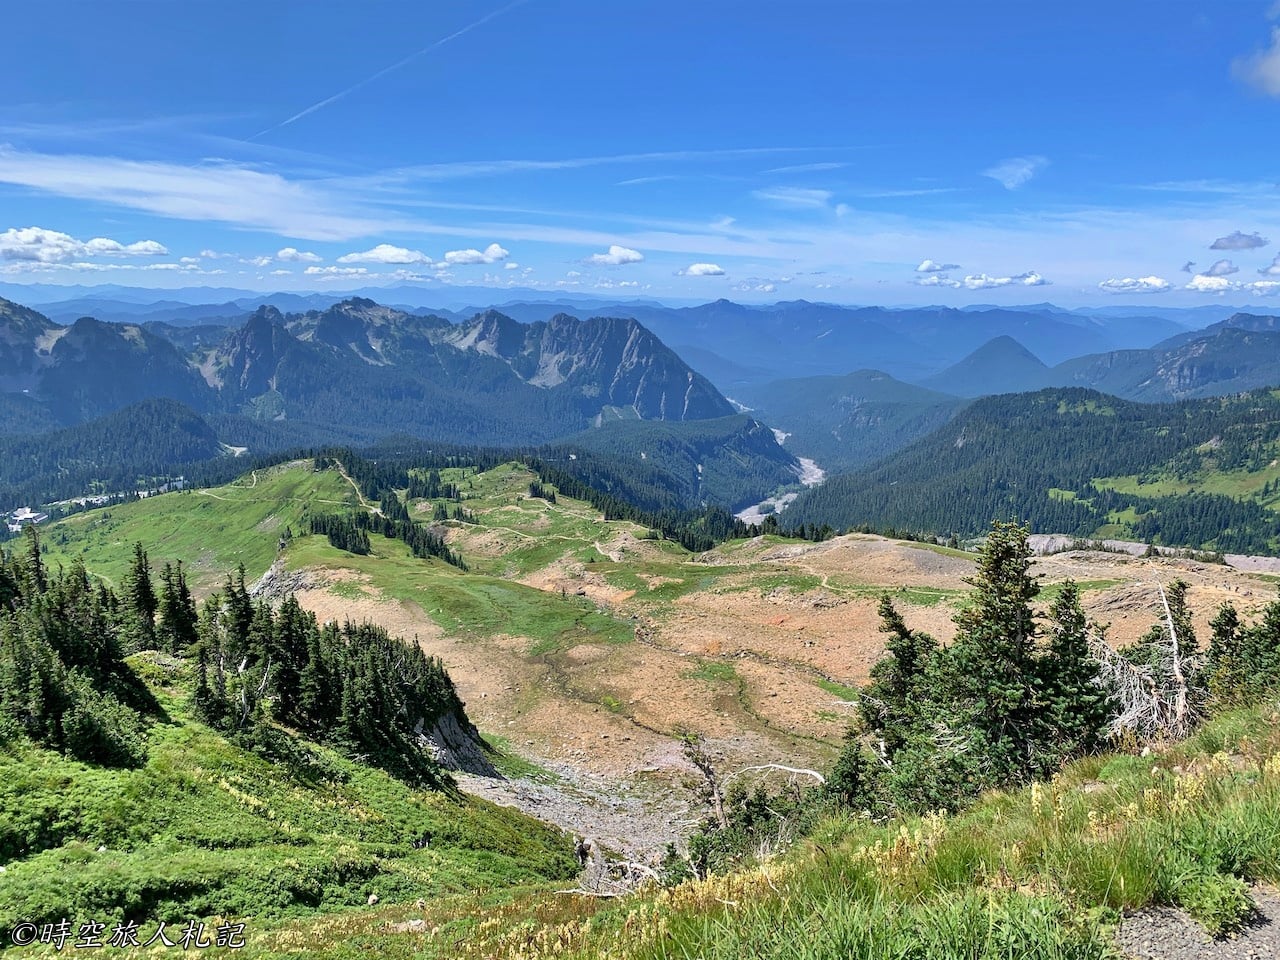
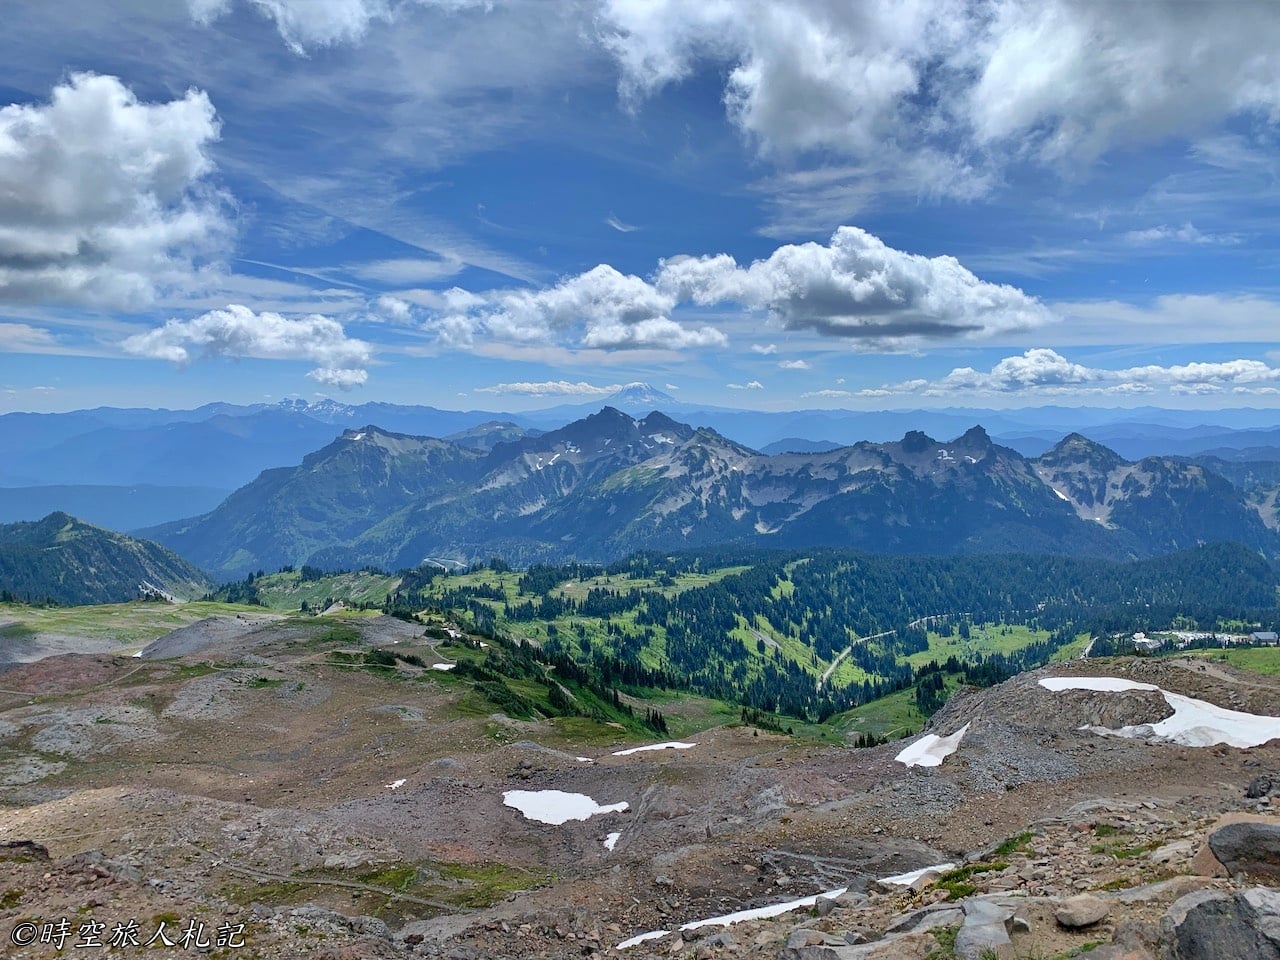
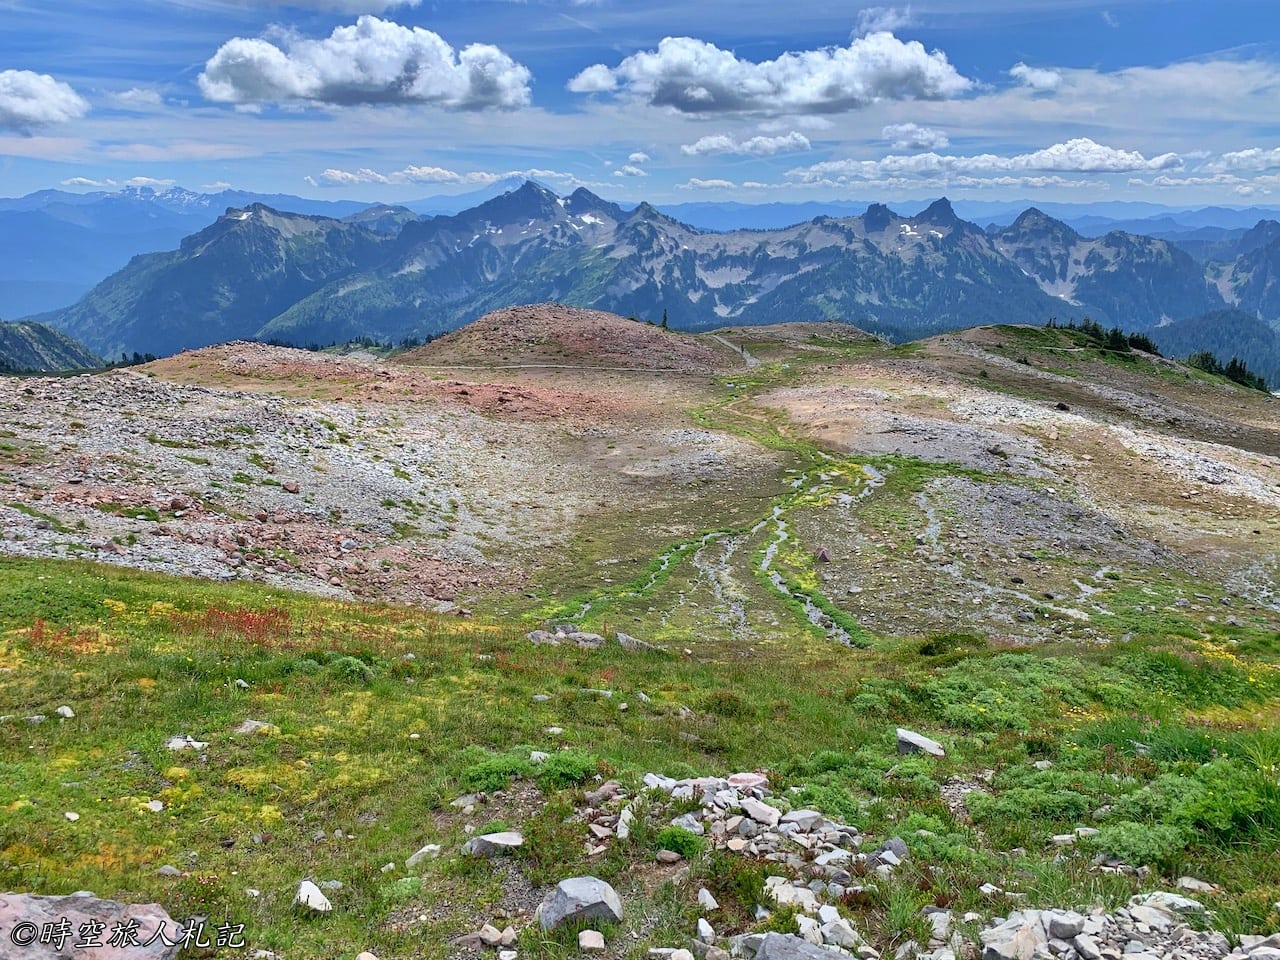
Reaching the summit, you definitely have to take a break at Panorama Point. The panoramic views from Panorama Point are absolutely stunning. In the distance, you can see Mount St. Helens, which exhibits a classic U-shaped valley formed by glacier erosion and looks truly spectacular.
High skyline trail
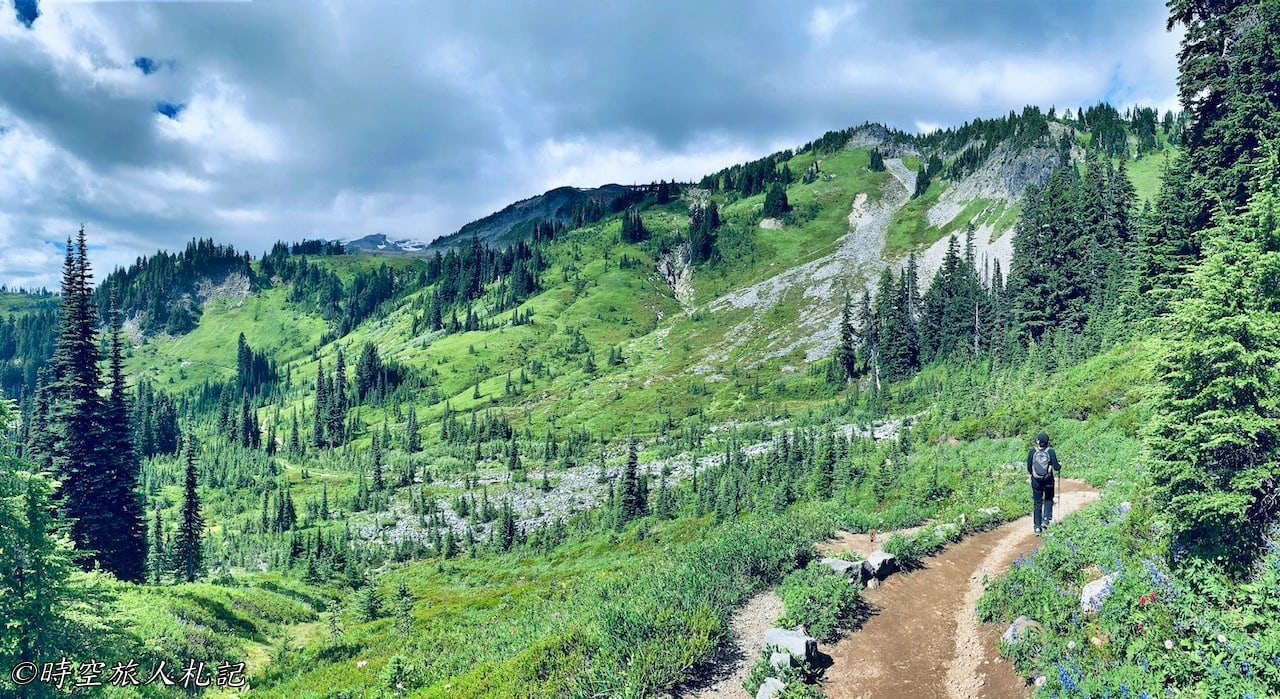
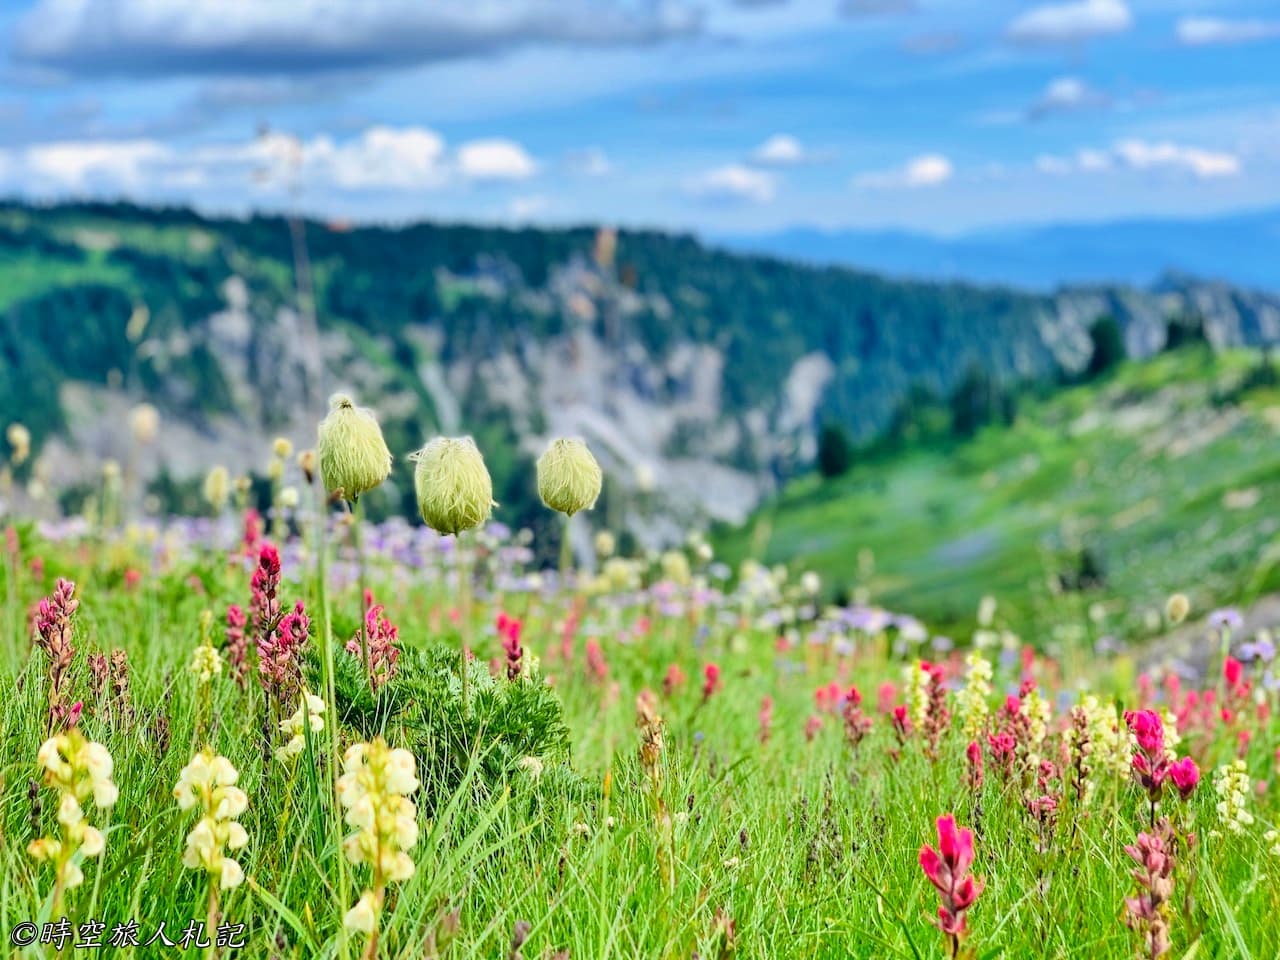
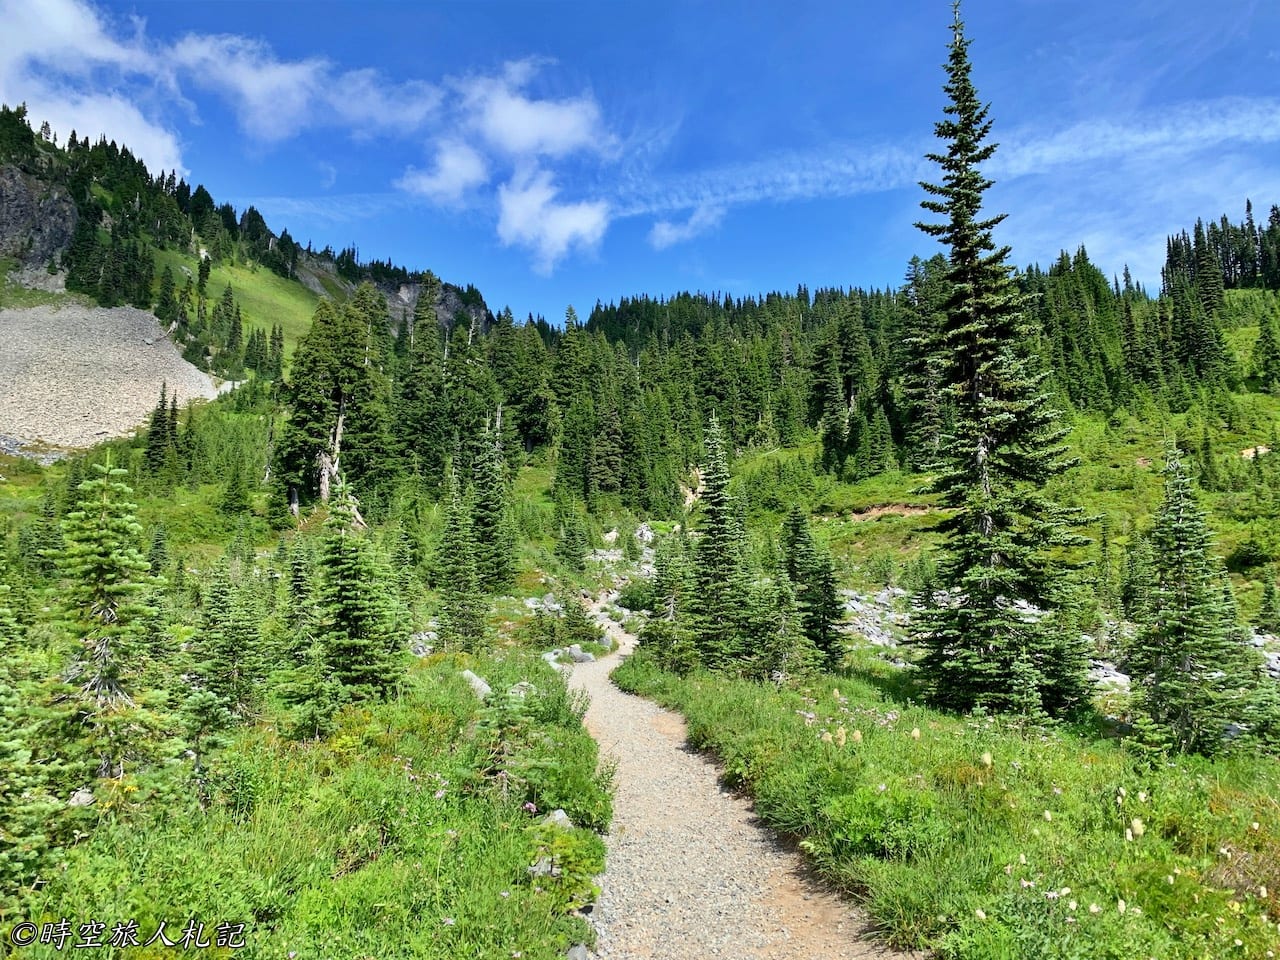
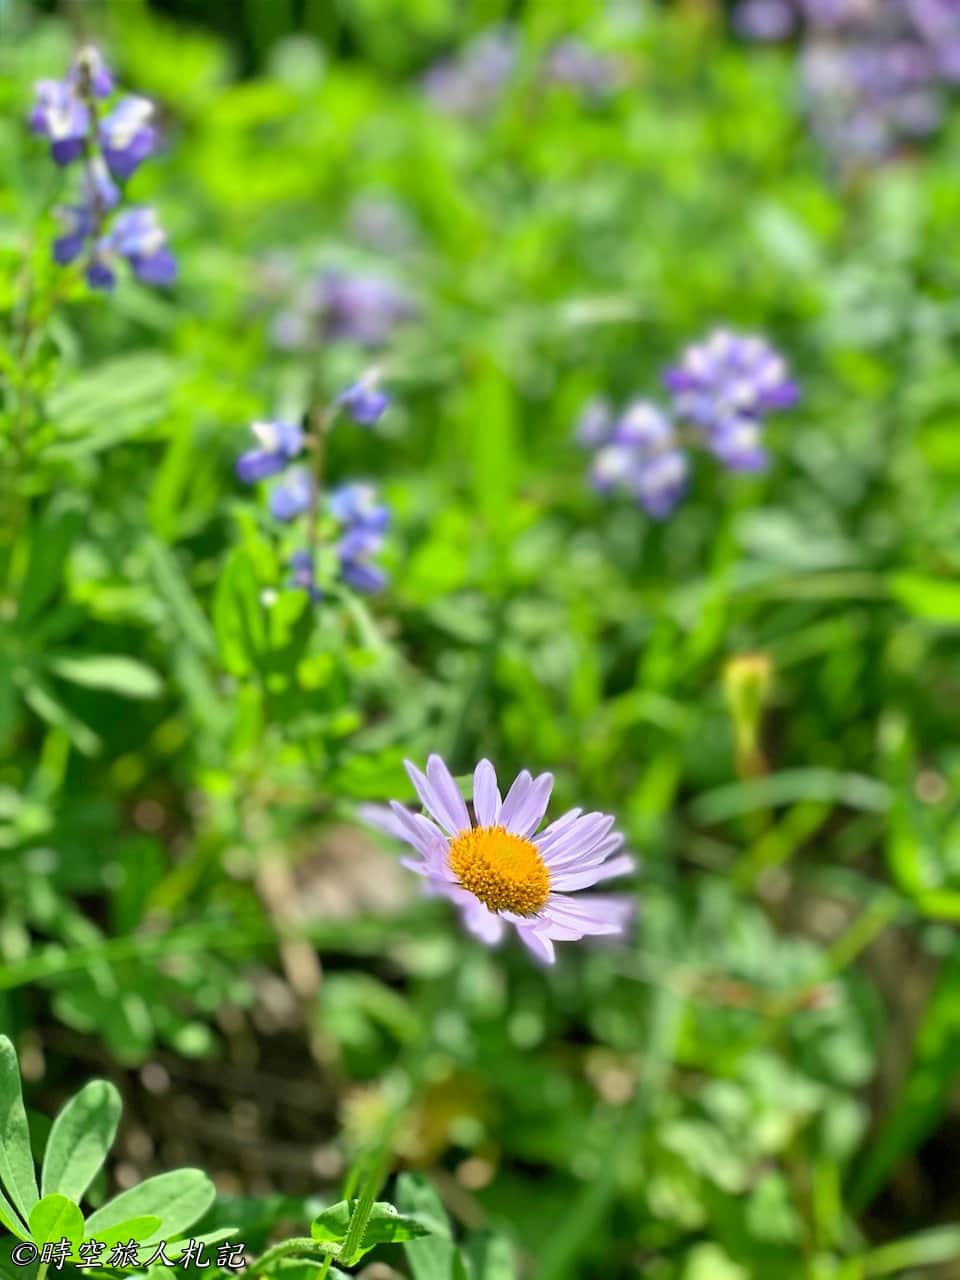
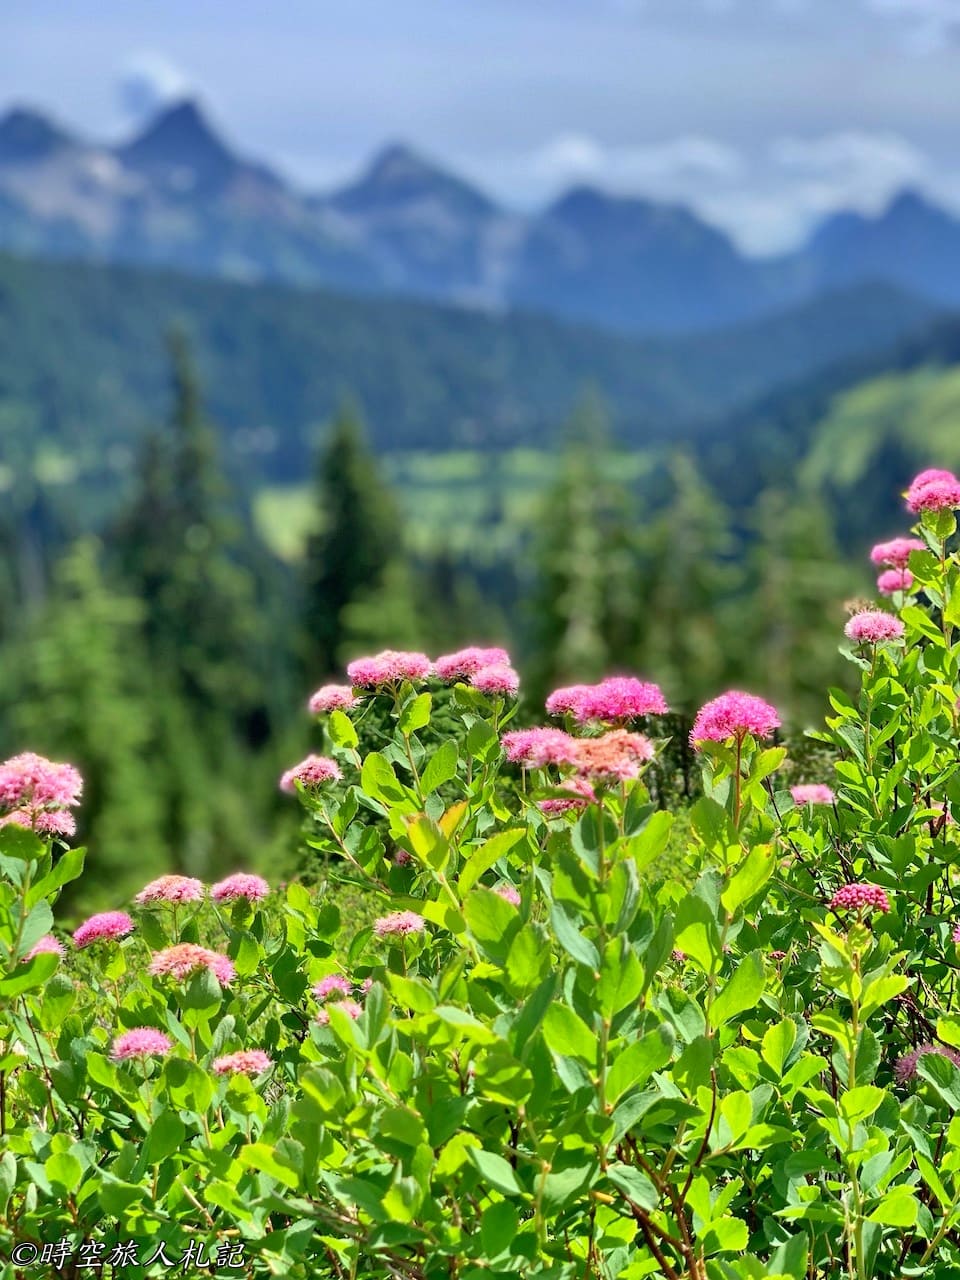
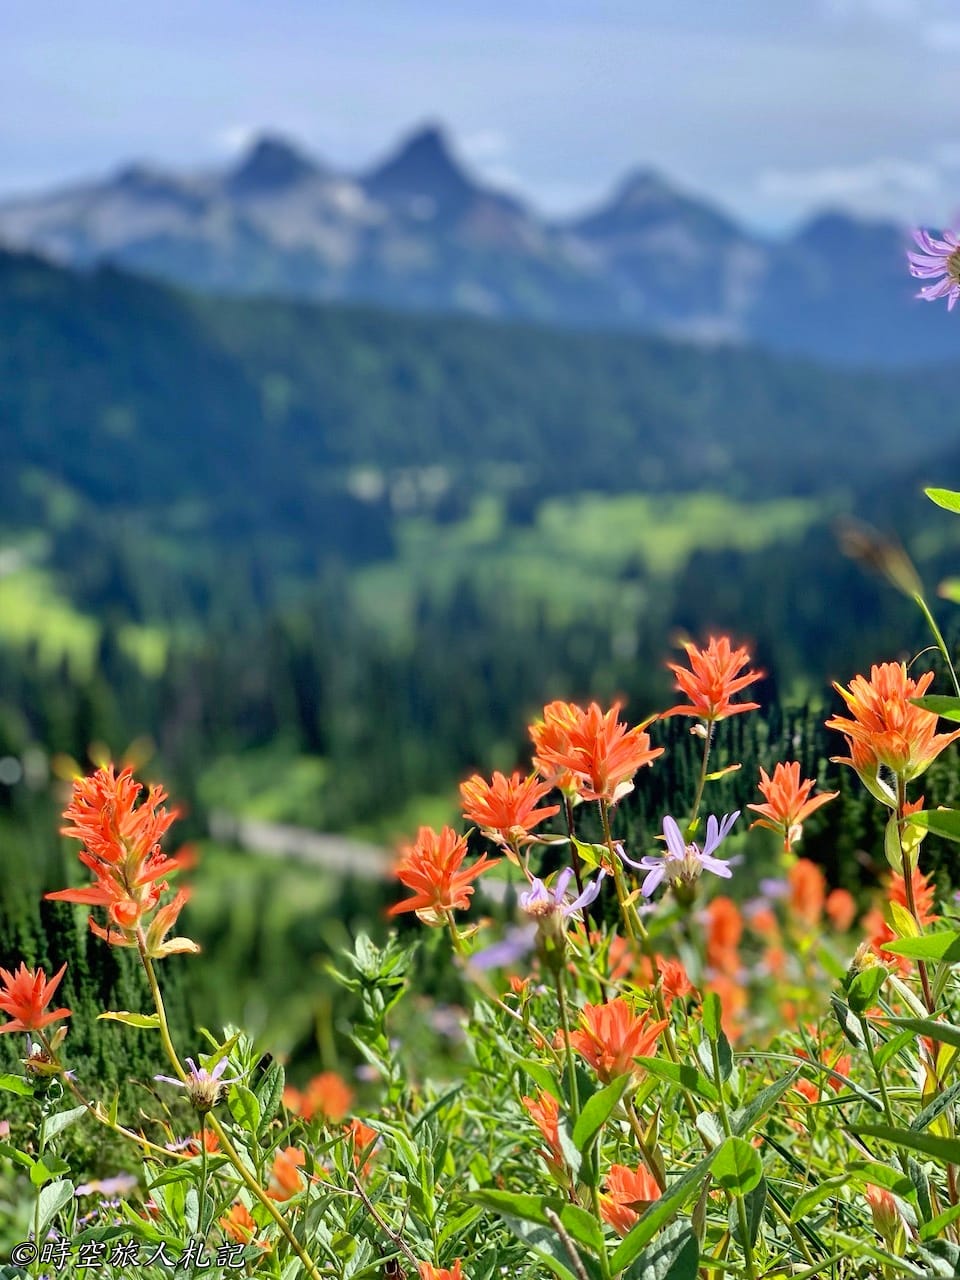
The Skyline Trail is depicted as a 5.5-mile loop on the map. Originally, we were supposed to hike back from Panorama Point, but there was a section of the trail that was still covered by melting snow and closed off. So, on that day, we ended up taking the longer High Skyline Trail, making the total distance around 7 miles. The trail was steep, with an elevation gain of up to 1500 feet. Although it was a bit tiring, we unexpectedly found the scenery along the way to be very rewarding. If you have the stamina, I highly recommend taking this route. There were several spots where wildflowers were in full bloom, and we were so engrossed in taking photos that we completely forgot about our fatigue. It truly exemplified why Mt. Rainier's slogan is "where glaciers meet flowers."
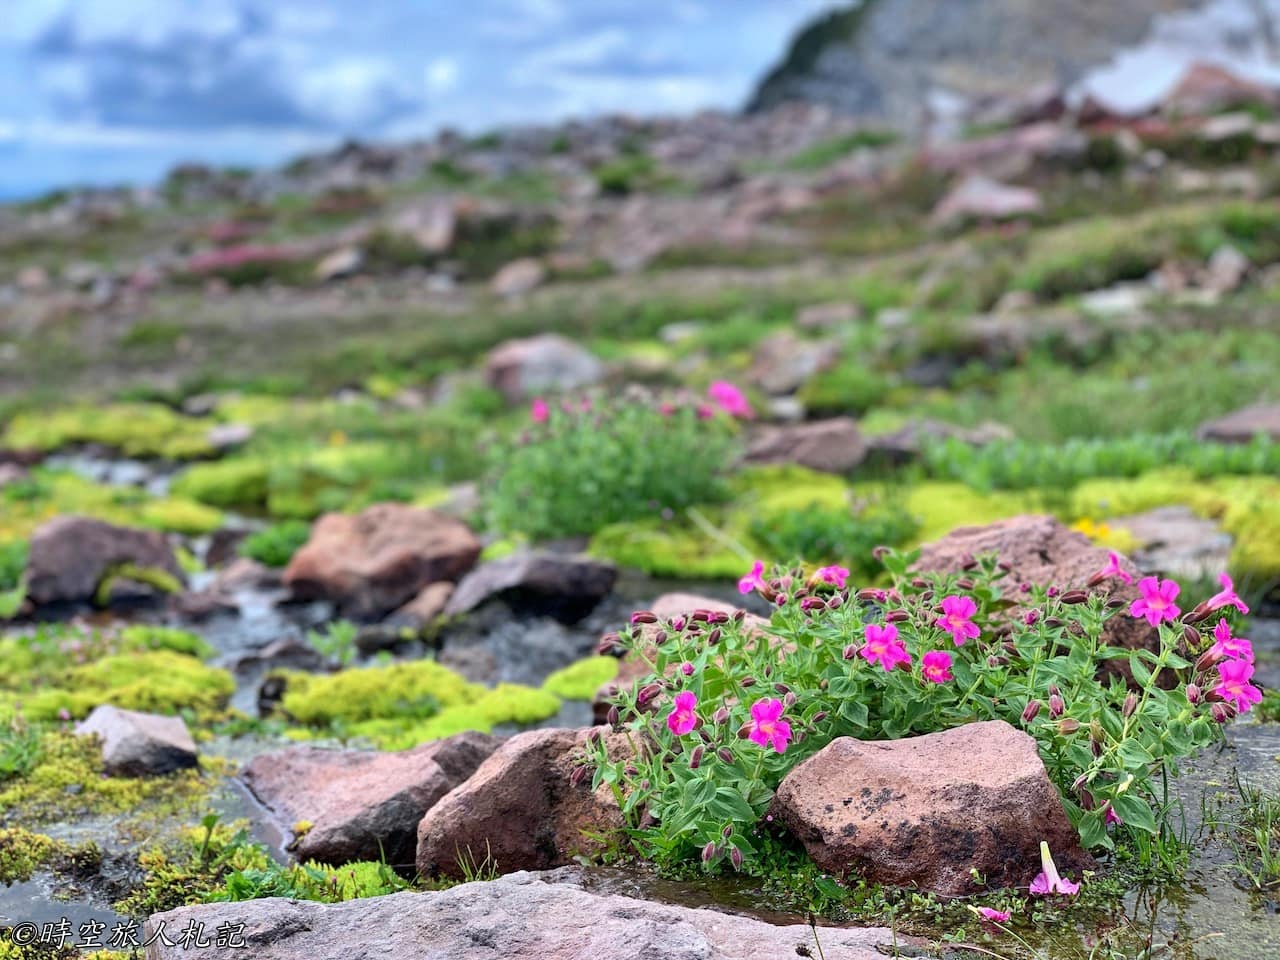
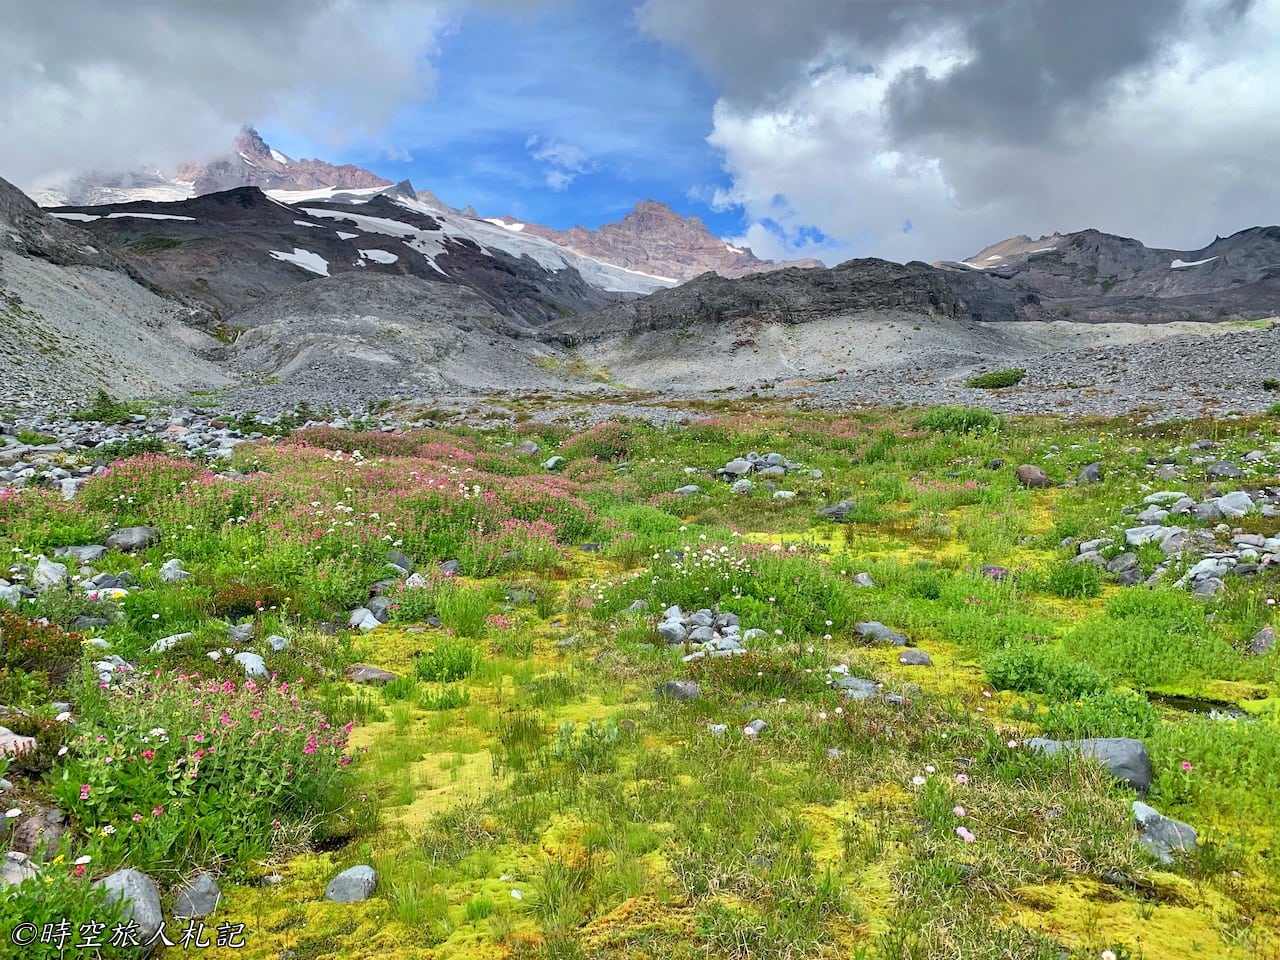
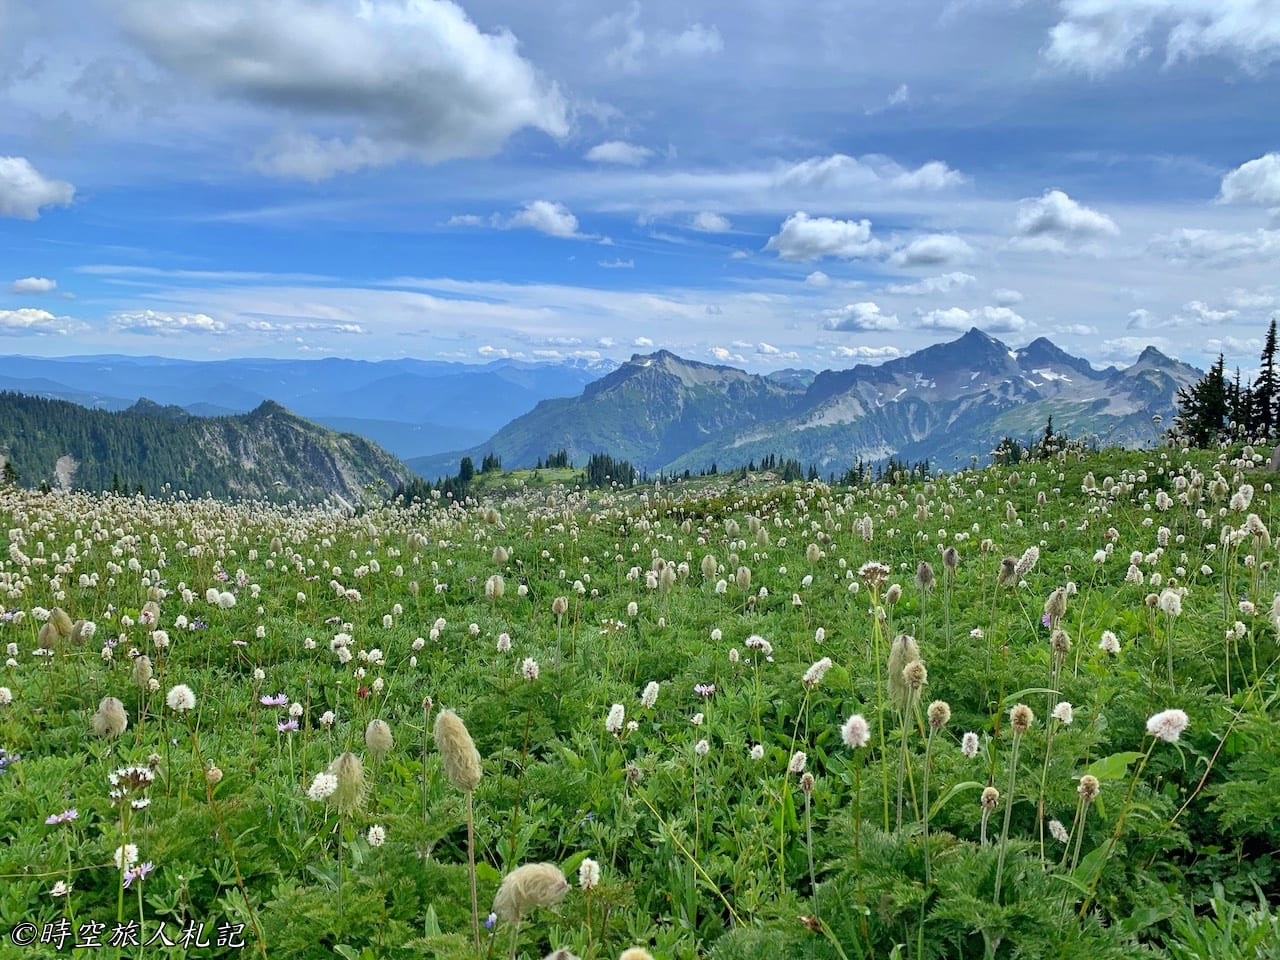
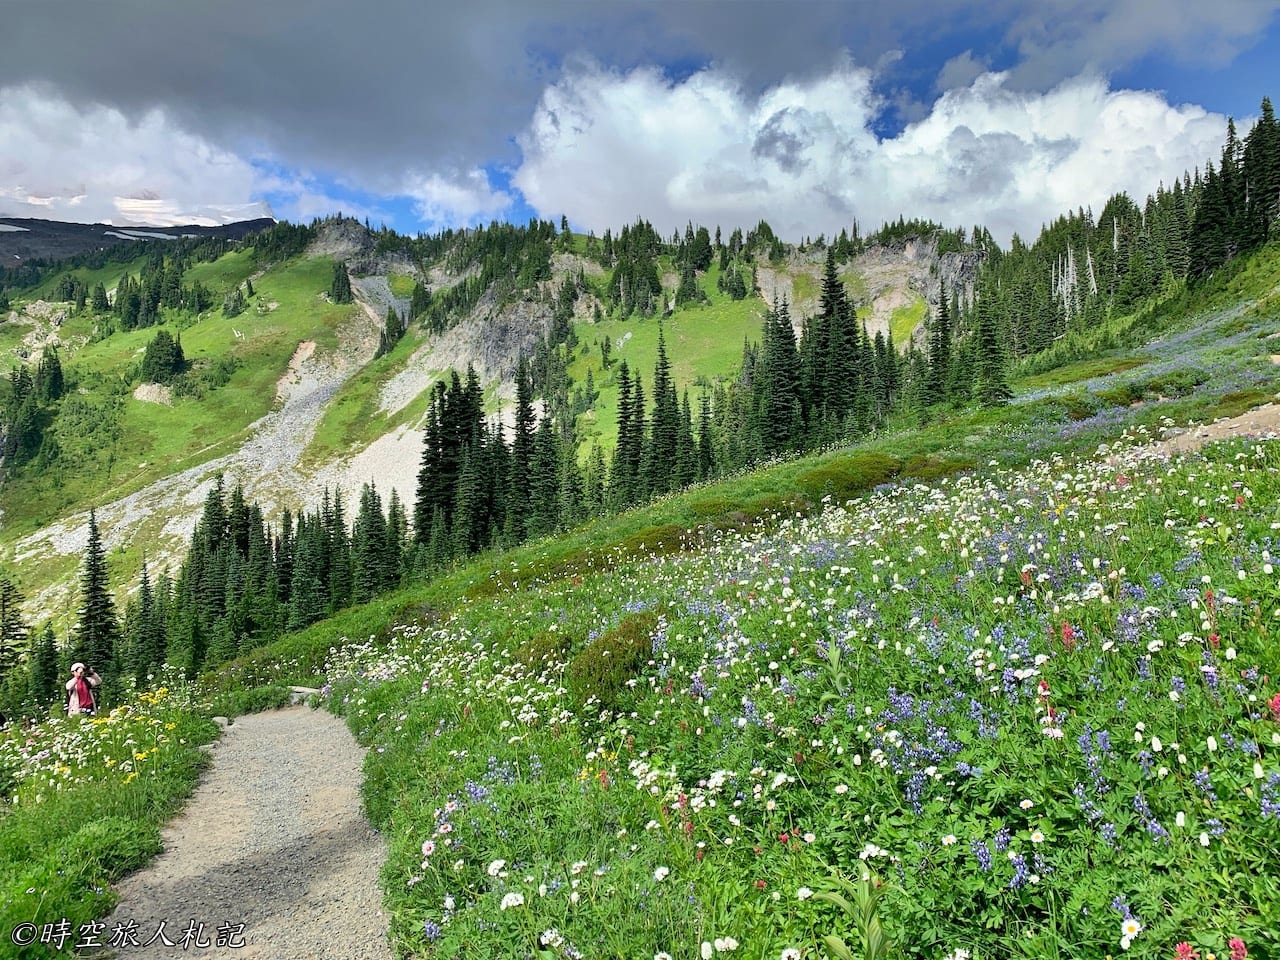
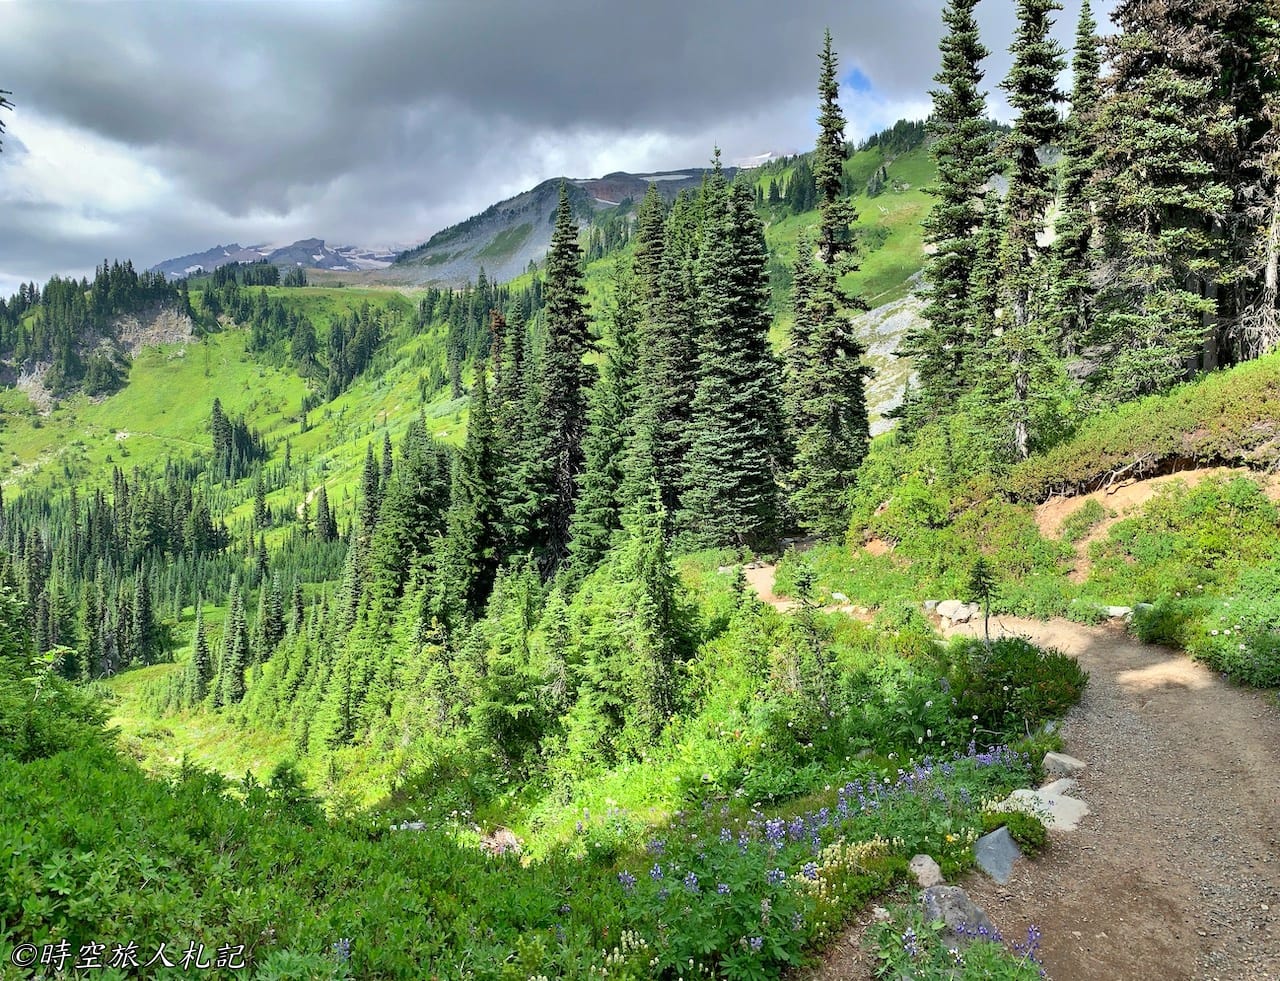
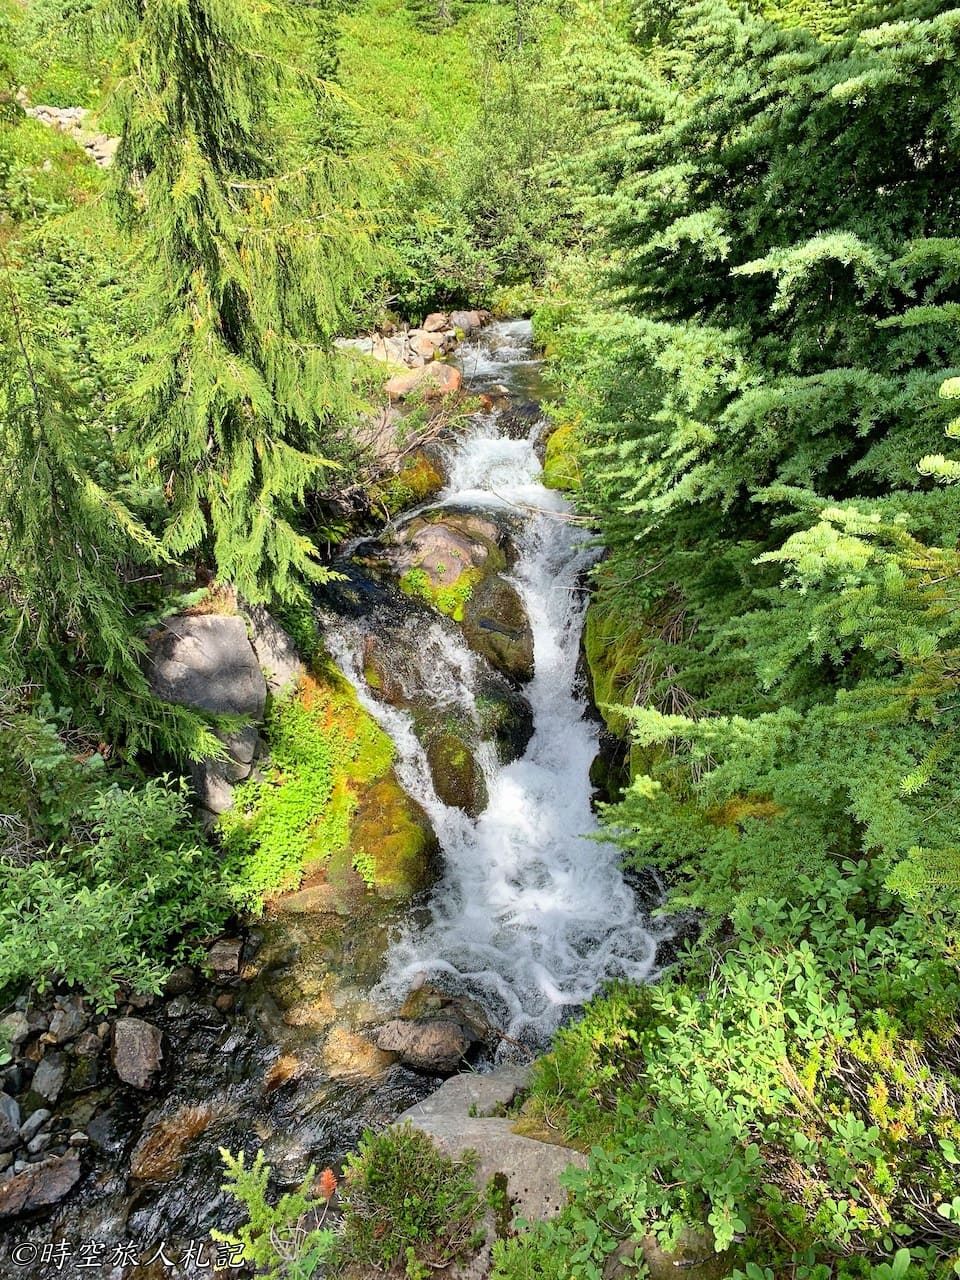
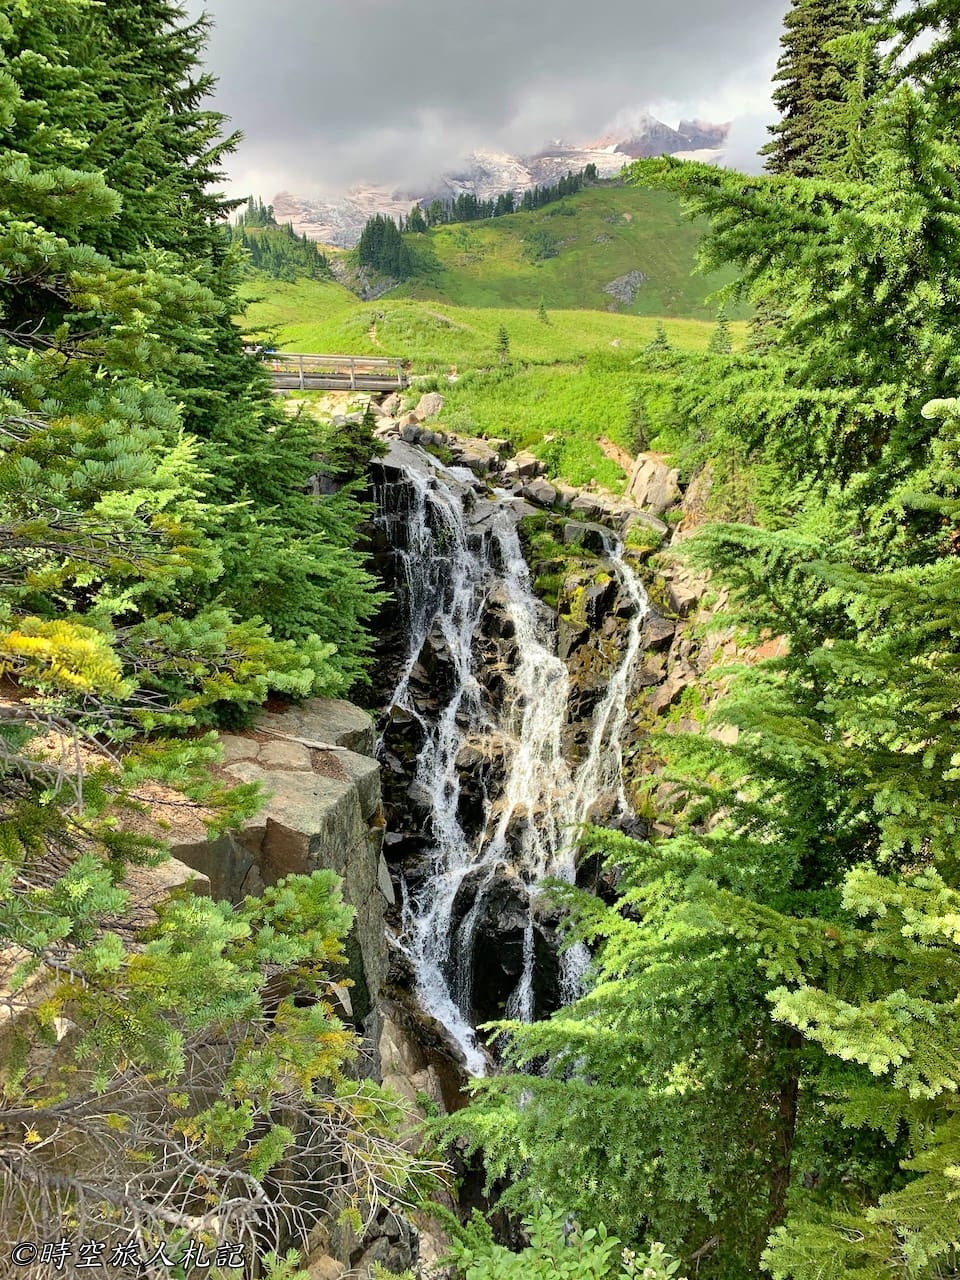
As you get closer to the base of the mountain, you can also see several small waterfalls.
Nisqually Vista Trail
Beside the lower parking lot at the visitor center, there's a smaller loop trail called the Nisqually Vista Trail, which is only 1.2 miles in length, making it much simpler compared to the 7-mile Skyline Trail. This trail is quite enjoyable and offers views of the glacier as well. In the morning, it's peaceful, and you can even hear the rumbling of the glacier in the quiet surroundings. It's important to follow the trail in a counterclockwise direction for the best views. As we circled back, the clouds gradually cleared, and the wildflowers along the path were beautiful, making for a particularly delightful mood.
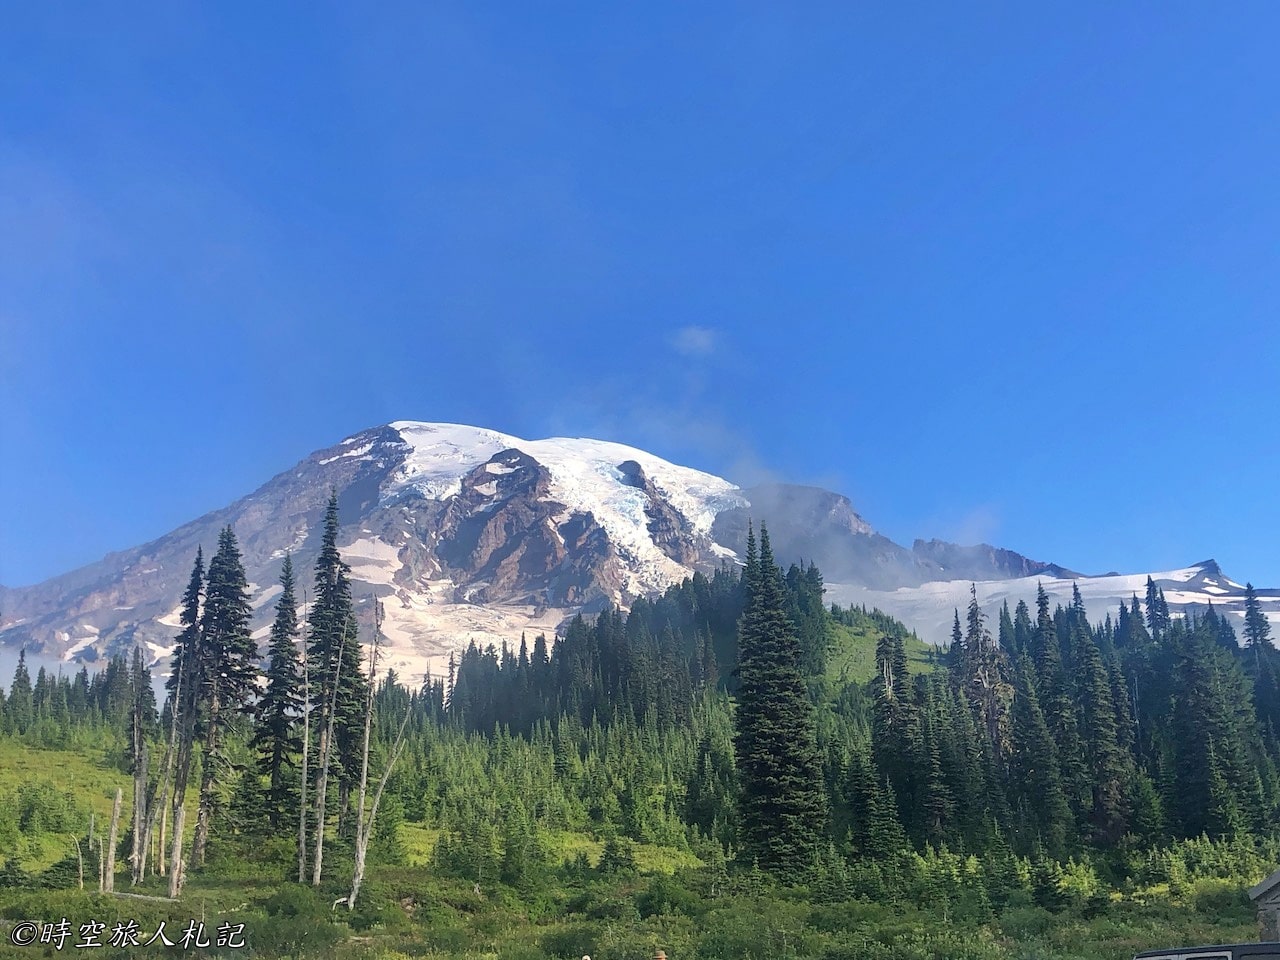
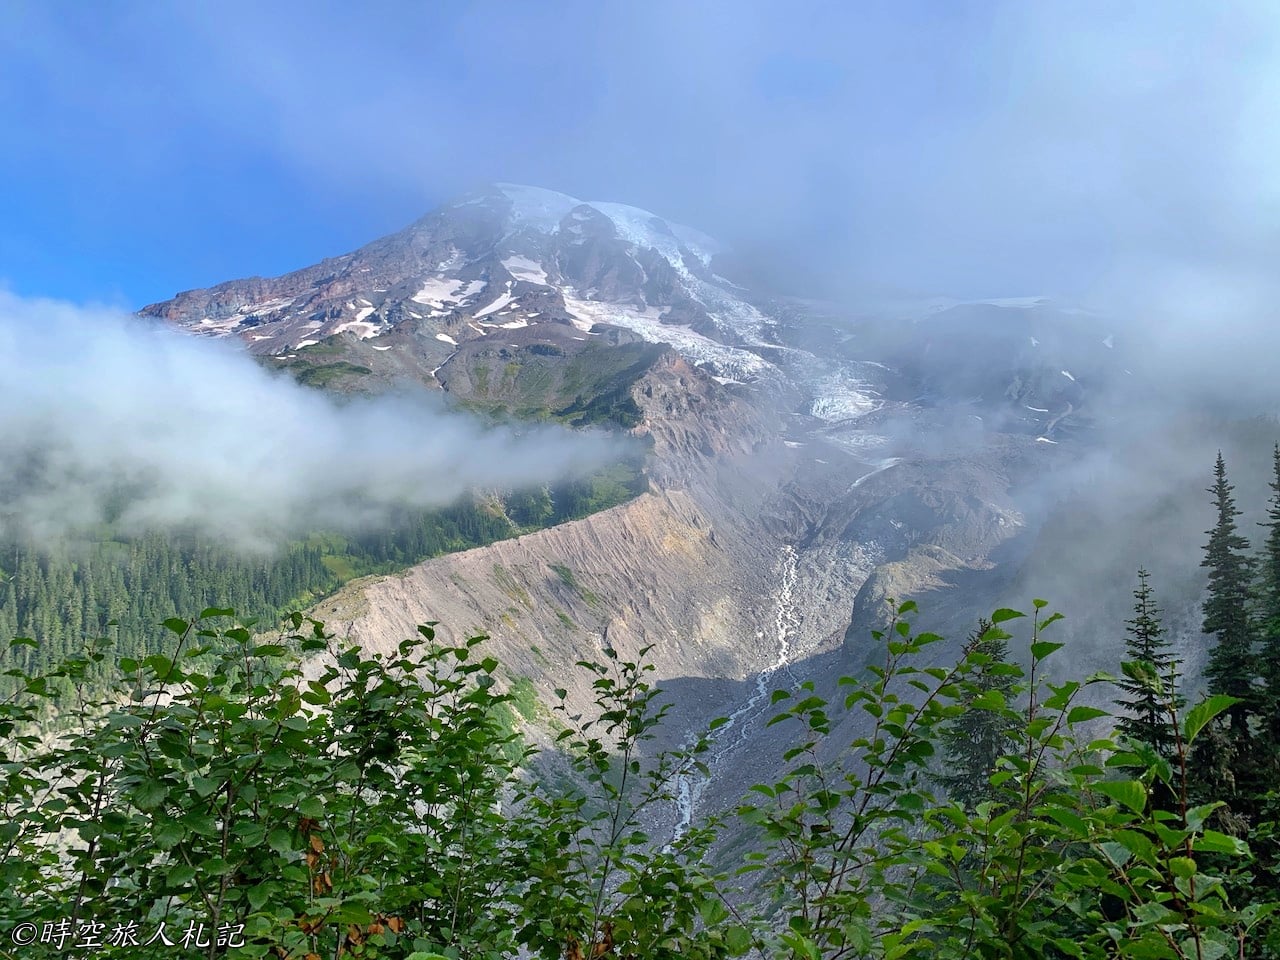
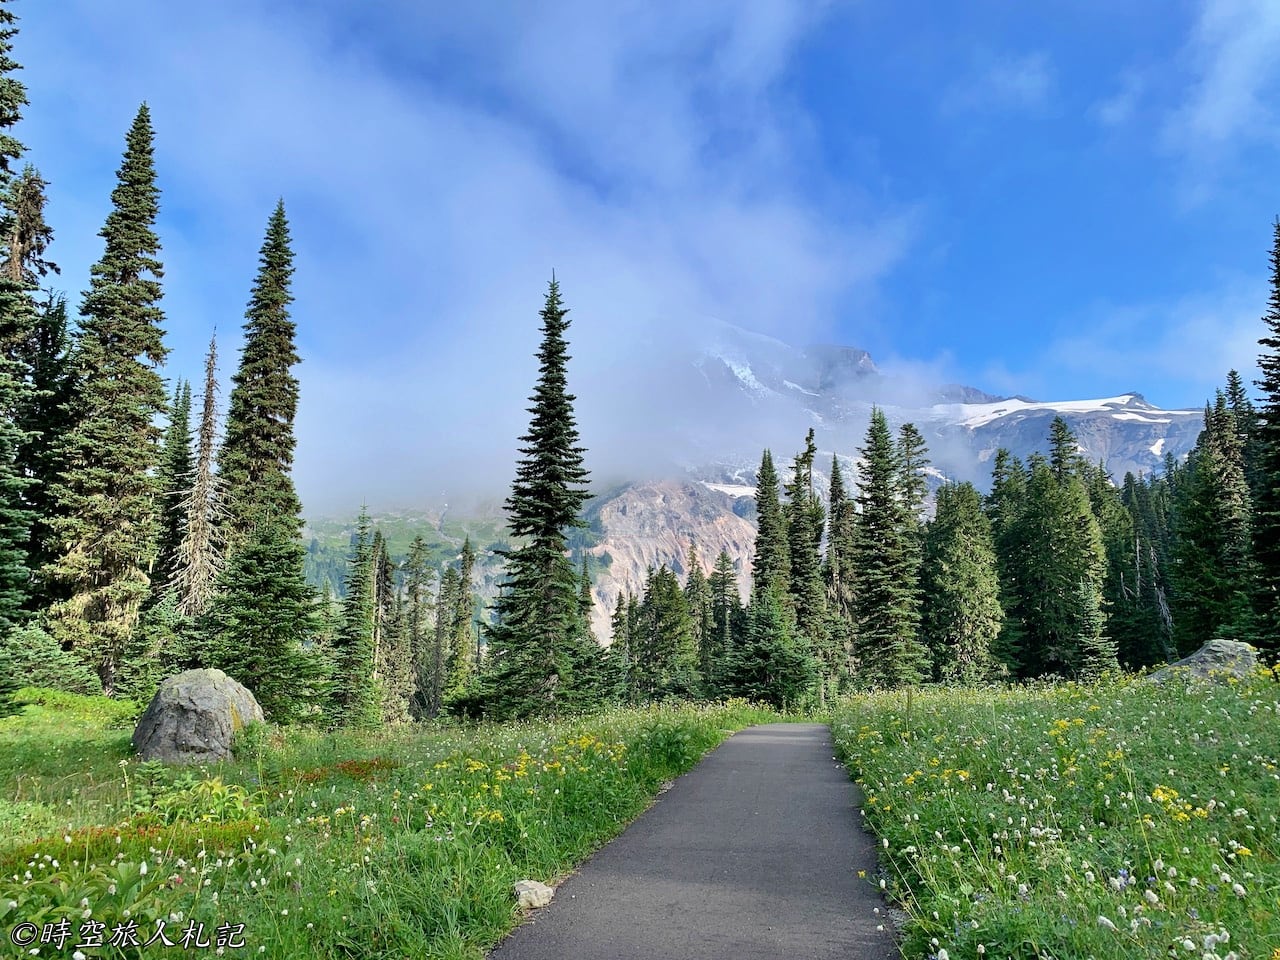
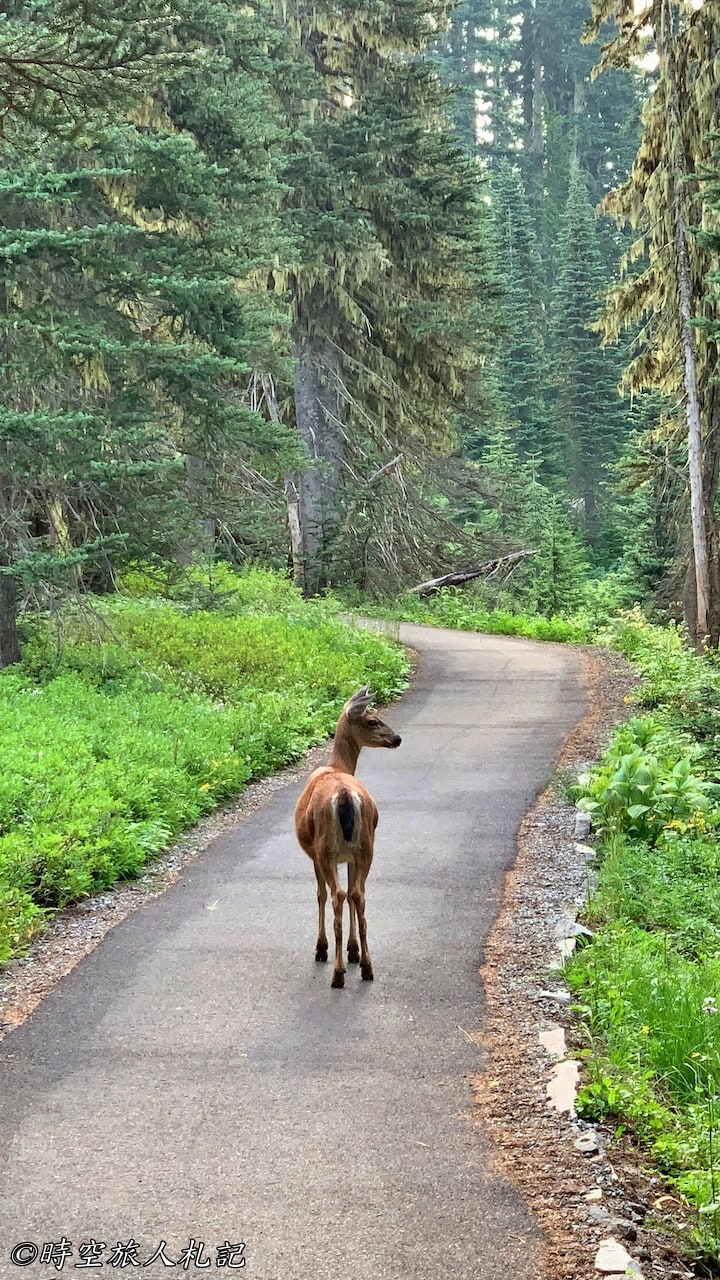
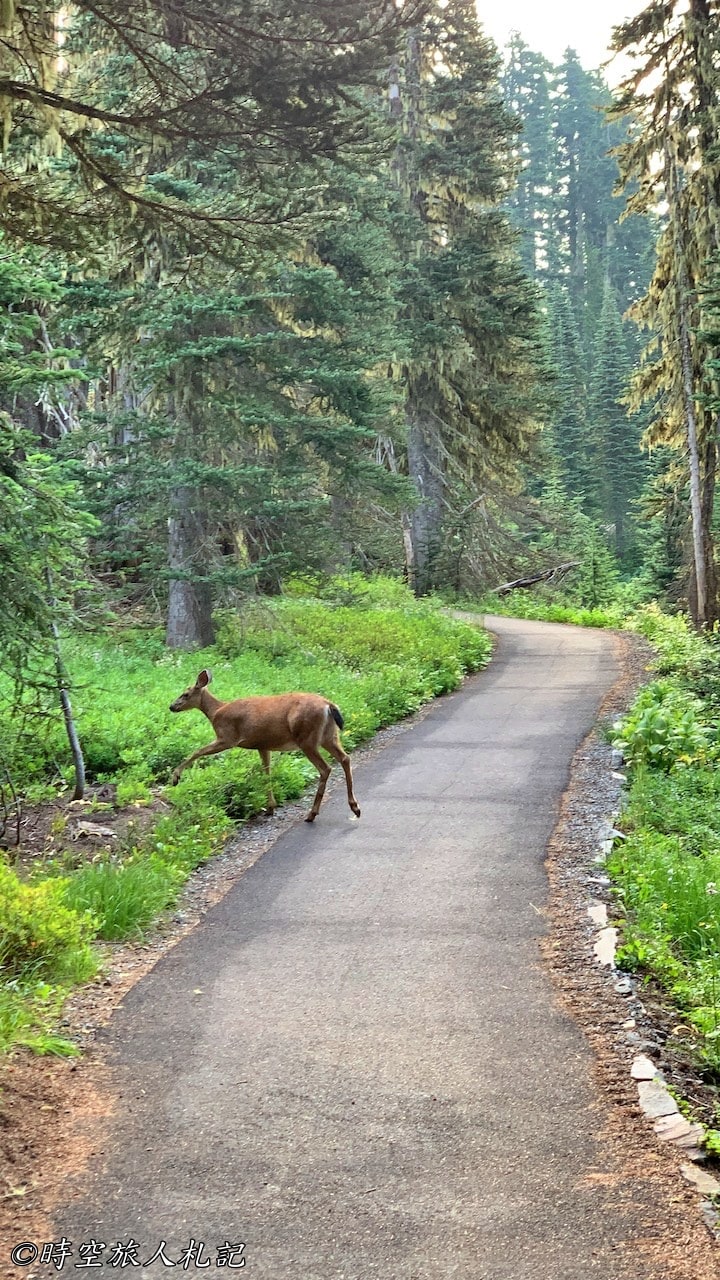
While on the trail, we encountered a small deer foraging for food halfway through our hike.
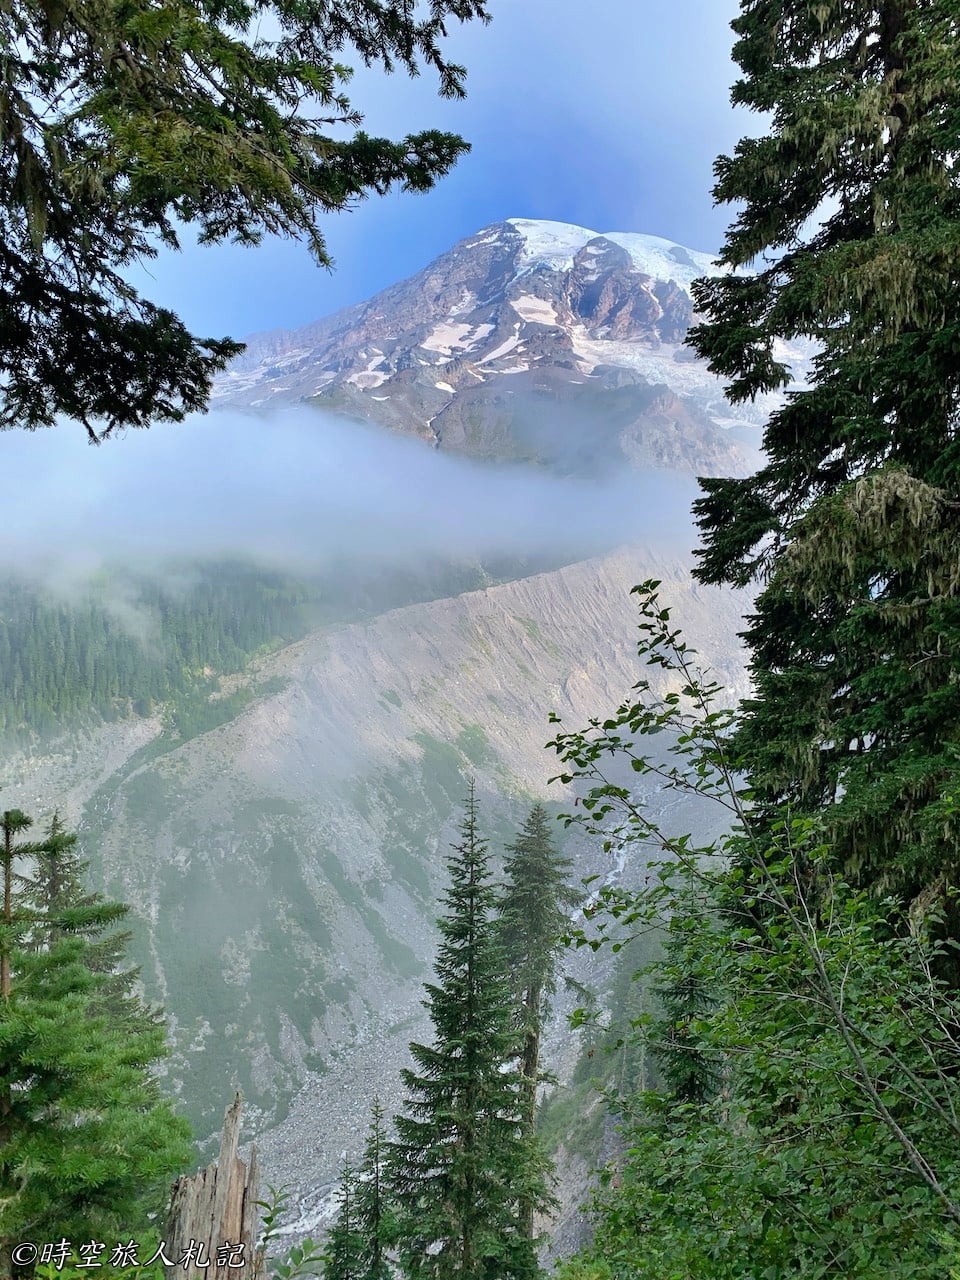
Ohanapecosh Area
The Ohanapecosh area of Mt. Rainier is relatively less crowded compared to other parts of the park. However, if you enjoy hiking, there are several trails in the Mt. Rainier Ohanapecosh area. If you don't want to tackle long trails, you should at least make sure not to miss Mirror Lake.
Inspiration point
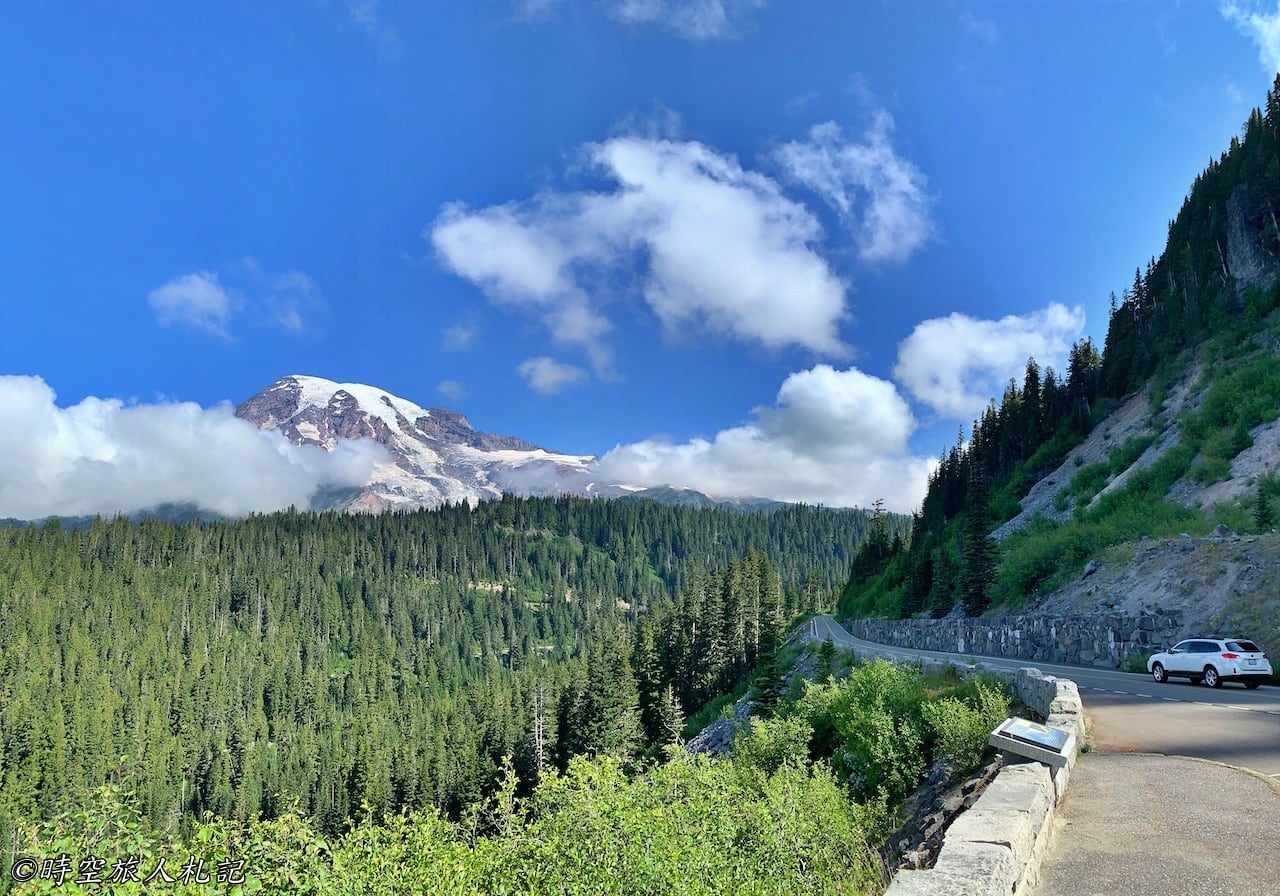
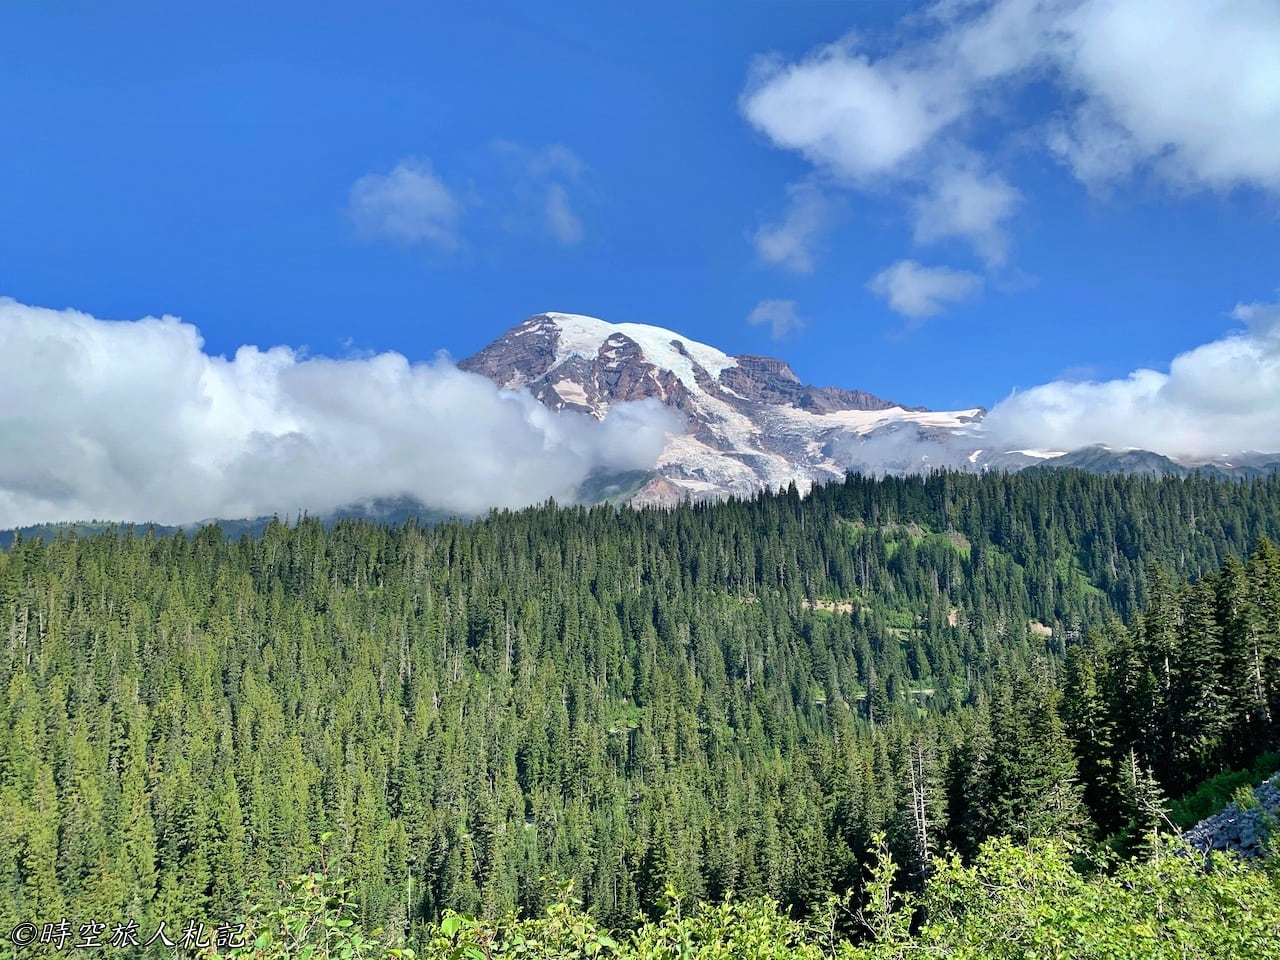
On the way from the Paradise area to the Ohanapecosh area, you will definitely pass through Inspiration Point. Almost every national park in the United States seems to have a place called Inspiration Point, and the views are usually spectacular. Mt. Rainier's Inspiration Point is indeed beautiful, and it's conveniently located right along the route, so you don't need to hike to reach it.
Mirror lake
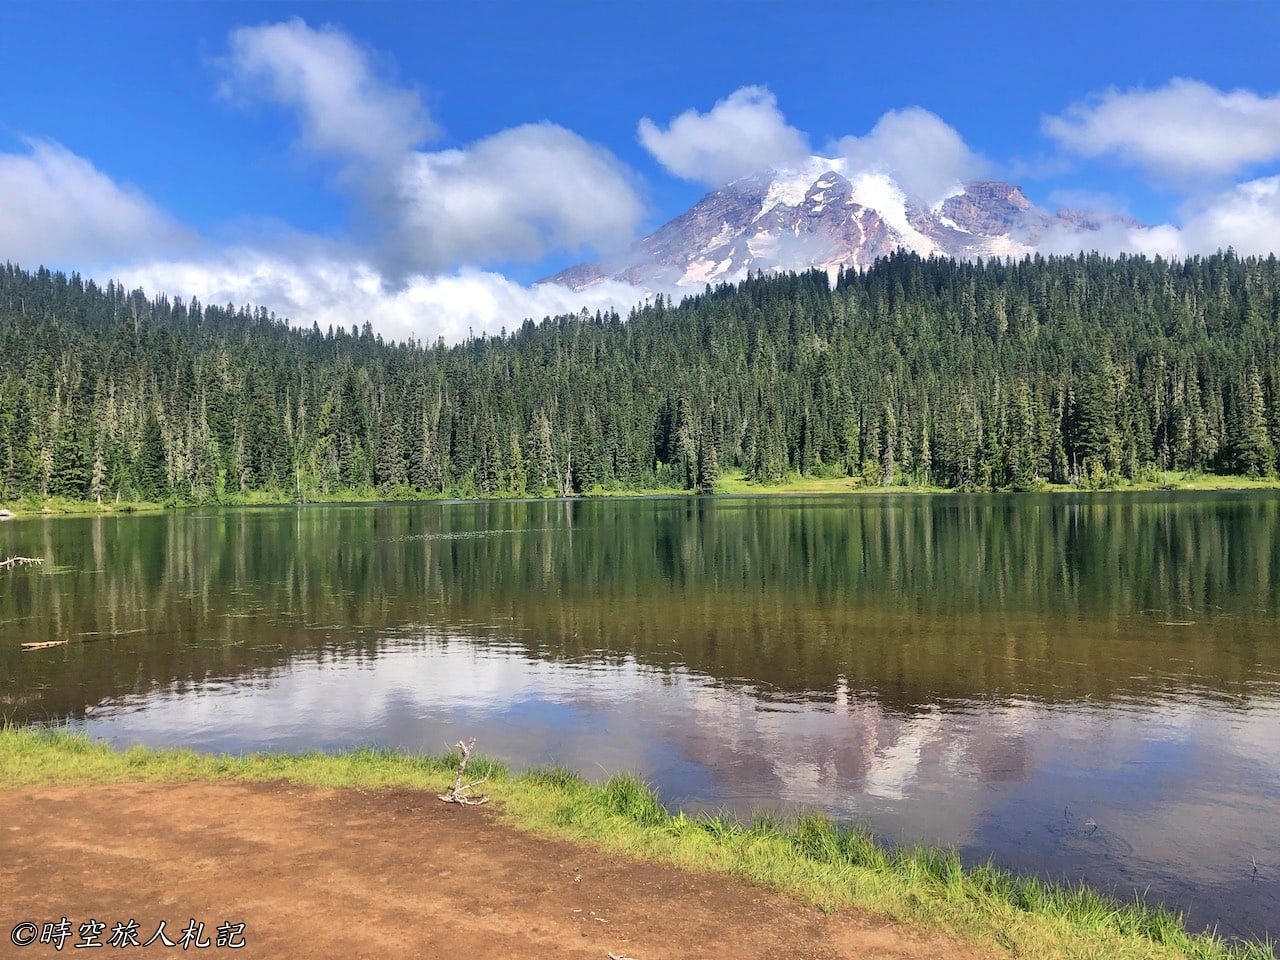
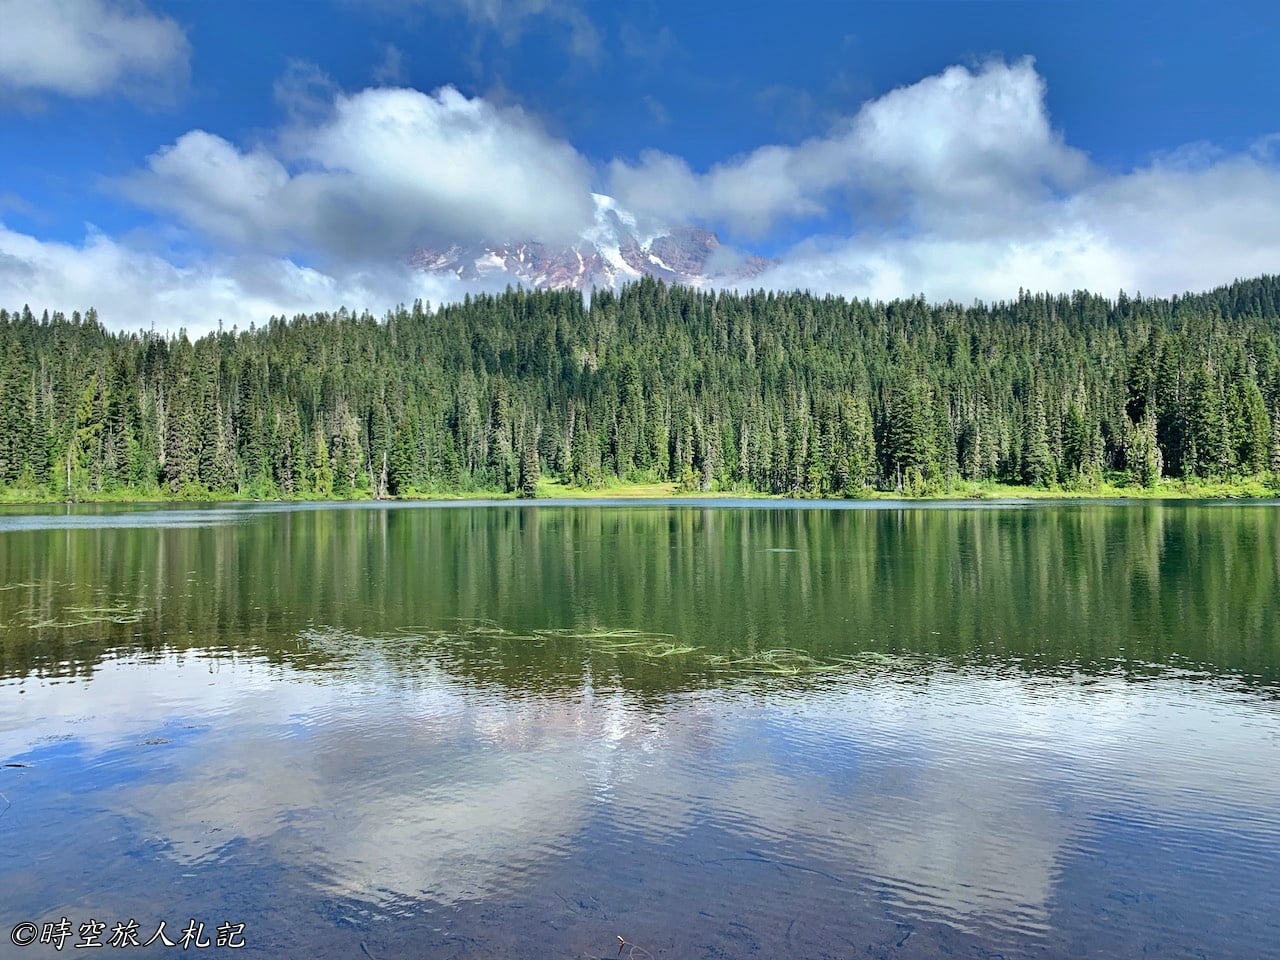
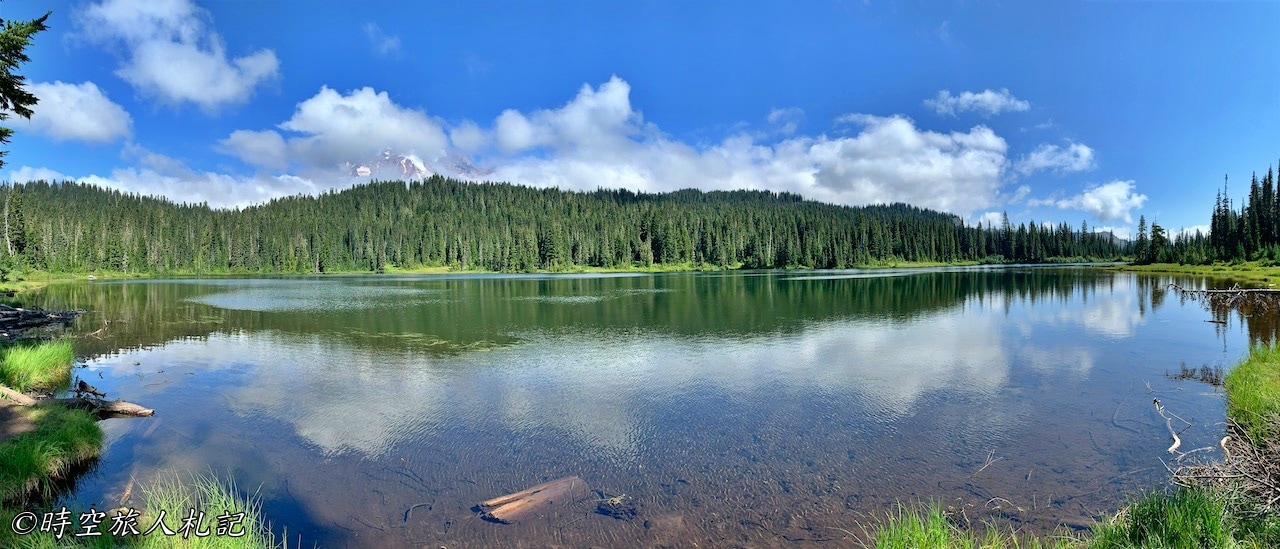
The highlight of the Ohanapecosh area is Mirror Lake, and the best time to visit is when the lighting is just right to capture the mirror-like reflection of the mountains on the lake's surface. However, you need to choose the timing carefully. We initially visited early in the morning, but heavy fog obscured the view. It wasn't until around 10 AM that we returned, and by then, the fog had cleared, revealing the mountains across the lake. While there were occasional wisps of clouds drifting over the peaks, we finally got to see the mountains and their reflection in the lake.
Narada falls
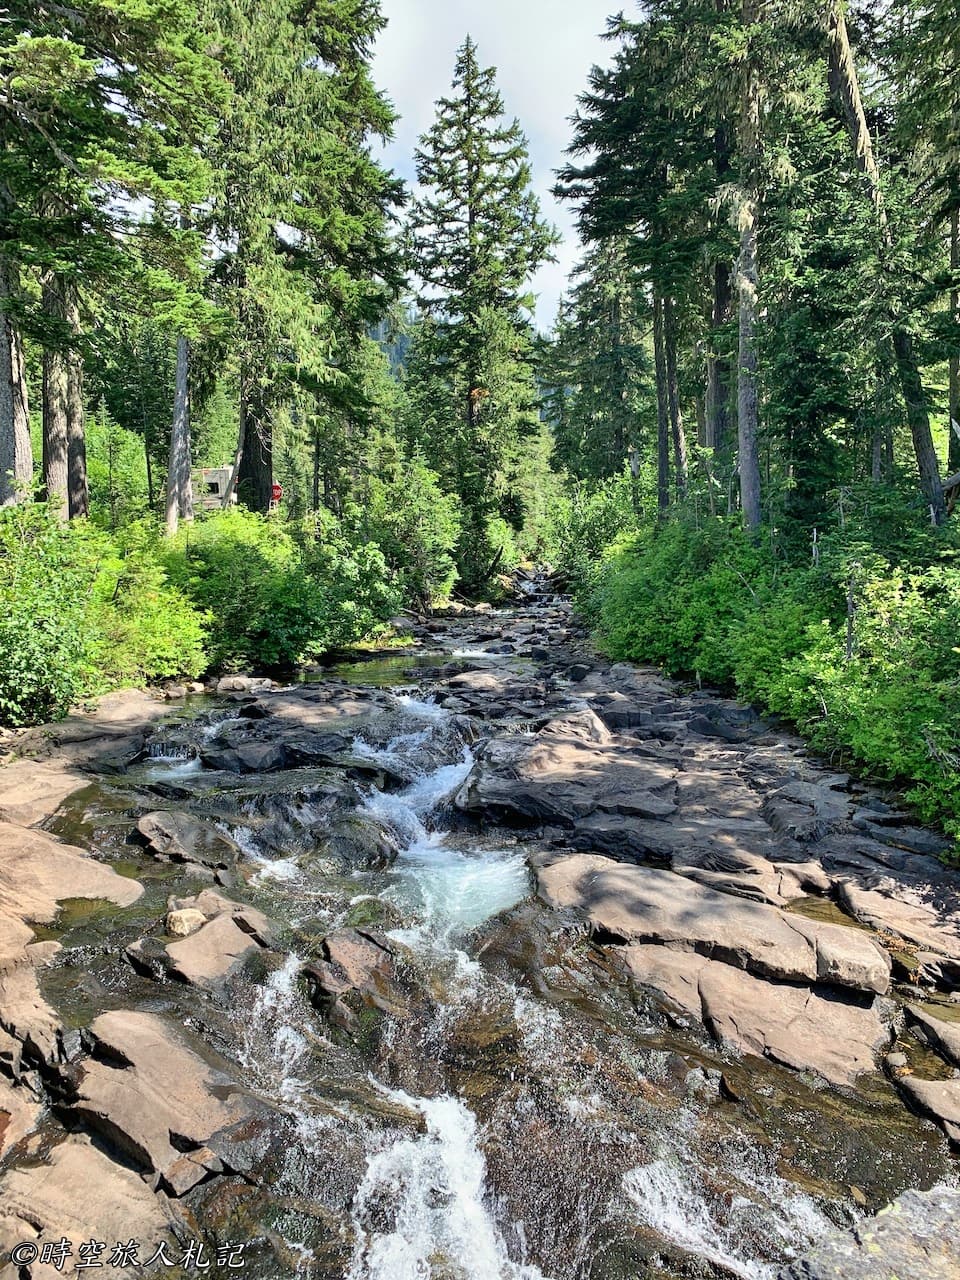
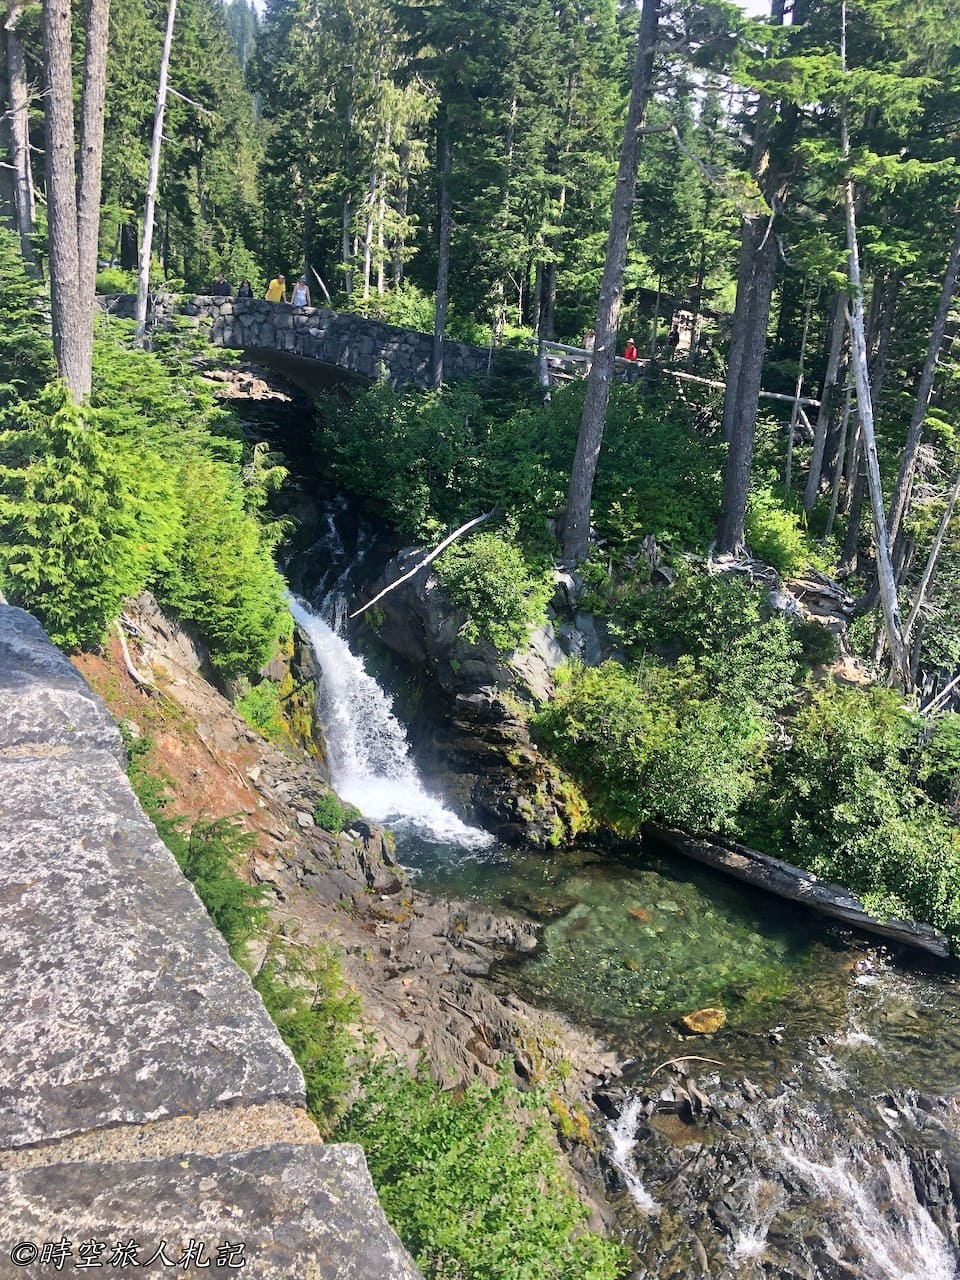
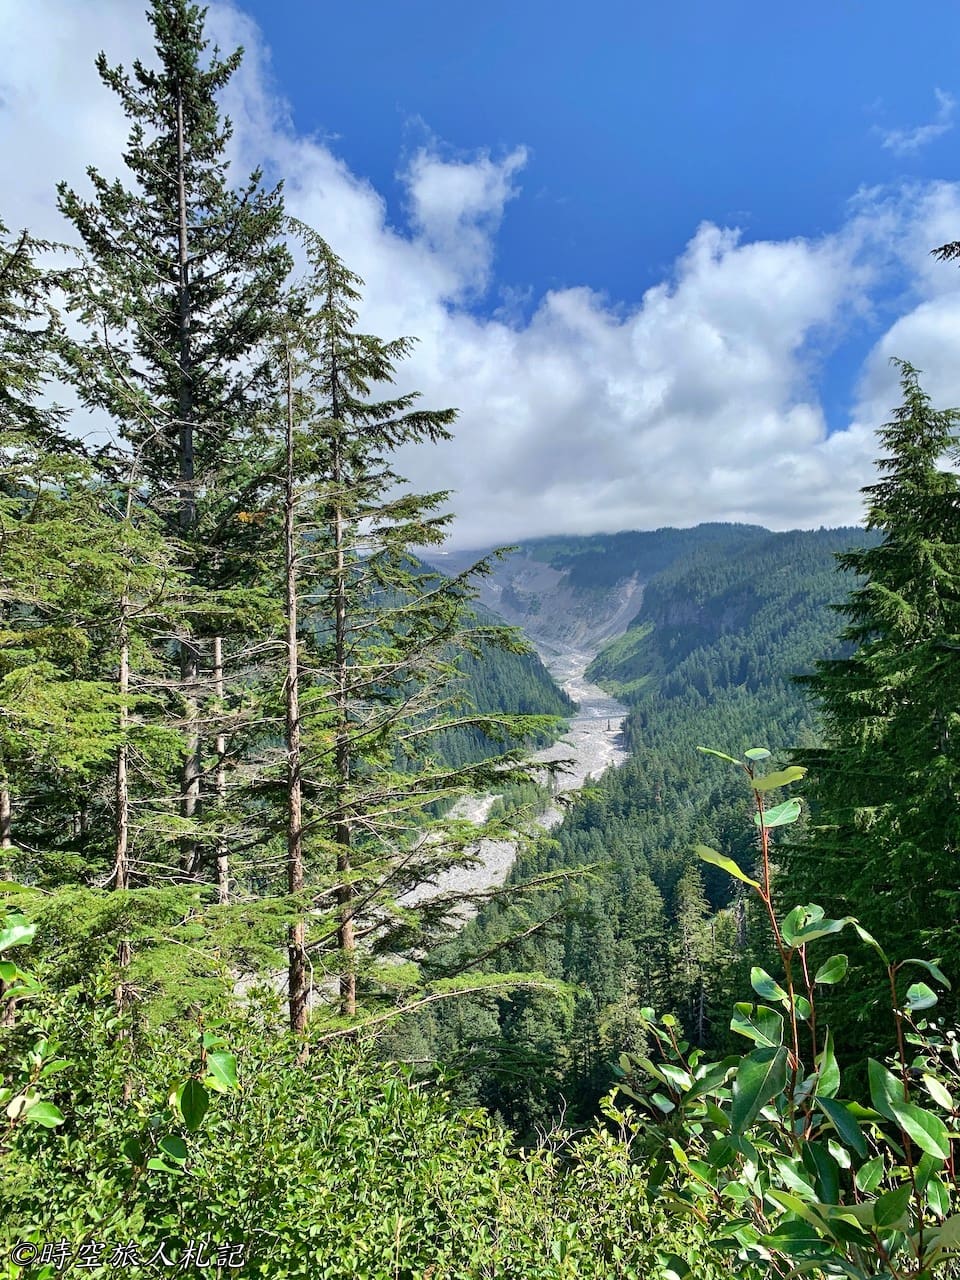
Ohanapecosh does have several trails, and one of them leads to Narada Falls. While it may not be as famous as Paradise and Sunrise, the scenery with waterfalls and rivers is still very beautiful, and the hike is quite enjoyable. Along the way, you can see the traces left by glaciers. Several decades ago, you could see an entire glacier here, but now the glacier has receded, and all that remains visible to the naked eye is the U-shaped valley it carved.
Longmire area
Longmire Area has a museum worth visiting. We also recommend to hike the Comet falls trail.
Comet falls trail
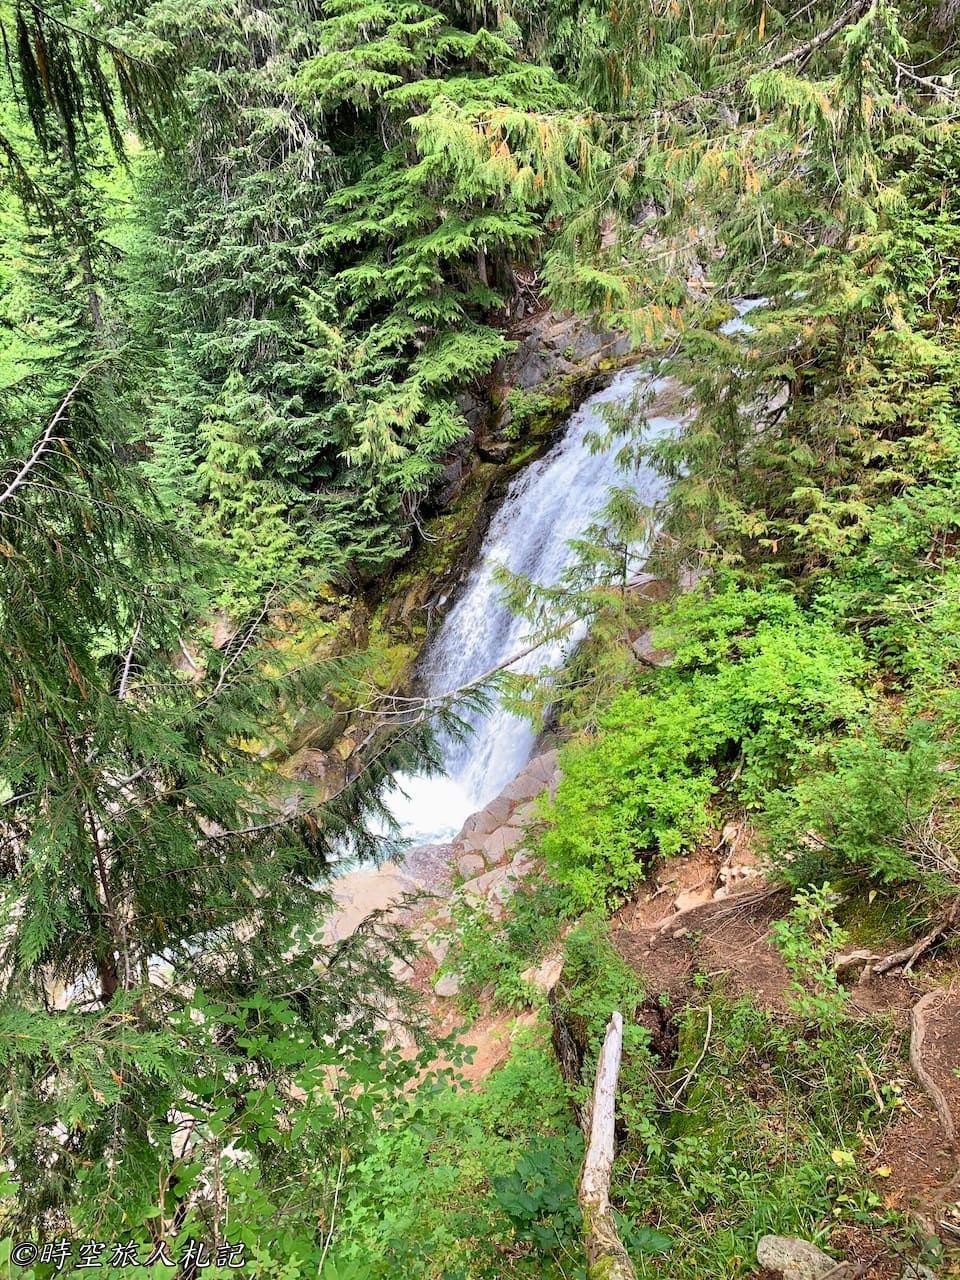
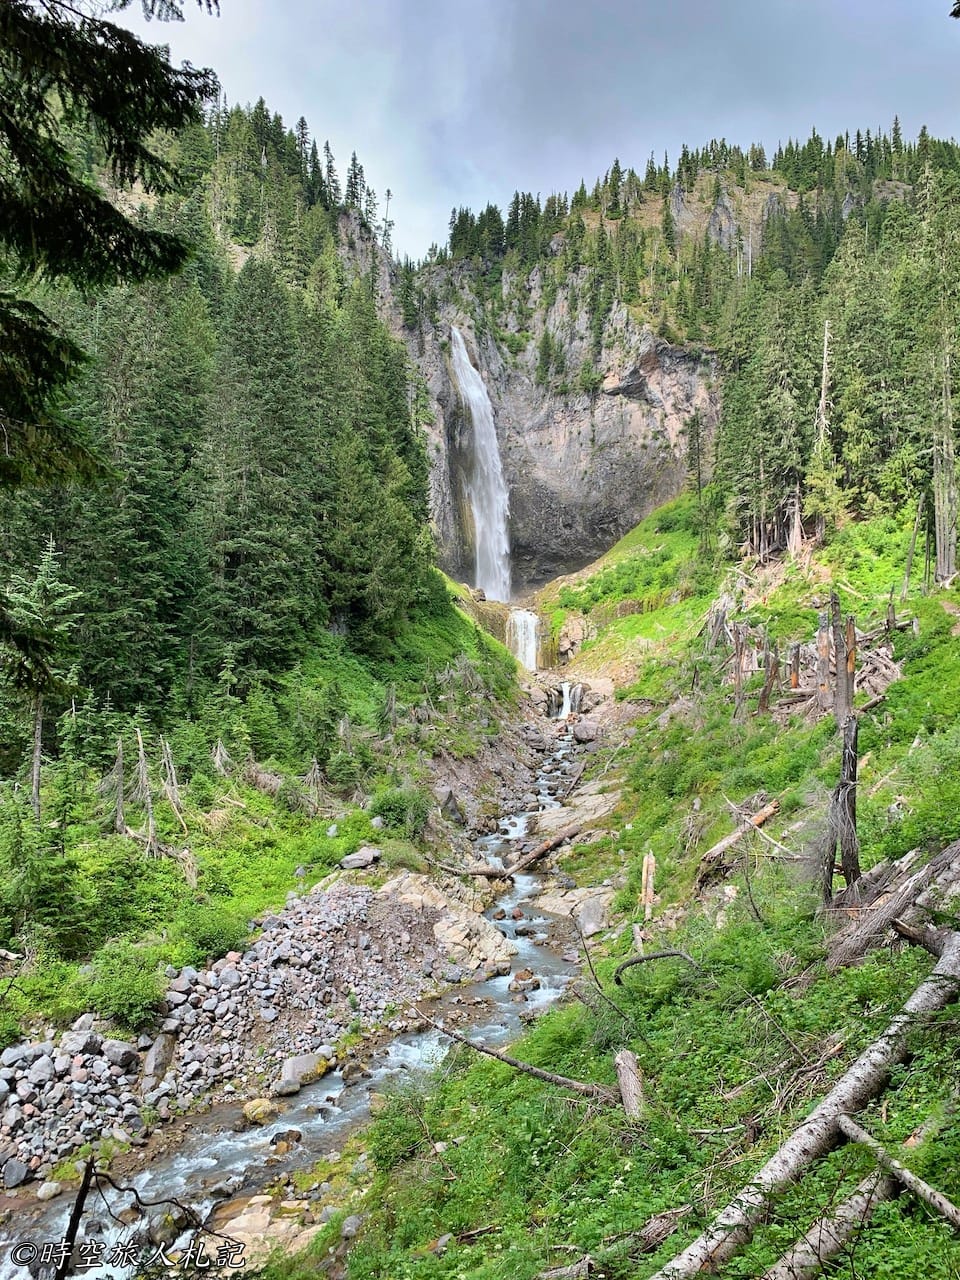
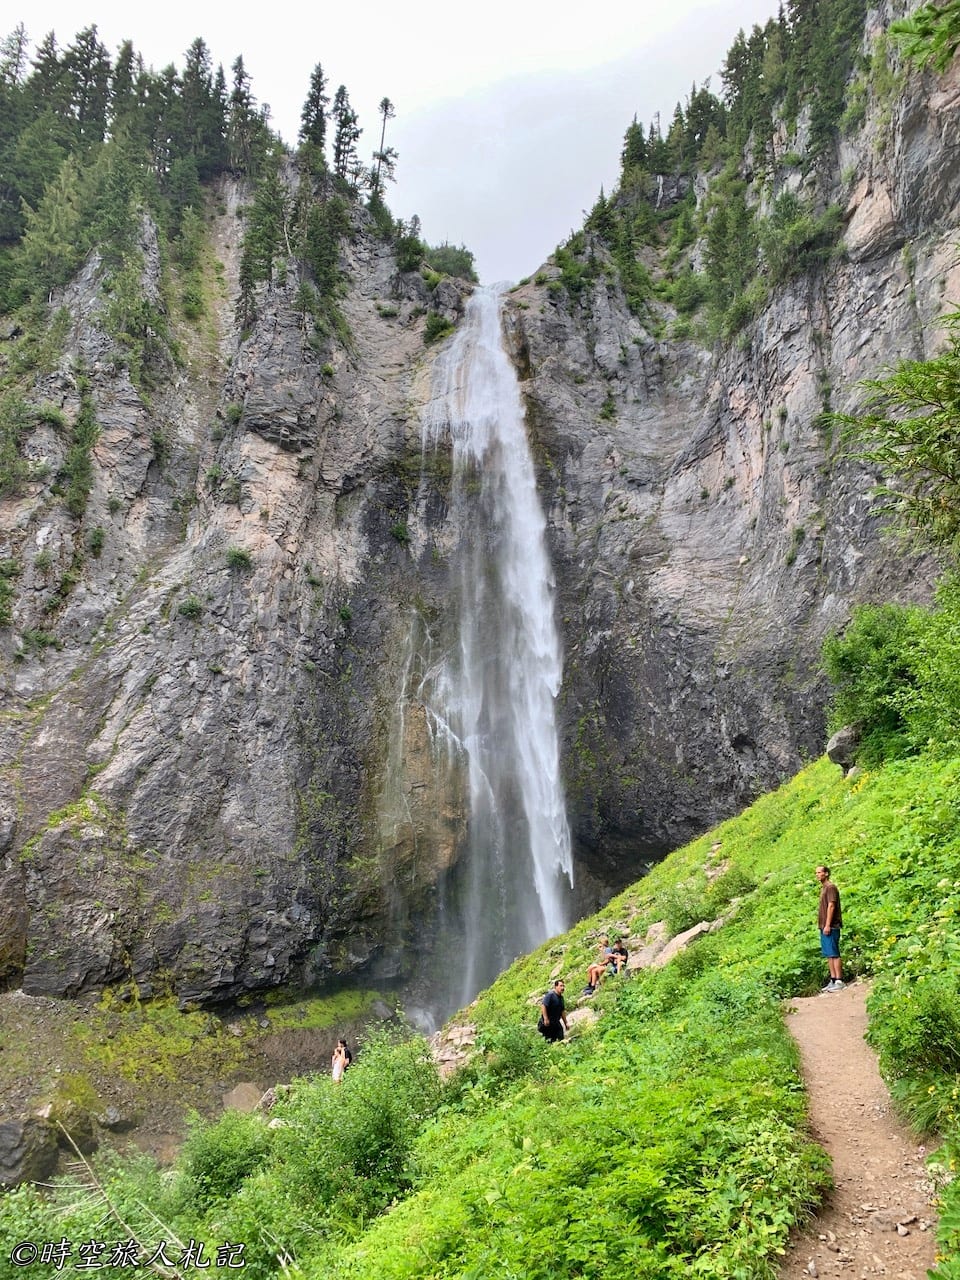
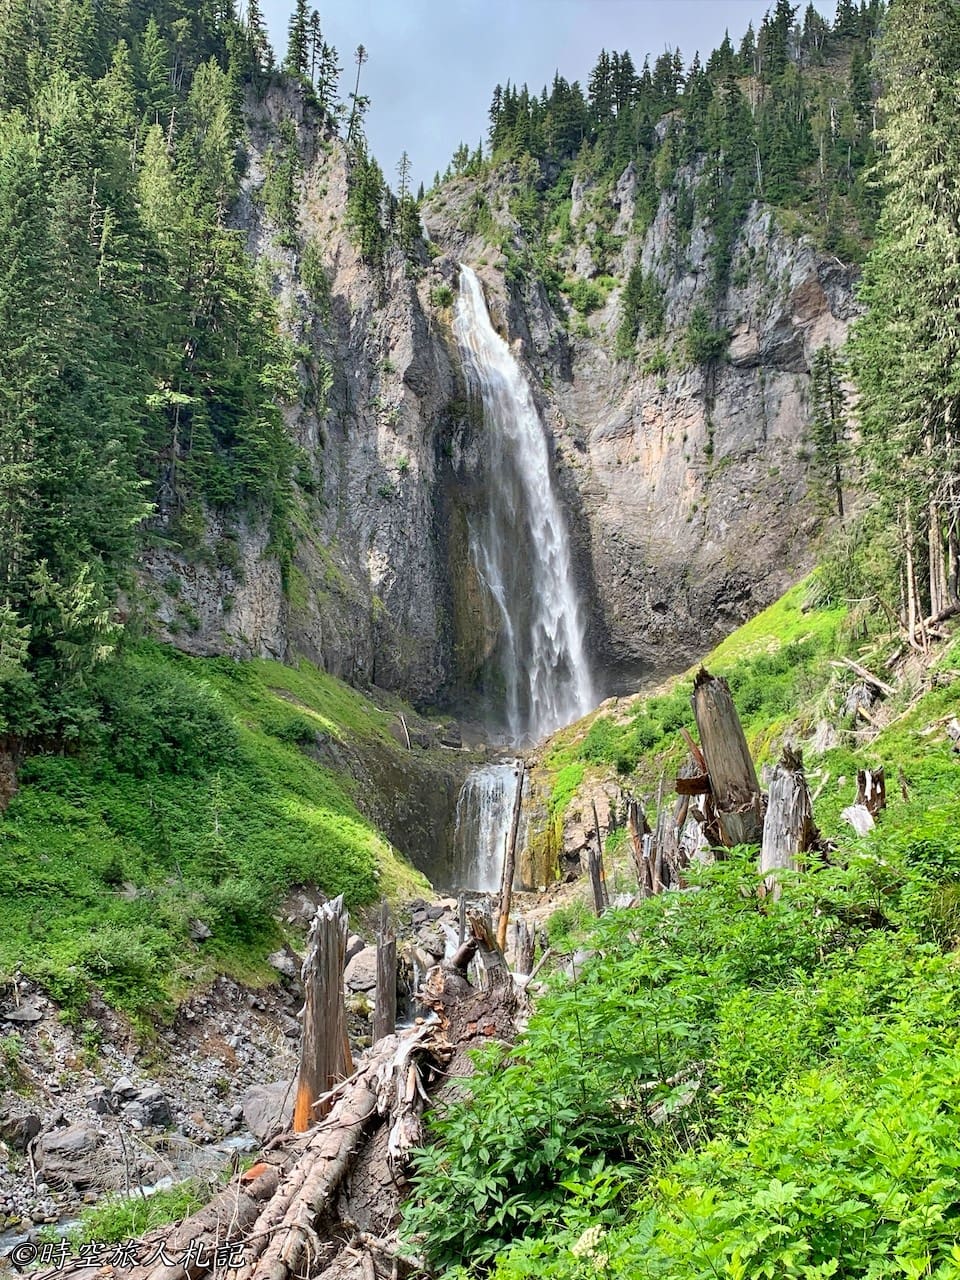
The length of Comet falls trail is 5.4 miles and it is a more challenging hike, however it is worth a visit. The waterfall is at 2200ft high, and there are three smaller waterfalls to on the way up.
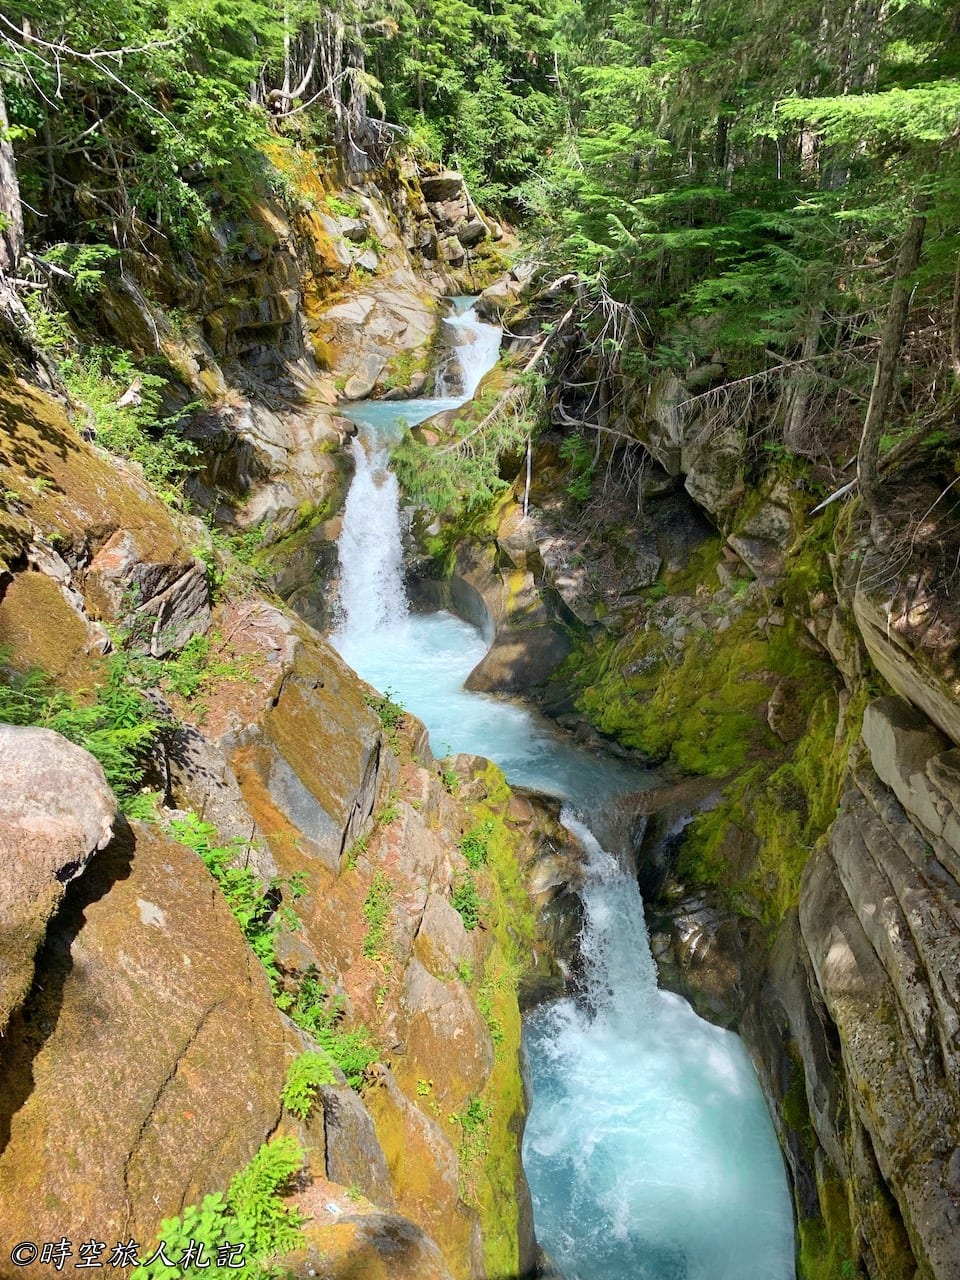
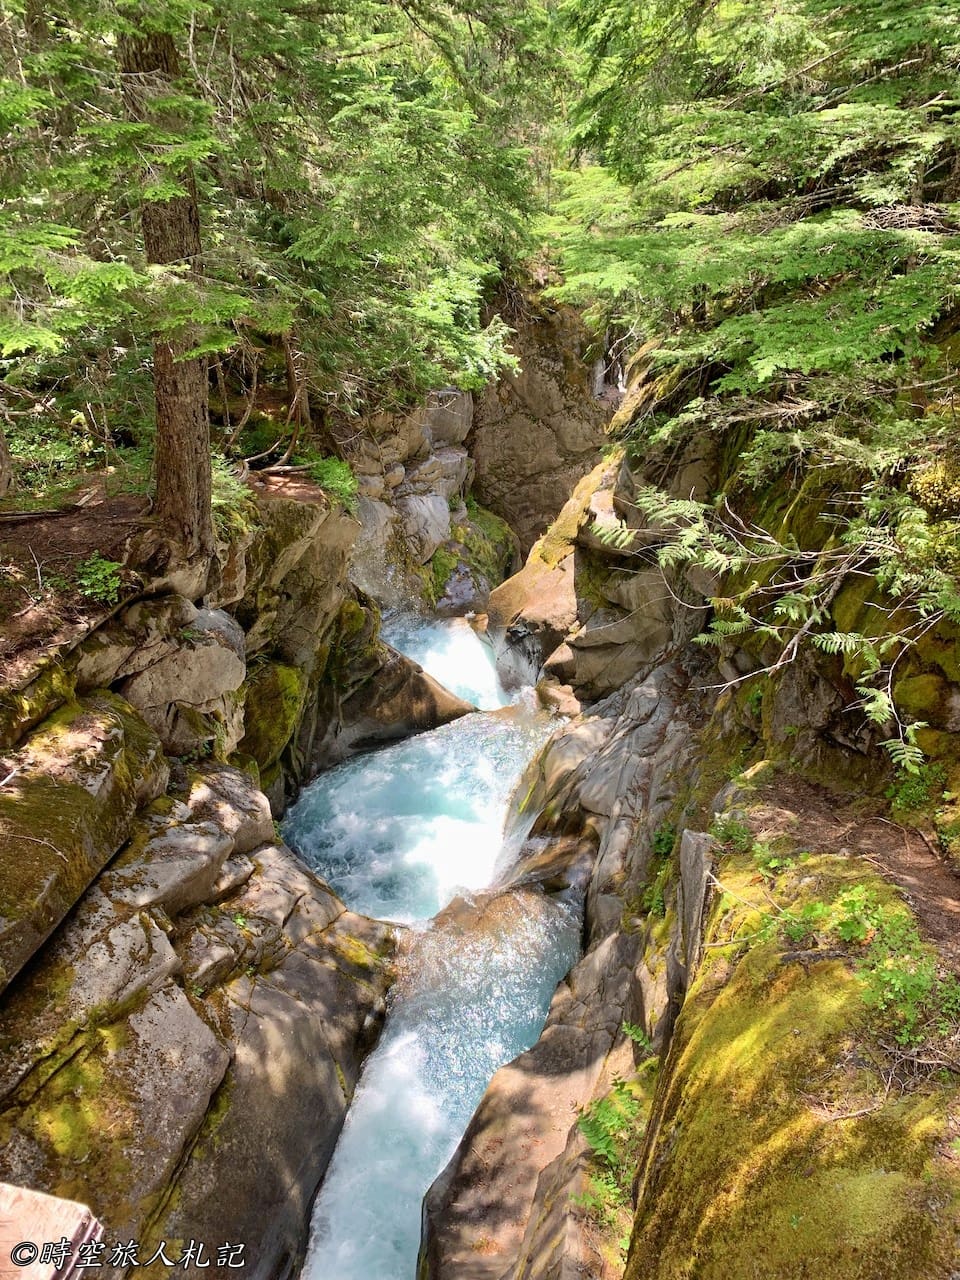
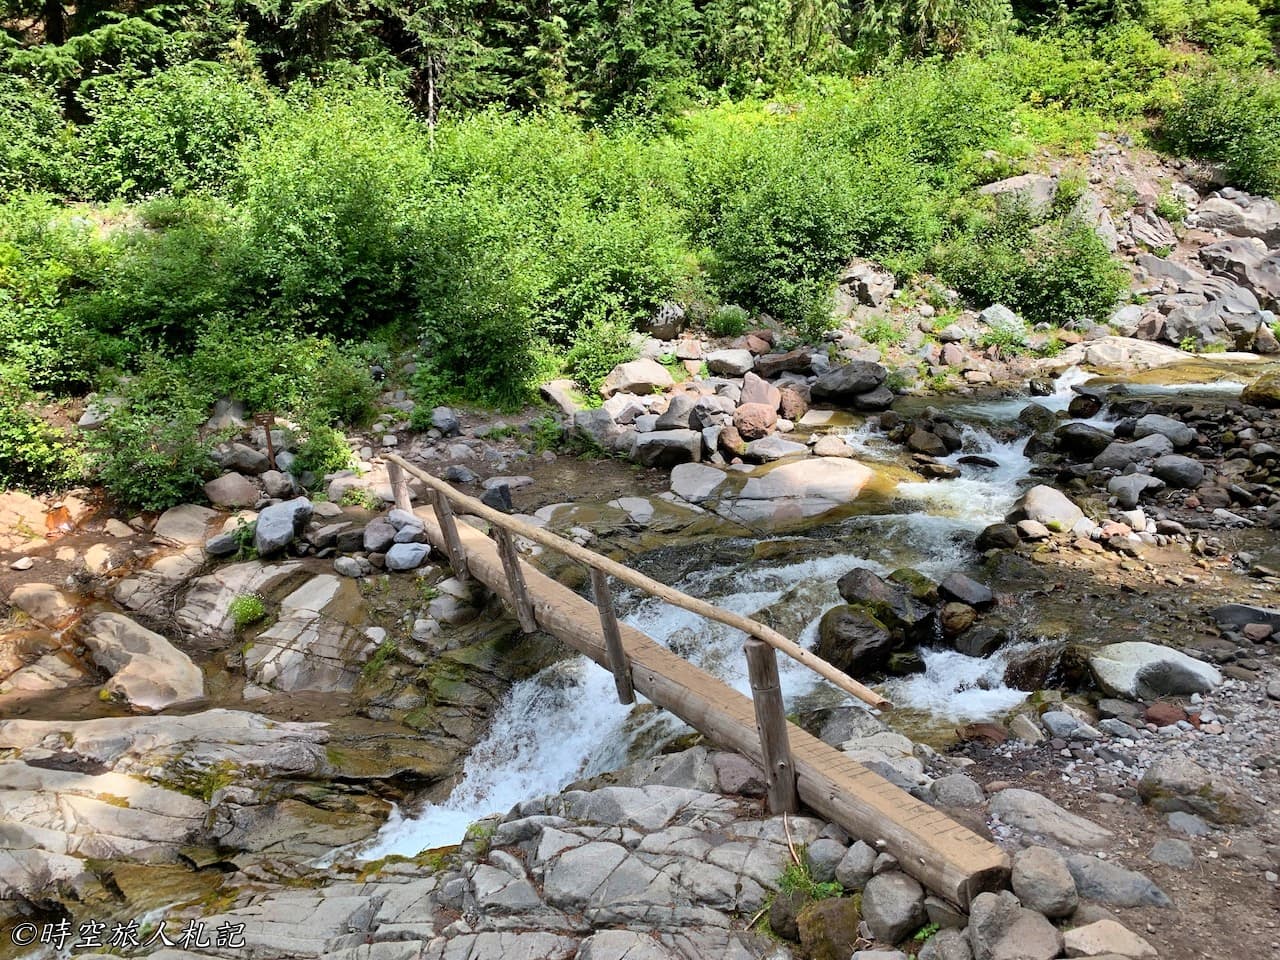
After crossing this wooden bridge, we are almost reaching the destination.
Further on was the hardest part of the trail, but soon we saw the long comet falls. When we got closer, we realized we were already drenched with water even when we were standing far away from the waterfalls. This is not the end of the trail, if we go further up, we will come to a grassland good for wildlife watching in the evening.
Longmire museum
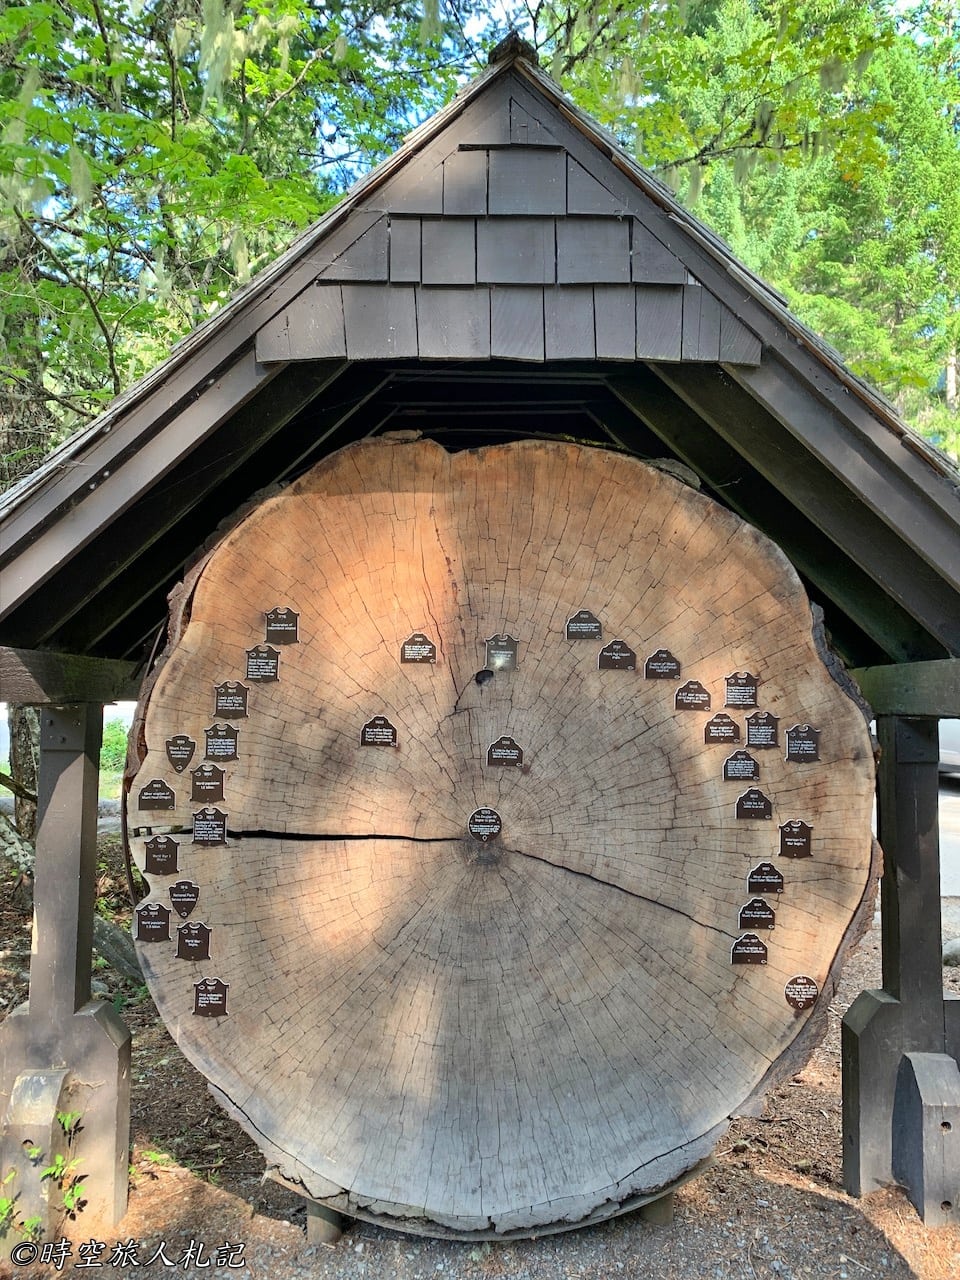
The Longmire museum is the oldest building in the park. It contains displays that tell the story of early explorers and local wildlife. The Douglas fir tree trunk at the entrance that attracts many visitors. The sign in the center says the tree was planted in 1293.
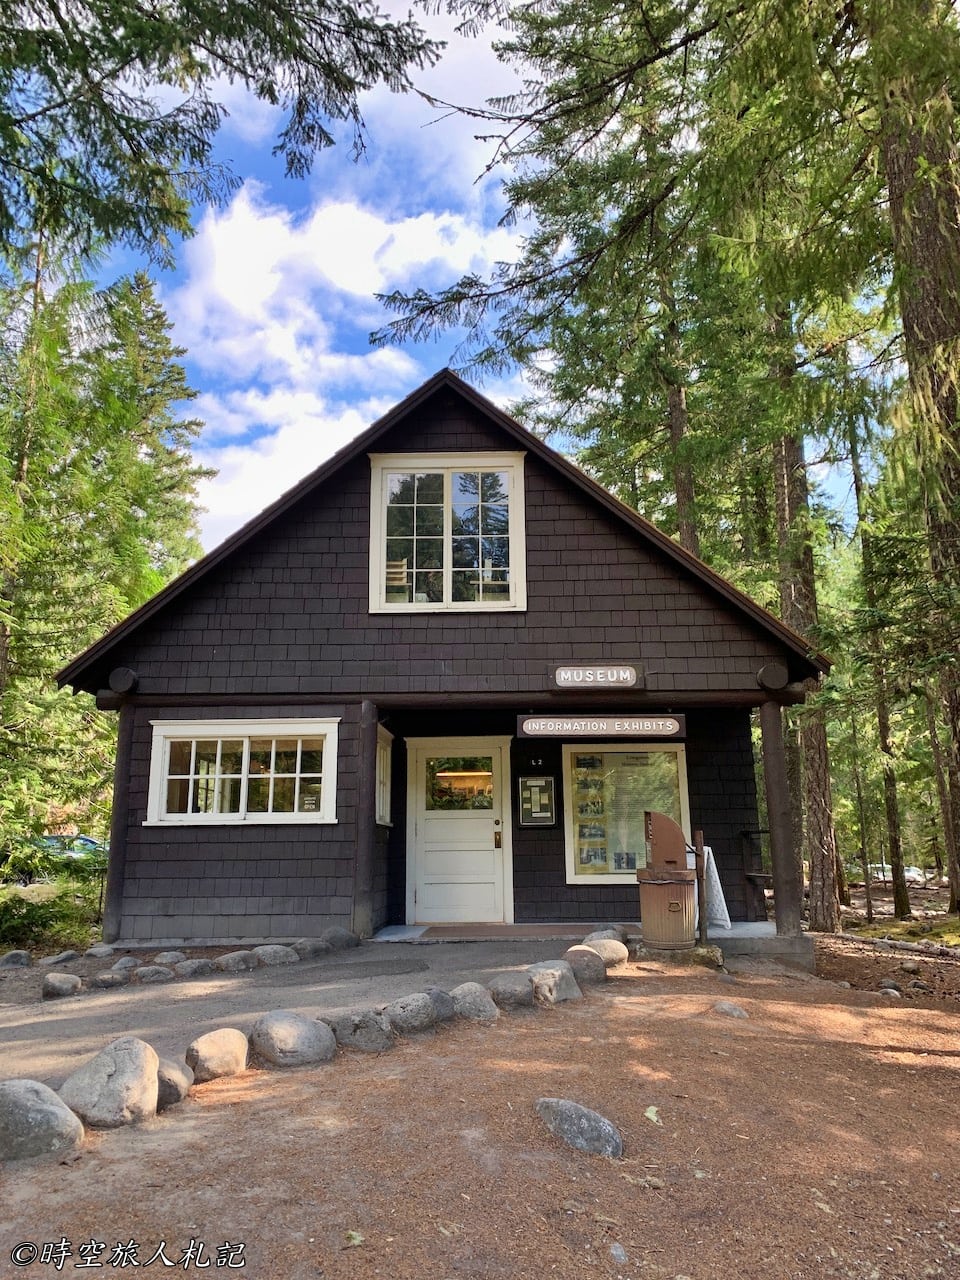
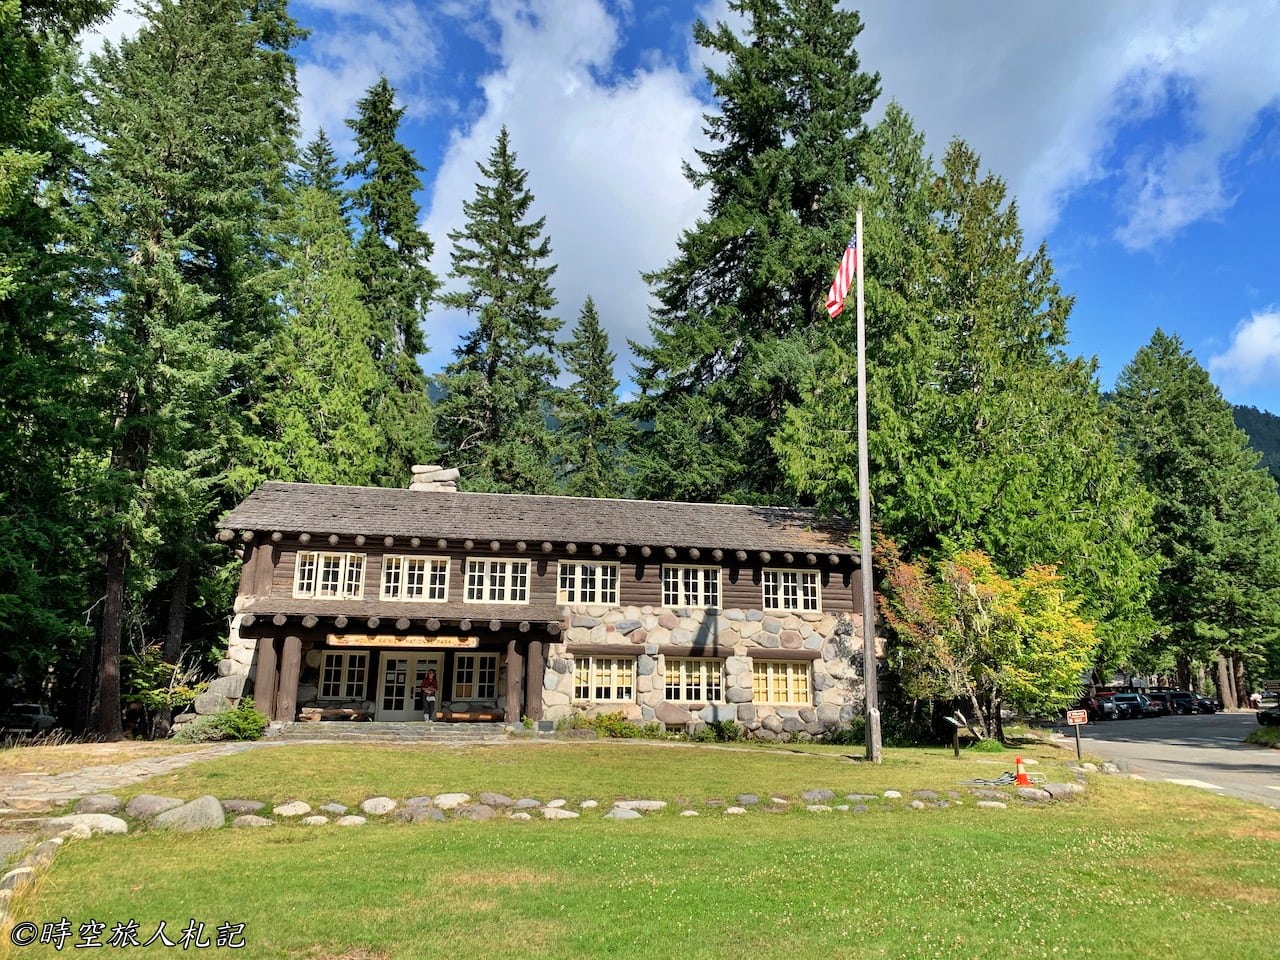
The museum itself is small. There are also some shops and restaurants in the surrounding area, as well as a hotel and administration building in the park.
Further reading
- More WashingtonRelated Posts
Thank you for visiting our website.
All the content on this site is original and shared with the purpose of providing valuable information. We sustain the operation of this site through a small amount of advertising and sponsored links. If you click on links to third-party merchants on our site and make purchases, we may receive a portion of the sales as a commission. If you click on links to third-party merchants on our site and make purchases, we may receive a portion of the sales as a commission.
Find more posts on a map Here.
My recommended resources for hotel bookings.
Recommended travel credit card for US-based travelers
Travel with just a backpack!
Buy me a coffee and support my contents!
If you are interested in quoting this article or using any part of its content and images on your website or publication, please contact us via email to request permission.
